11.39
When installing:
•
While installation basically consists of performing
the dismantling operations in reverse sequence,
special attention should be directed toward the
following additional points:
•
Clean chain guide threads to remove Loctite res-
idue
•
Turn the engine over several times by hand
•
Install the cylinder head cover before returning
the powertrain cradle to its original position
e
Attention:
When installing, note the correct positions of the
spring struts!
L
Note:
Make sure the detent of the long lever on the easy-
lift mechanism engages. If necessary, move the le-
ver to the drive position first, and then move it to the
park position!
Fluids and lubricants:
Loctite 243
X
Torque specification:
Guide rail...................................................... 10 Nm
Lower strut mount ........................................ 21 Nm
11 31 112 Replacing guide rail
For enhanced clarity some of the illustrations show
the components with the powertrain cradle re-
moved.
– Swivel out powertrain cradle (
a
11.12)
– Remove cylinder head cover (
a
11.34)
– Remove chain tensioner (
a
11.33)
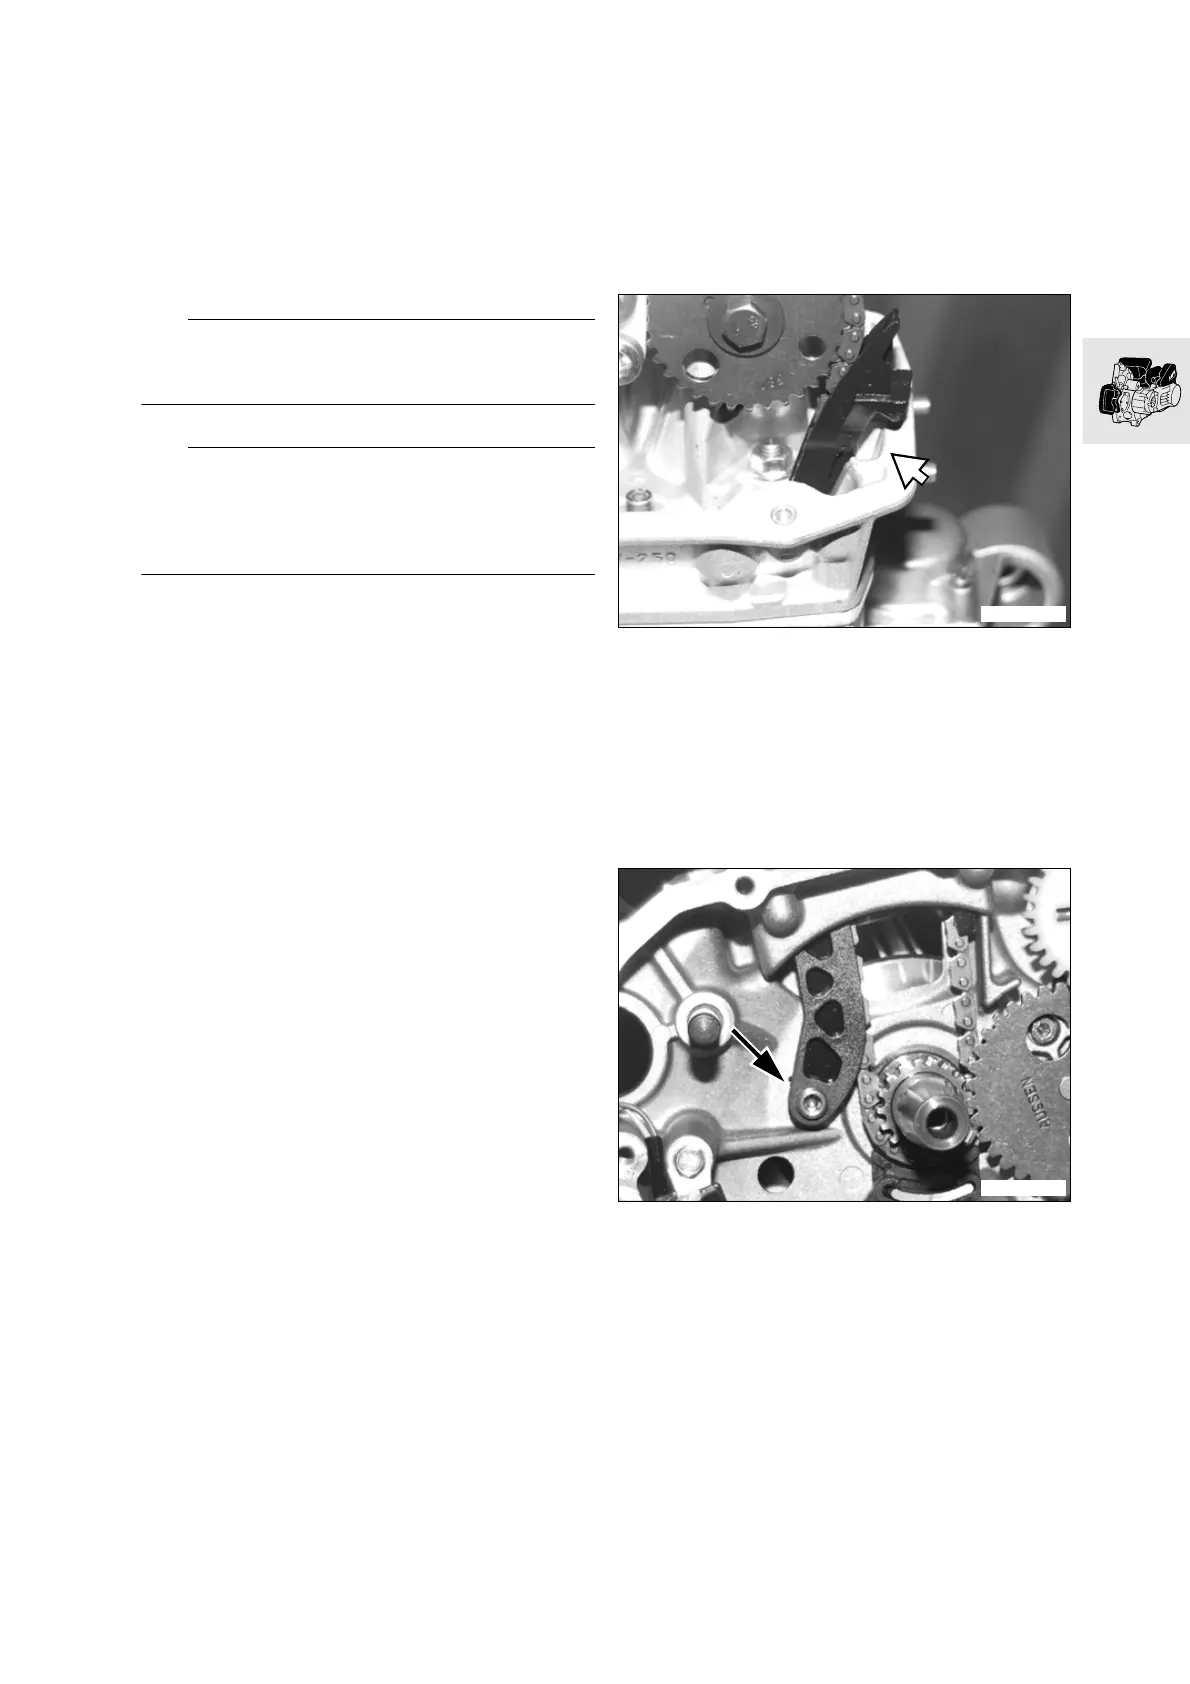
•
Lift guide rail up to remove
When installing:
•
When installing, seat rail in recess (arrow)
11 31 101 Replacing chain tensioner rail
– Remove idler pulley
a
....................................................See Group 12
•
Undo collar bolt (arrow)
•
Remove tensioning rail
C1110940
C1110950