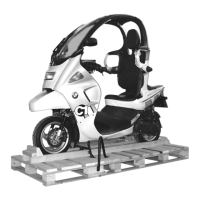
00.55
Drive variator
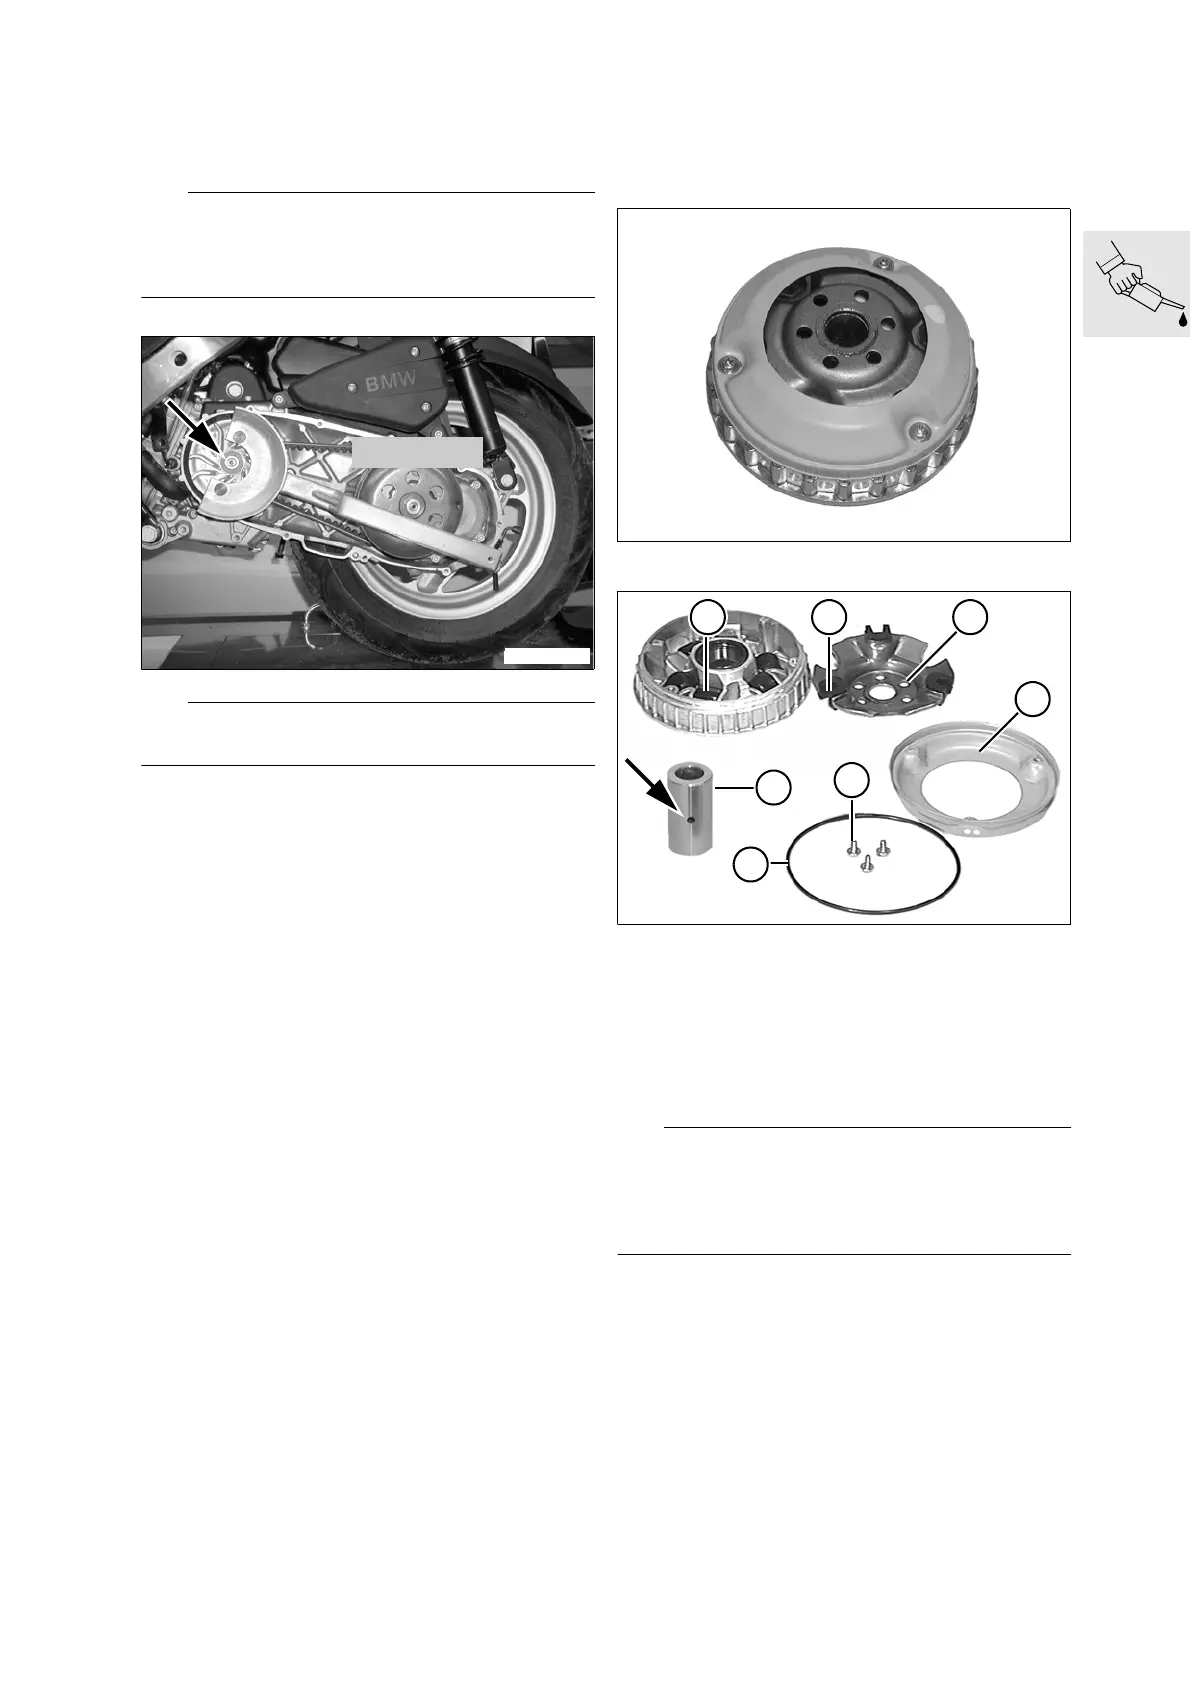
Remove drive variator
L
Note:
The following description of variator removal applies
to both the lubricated and the unlubricated versions!
Note differences during assembly!
L
Note:
The nut is secured with thread-locking compound!
•
Undo nut (arrow) using retainer
BMW No. 11 7 521
•
Remove outer washer and drive variator with
spacer
•
Clean locking compound from threads on crank-
shaft
When installing:
•
While installation is basically a reversal of the re-
moval process, careful attention should be di-
rected toward the following operations:
•
Observe assembly instructions for lubricated
(
a
00.56) and unlubricated variators (
a
00.58)
Check, clean and grease drive variator
(lubricated version)
(Inspection II, III) (lubricated version)
•
Undo attachment bolts (5) and remove cover (4)
•
Remove driver (3) and sliders (2) with spring clips
•
Remove rollers (1)
•
Clean all parts with shop towels
•
Check shaft sealing rings for damage and cor-
rect seating
•
Check O-ring (7) for damage and flat spots
L
Note:
The bearing tube (7) (spacer) is equipped with a
continuous lubrication passage (arrow)! Install only
bearing tube with lubrication passage on lubricated
versions of the drive variator!
11 7 521
C1000291
C1000440
C1110491
1
4
3
5
7
2
6