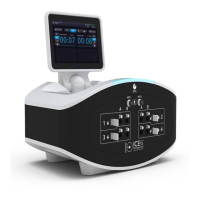
ICEfx™ Cryoablation System
5-3
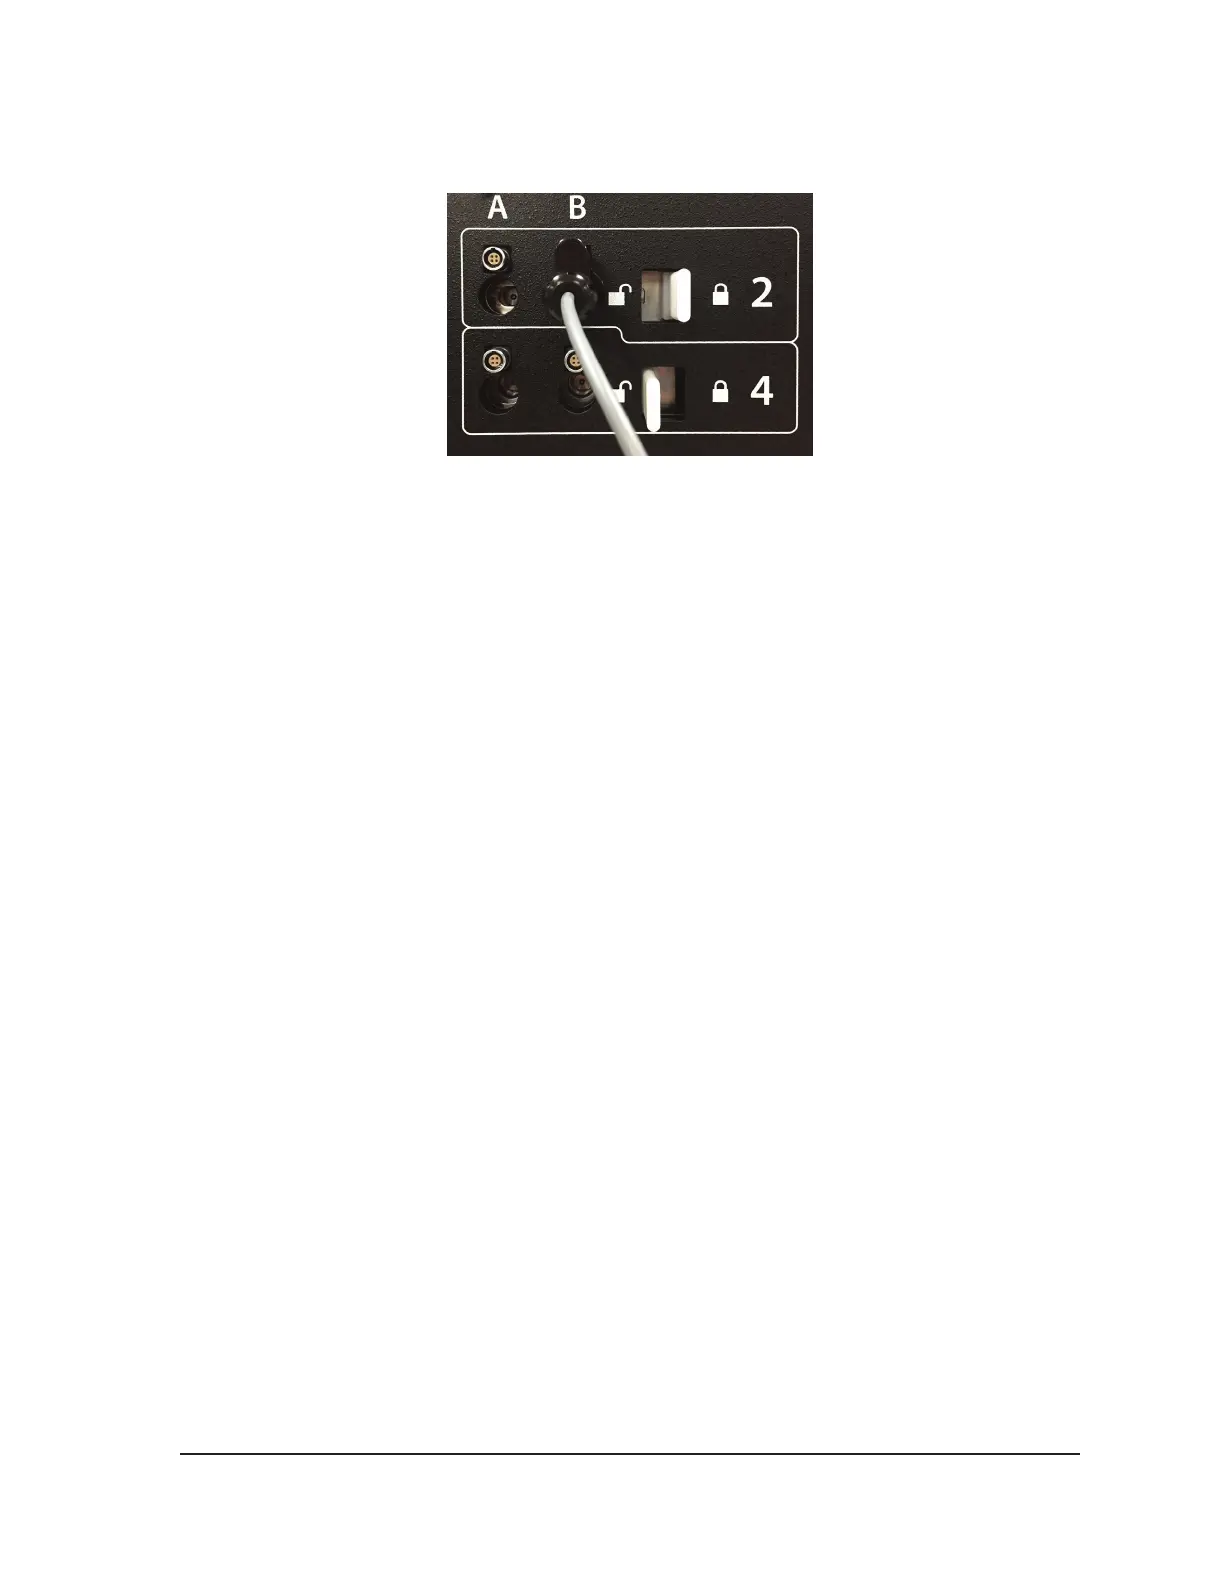
5. After a needle is inserted into the desired channel, lock the channel by sliding the locking bar
away from the center of the system (Figure 5-1).
Figure 5-1. Locking Needle into Channel
6. To allow for easier identication of the needle when multiple cryoablation needles are used during
a cryoablation procedure, it is recommended to place a label on the needle tubing.
NOTE: Contact Galil Medical Customer Service to order labels for the cryoablation needles.
7. Repeat Steps 3 through 6 for each cryoablation needle that will be tested.
CAUTION. Galil Medical recommends that only needles of the same type be placed together in a
single channel. Using needles of diering types in a channel may aect the accuracy of the Gas
Indicator.
When a channel is locked, the software detects connection of the needle and the channel opens for
testing. A dark gray channel button indicates a channel with needles connected.
For CX needles, the ICEfx™ System automatically detects the type of needle being used, the lot
number, and the expiration date of the product. If the system detects that the expiration date has
passed, a message appears indicating that the needle is expired and gas ow to that channel is
disabled.
For non-CX needles, a Passive Thaw Required message box will appear.
• Press the Channel button to open Advanced Channel Controls, which allows you to change
the needle type for a channel, as needed. Reference Section 4.6.7 for more information on
Advanced Channel Controls.
8. Prepare to conduct Needle Integrity and Functionality Testing.
CAUTION. Take care to maintain sterility of each needle during testing.
• Secure the needle tubing to the sterile table prior to beginning the needle testing process.
• Fill a large basin (at least 30 cm in diameter) halfway with sterile water or saline.
• Place the needles, individually or in groups, in the basin such that the full length of the needle
shaft is submerged in the sterile water or saline.
9. Perform the Needle Integrity and Functionality Test on each needle by pressing the Test button
on the channel containing the needle(s) and then pressing the Start button. The 120-second test
automatically conducts a series of ush, freeze, and thaw phases. The durations of these phases
are: 50 second ush with low-pressure argon, 15 second freeze with high-pressure argon, and 55
second thaw with low-pressure argon.
OPTIONAL: Alternatively, all needles may be tested simultaneously by pressing the Start button
on the ALL channel. A message requests conrmation to test all needles. If appropriate, choose
YES.