6-62
COPYRIGHT
©
1999 CANON INC. CANON GP605/605V REV.0 JAN. 1999 PRINTED IN JAPAN (IMPRIME AU JAPON)
CHAPTER 6 IMAGE FORMATION SYSTEM
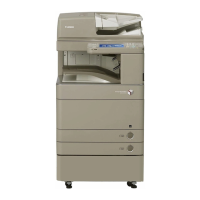
Figure 6-C706
[1]
[5]
Cut-off
Cut-off
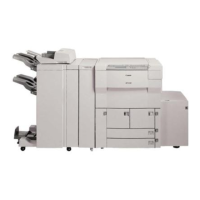
[2] [1][1]
Figure 6-C707
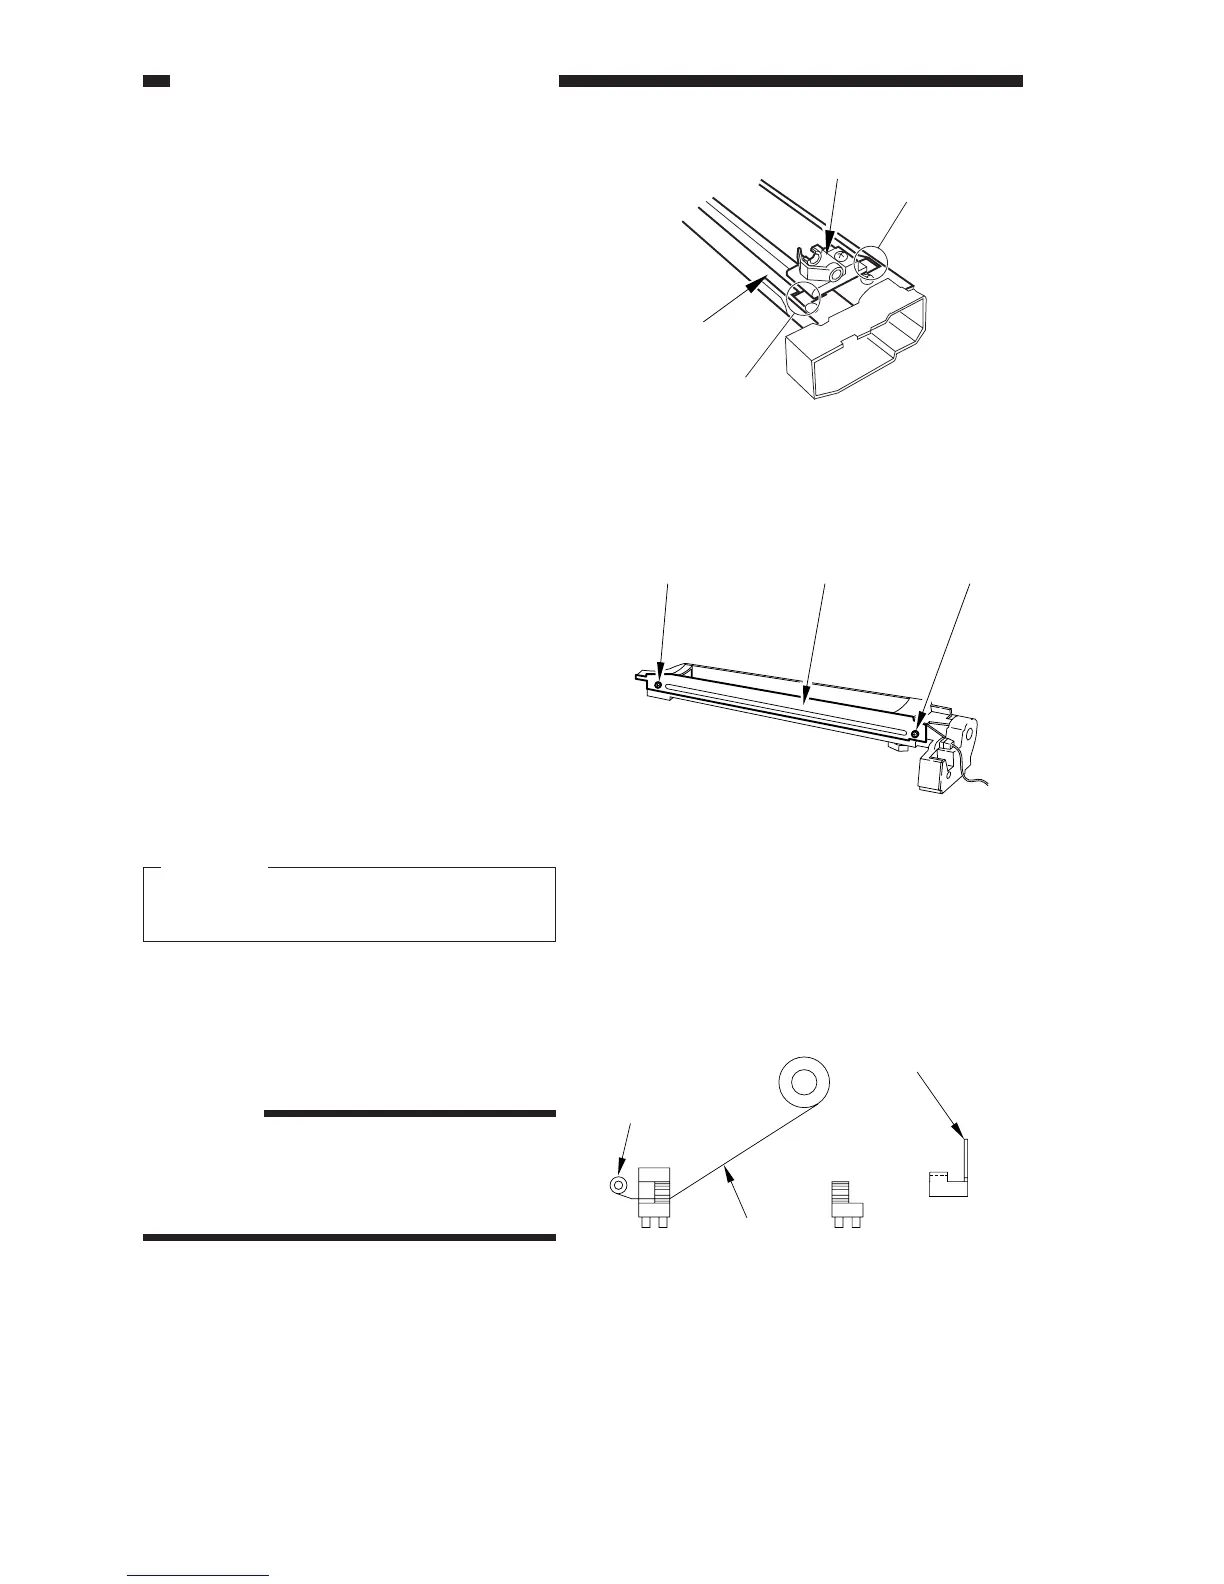
Figure 6-C708
5) Take out the felt holder [1] through the
cut-offs in the shielding plate [5].
6) Pick the wire cleaner with radio pliers, re-
lease the hook with your fingers. (See Fig-
ure 6-C702.)
4. Routing the Charging Wire
As a rule, the charging wire (except the
grid wire) is routed in the same way for all
charging assemblies; the following uses the
charging assembly:
1) Remove the screw one each [1], and de-
tach the shielding plates (left/right) [2].
To prevent deformation (slack) of the pri-
mary charging assembly, be sure to work
on the left and right shielding plates sepa-
rately. (Do not loosen the screws on both
left and right shielding plates.)
2) Remove the wire cleaner.
Caution:
For other charging assemblies, remove
the lids (2 pcs.).
3) Free a length of about 5cm from the
charging wire reel (wire diameter 0.06
mm), and form a loop on the end (2mm in
diameter).
Reference:
When forming a loop, wind the wire
around the hex key once, and twist the
hex key three to four times; then, twist
the charging wire to form a loop easily.
Stud
Reel
Charging
wire
Charging electrode
(front)
(rear)