CHAPTER 13 TROUBLESHOOTING
13-42
COPYRIGHT
©
1999 CANON INC. CANON GP605/605V REV.0 JAN. 1999 PRINTED IN JAPAN (IMPRIME AU JAPON)
1) Make settings in user mode except the following:
• adjust/clean>change middle staple position
• adjust/clean>change double staple width
2) Record the setting of the following in service mode:
• item A
3) Check to make sure that the data lamp on the control panel is off, and turn off the main power
switch.
4) Disconnect the power plug from the power outlet.
Caution:
The machine remains powered as long as the power plug is connected to the power outlet
even after the main power switch has been turned off. Be sure to disconnect the power plug.
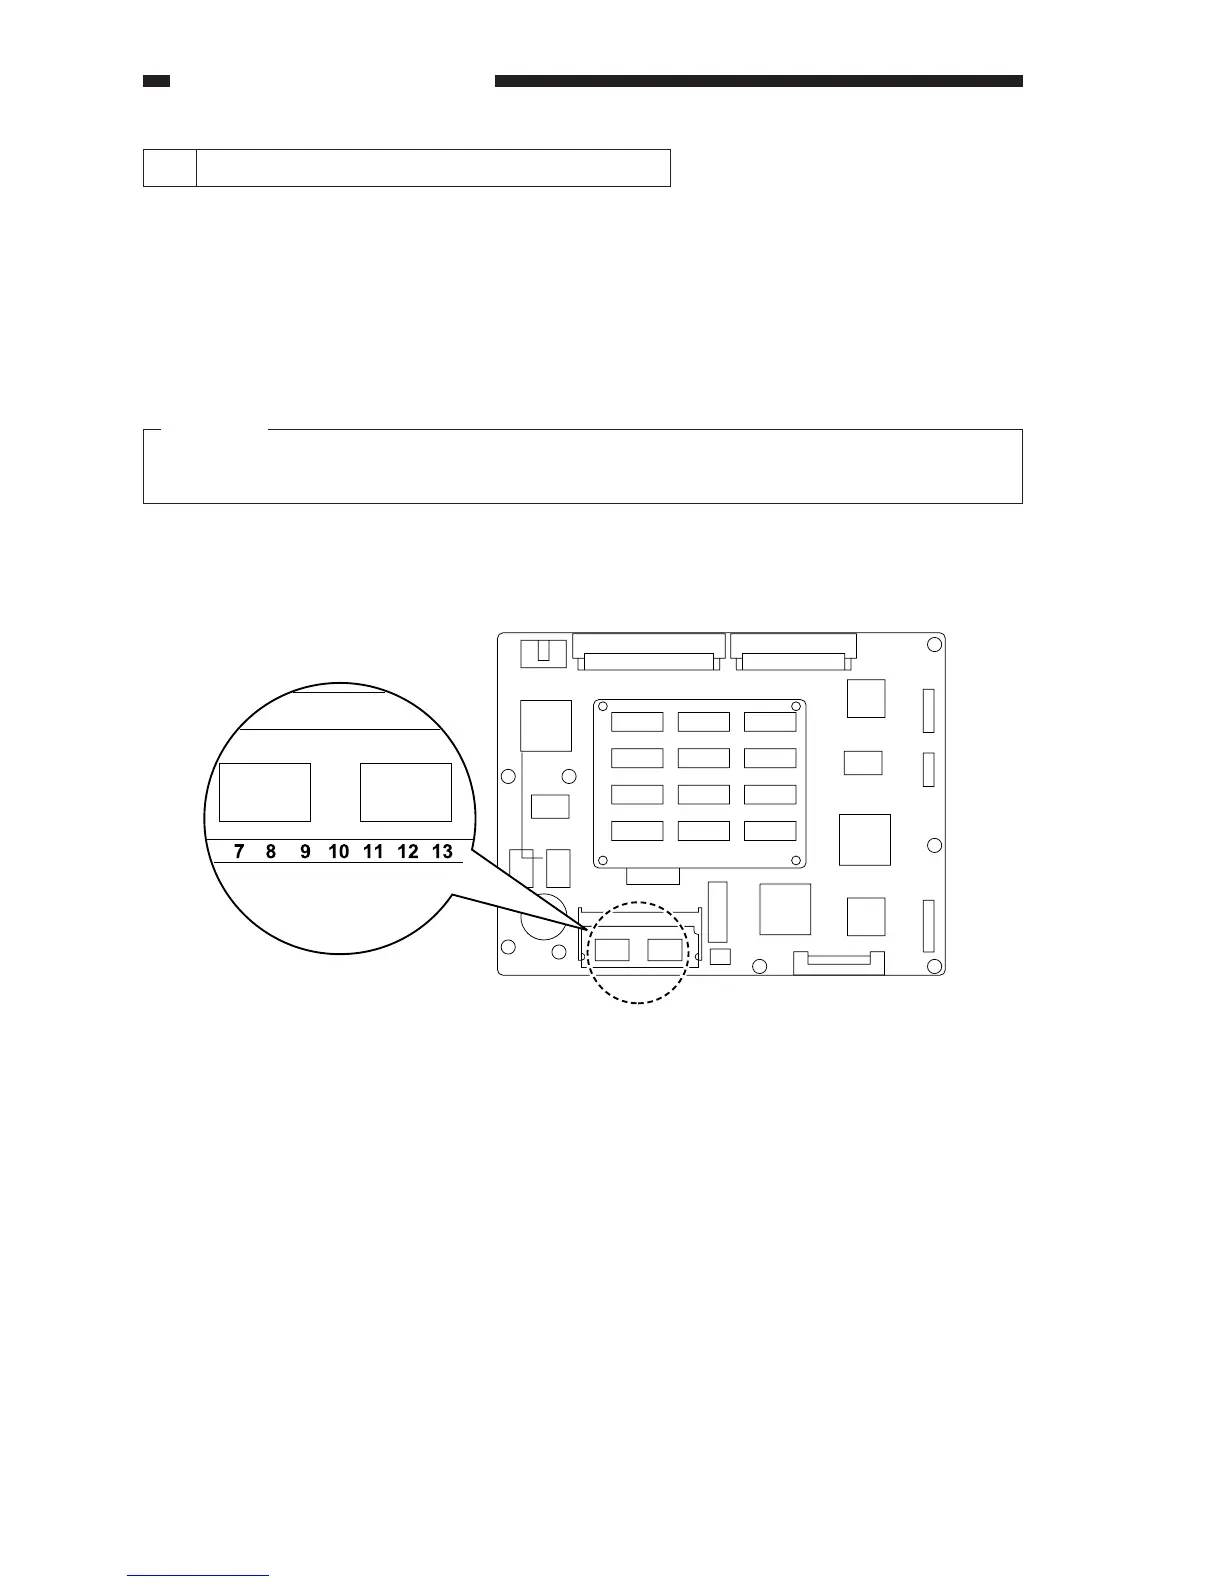
5) Replace the image processor PCB.
6) Take notes of the values (IP-DELAY) recorded on the new image processor PCB.
Figure 13-G201
7) After mounting, connect the power plug, and turn on the main power switch and the control
panel power switch.
8) Execute COPIER>FUNCTION>CLEANER>IP in service mode.
9) Turn off and then on the main power switch, and turn on the control panel power switch.
10) Enter the settings of the user mode/service mode that have been recorded.
11) Execute COPIER>FUNCTION>CCD>CCD-ADJ in service mode.
12) Record the new values when all items of COPIER>ADJUST>CCD and the data of
COPIER>ADJUST>LAMP>L-DATA have been updated.
13) Enter the values from step 6) in service mode (COPIER>ADJUST>LASER>IP-DELAY).
2 After Replacing the Image Processor PCB
 Loading...