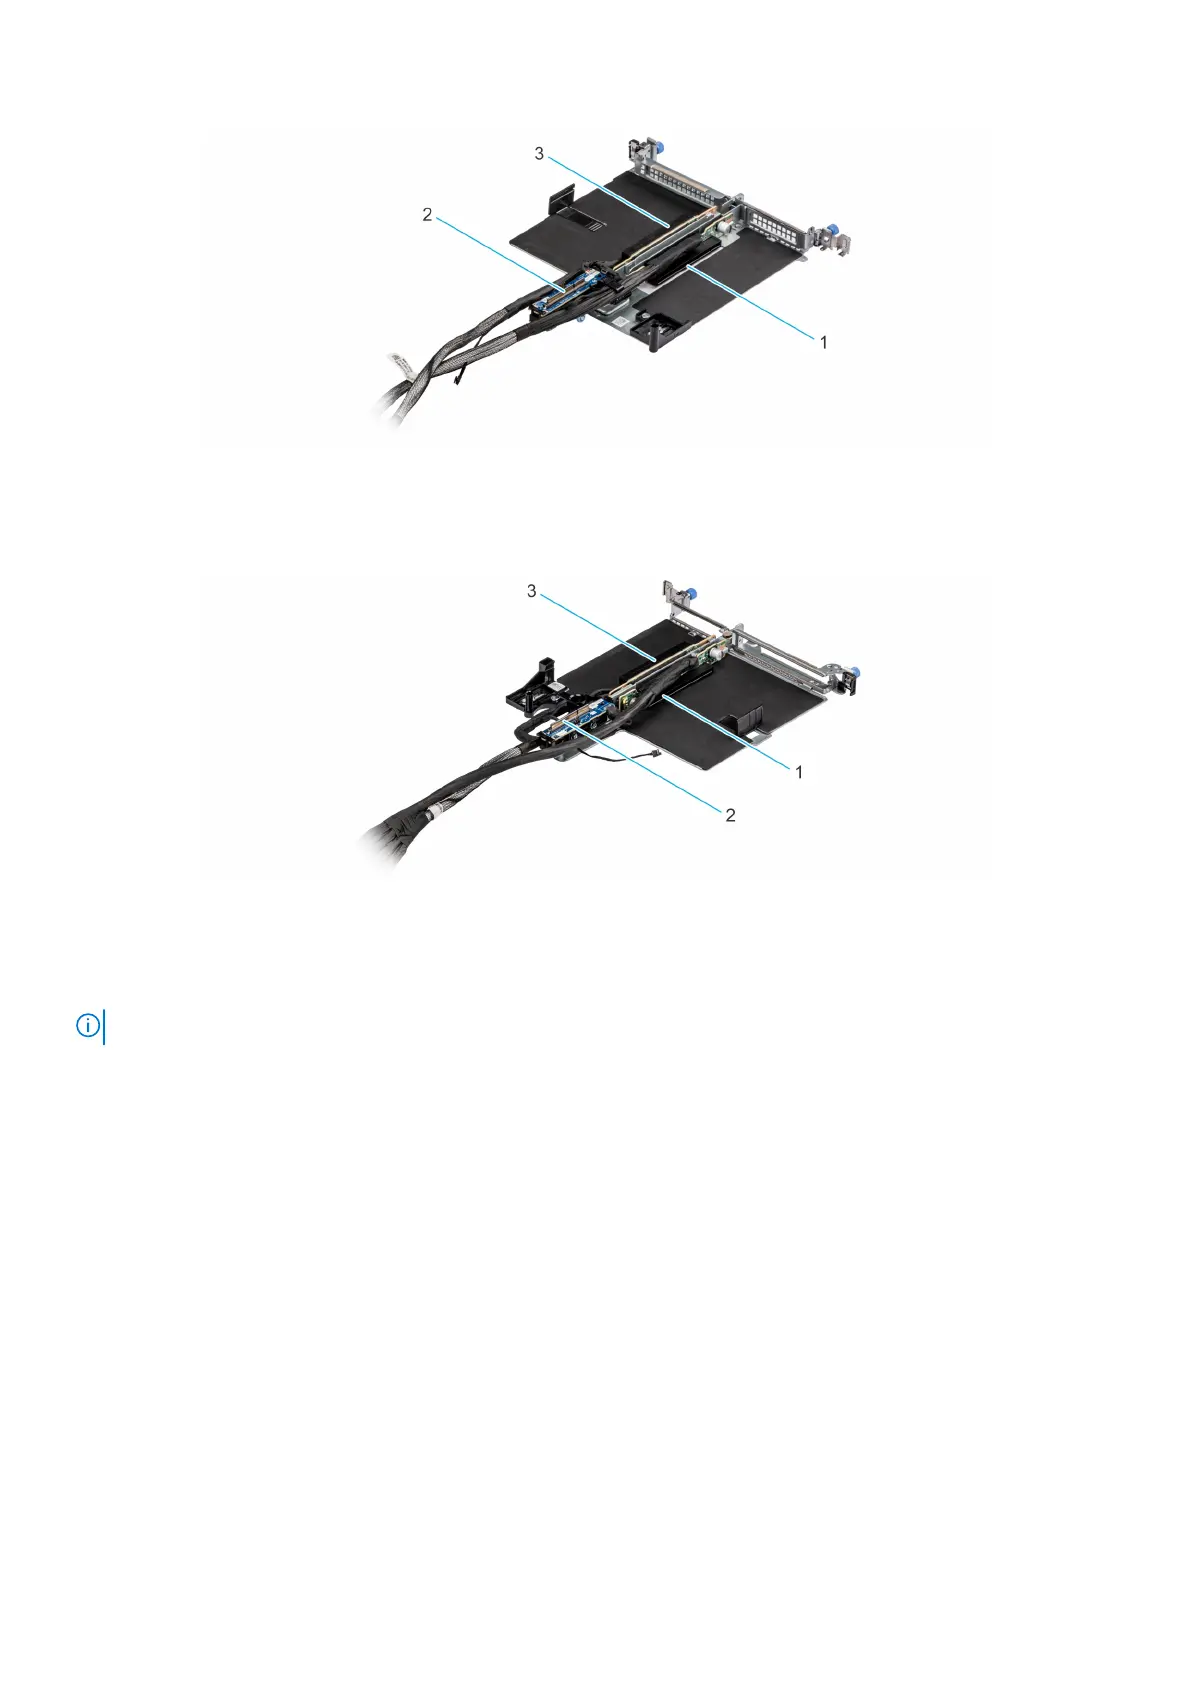
Figure 99. Riser 1B for NVIDIA GPU configuration
1. Slot 2
2. cable connector
3. Slot 1
Figure 100. Riser 4B for NVIDIA GPU configuration
1. Slot 4
2. cable connector
3. Slot 3
NOTE: The expansion-card slots are not hot-swappable.
The following table provides guidelines for installing expansion cards to ensure proper cooling and mechanical fit. The expansion
cards with the highest priority should be installed first using the slot priority indicated. All the other expansion cards should be
installed in the card priority and slot priority order.
Removing the expansion card risers for Intel GPU configuration
Prerequisites
1. Follow the safety guidelines listed in the Safety instructions.
2. Follow the procedure listed in the Before working inside your system.
Steps
1. For Riser 1A and Riser 4A, using a Phillips 2 screwdriver, loosen the blue thumb screw on the riser.
2. Disconnect any cables that are connected to the expansion card or the riser.
3. Pull the plunger toward the front of the chassis to unlock the riser.
4. Lift the expansion card riser from the riser connector on the system board.
124
Installing and removing system components