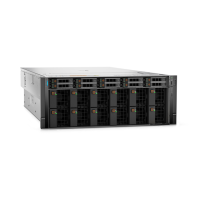
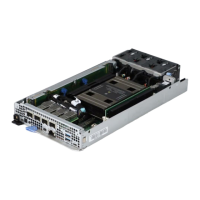
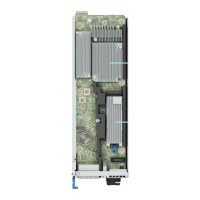
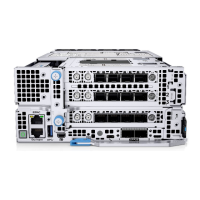
Figure 116. Installing the lower brace cover
Next steps
1. Install the Storage tray.
2. Reconnect the intrusion switch bridge cable from the storage tray that is connected from the system board. Reconnect the
drive backplane cables, BOSS power and signal cables, signal cable on the PDB2, fan board cables on the connector of the
storage tray. Reconnect the VSB power cables on the system board.
3. Install the cable cover.
4. Follow the procedure listed in After working inside your system.
.
Processor and Direct Liquid Cooling module
This is a service technician replaceable part only.
Removing the Direct Liquid Cooling module
Prerequisites
1. Follow the safety guidelines listed in the Safety instructions.
2. Follow the procedure listed in the Before working inside your system.
3.
WARNING:
The Direct liquid cooling (DLC) module and processor are too hot to touch for some time after the
system has been powered off. Allow the liquid cooling module and processor to cool down before handling
them.
Remove the storage tray for Intel GPU configurations or Remove the storage tray for NVIDIA GPU configurations .
4. Remove the lower brace cover for Intel GPU configurations or Remove the lower brace cover for NVIDIA GPU
configurations .
Steps
1. Using the two fingers, lift the turtle shell from the DLC module.
136
Installing and removing system components

 Loading...


