Installing the BOSS-N1 module
Prerequisites
1. Follow the safety guidelines listed in the Safety instructions.
2. Follow the procedure listed in the Before working inside your system.
3. Remove the riser 1A for Intel GPU configurations or Remove the riser 1B for NVIDIA GPU configurations.
Steps
1. Align the BOSS-N1 module at an angle with the controller card module slot.
2. Insert the BOSS-N1 module and push the module horizontally toward the rear of the system until firmly seated.
3. Using the Phillips 1 screwdriver, secure the BOSS-N1 module with the M3 x 0.5 x 4.5 mm screw.
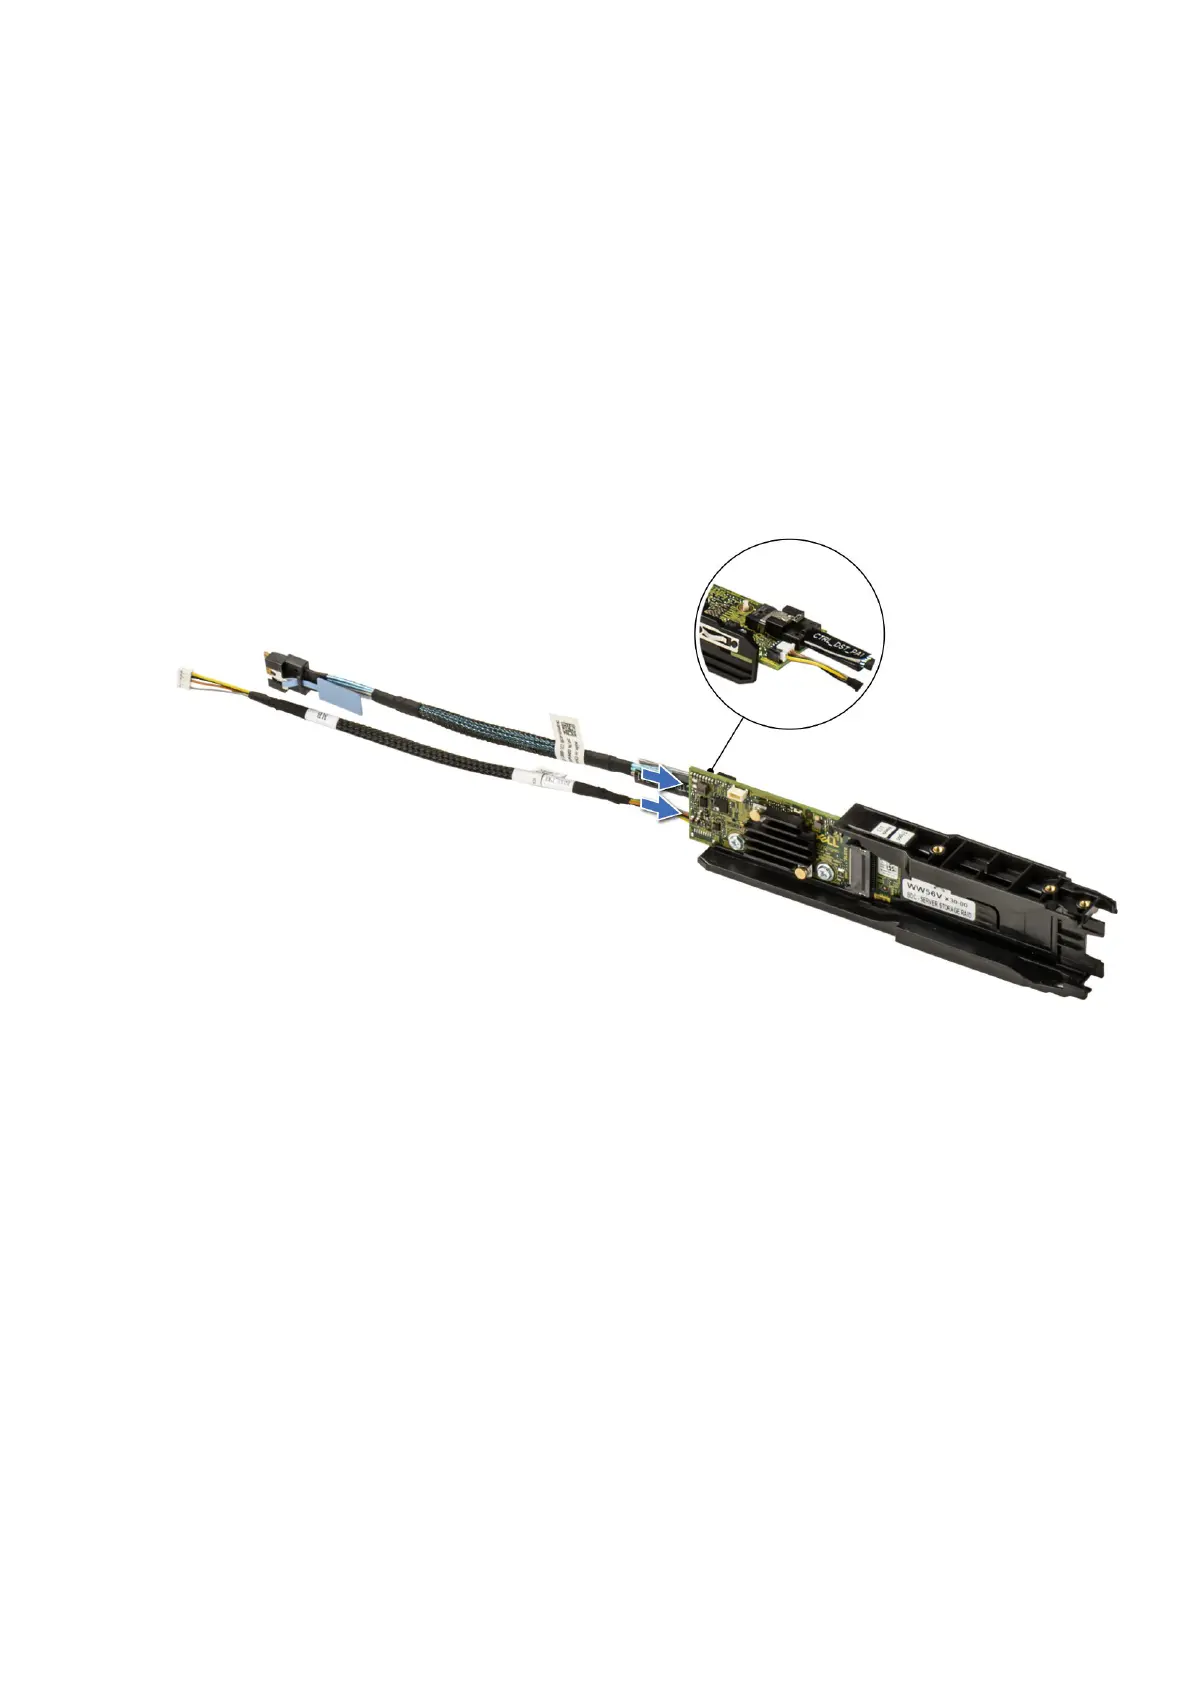
4. Connect the BOSS-N1 power and signal cables to the connectors on the BOSS-N1 module.
Figure 56. Connecting the BOSS-N1 power and signal cables to the BOSS-N1 module
5. Connect the BOSS-N1 power and signal cable to the connectors on the system board by routing through the DLC module,
install the turtle shell and then install the cable cover.
92
Installing and removing system components