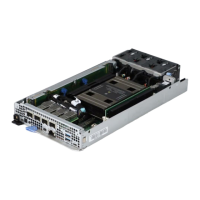
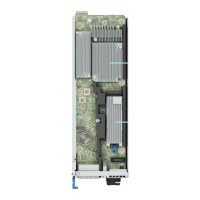
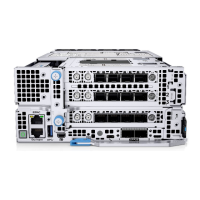
Figure 262. Installing the protective cover
3. To lock the GPU assembly to the chassis, follow the steps that are mentioned below:
a. Lift the GPU assembly handle to extend the clips.
b. Fit the clips into the holders.
c. Lower the GPU assembly handle to ensure the clips that are connected and the GPU assembly is secured.
Figure 263. Locking the GPU assembly handle
4. Using the Torx 15 screwdriver, tighten the screws securing the GPU board into the chassis. Tighten the captive screws
securing the GPU board to the GPU tray. Reconnect the power cables on to the GPU board.
Installing and removing system components
239

 Loading...


