Get started with MicroPython Use picocom in Linux
Digi XBee® 3 Zigbee® RF Module
38
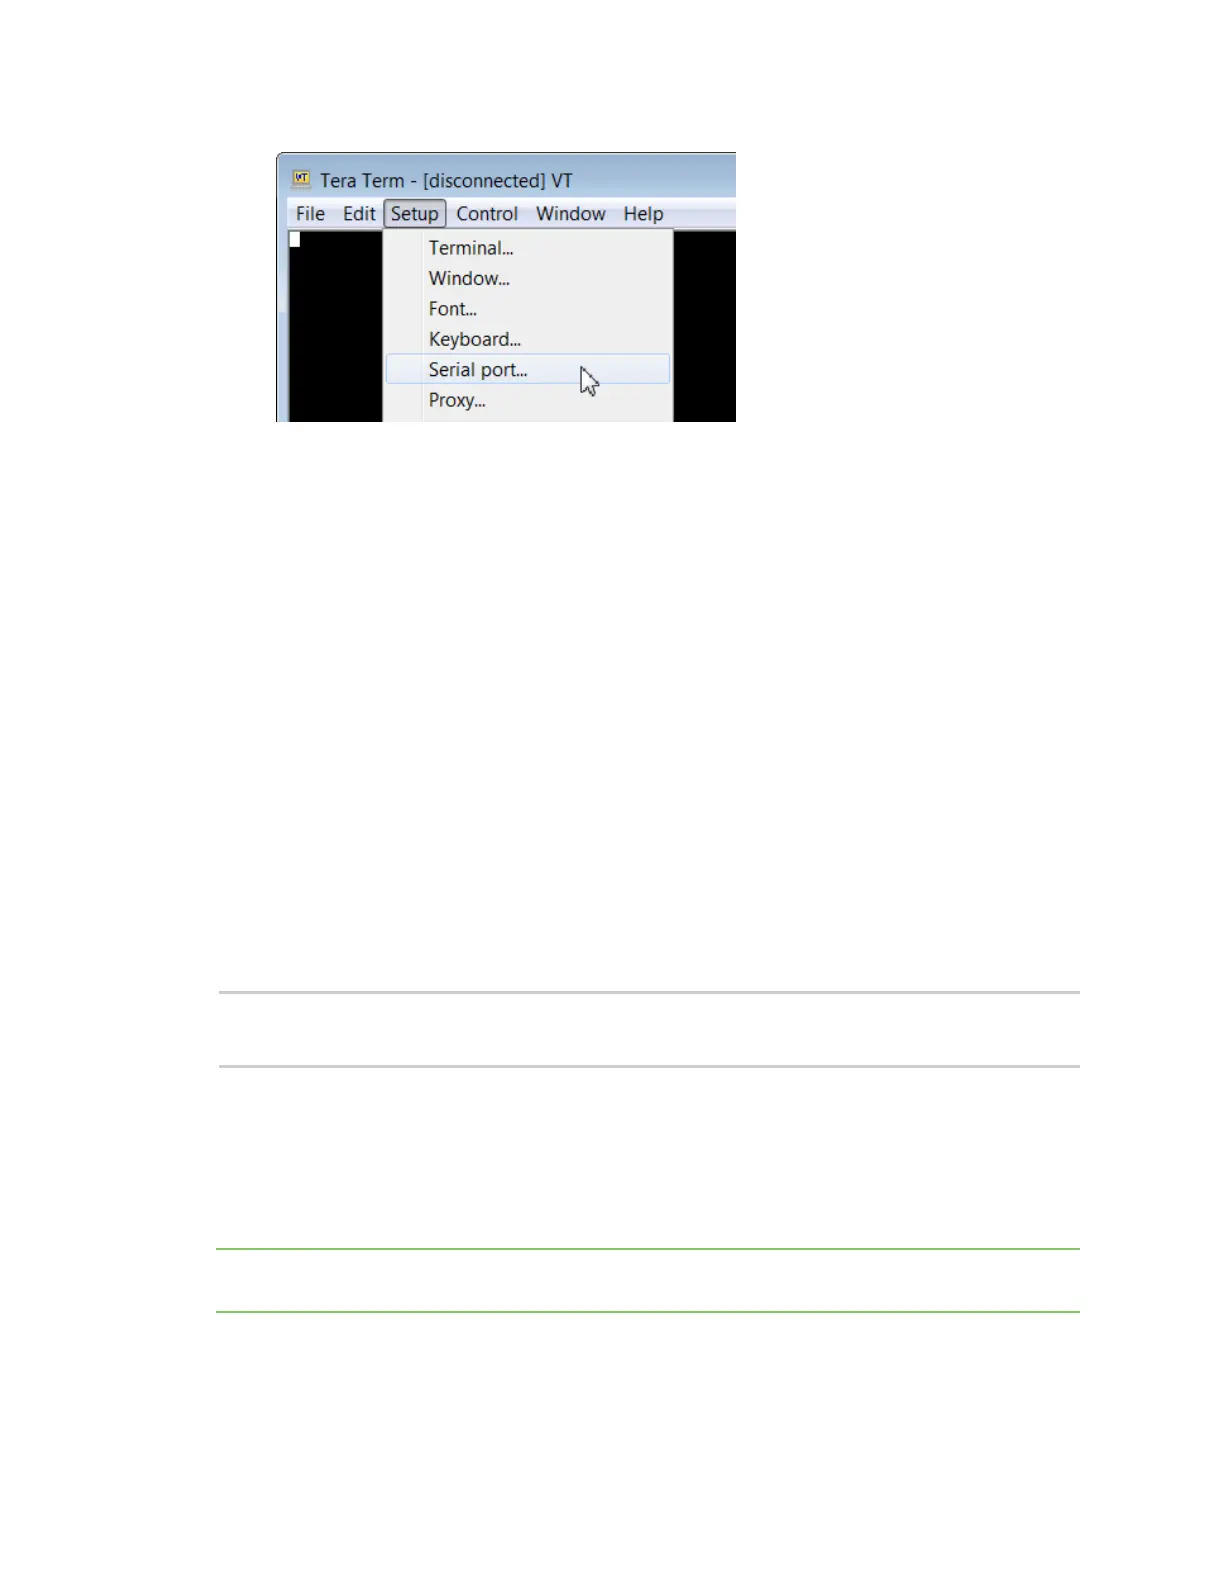
6. In the Tera Term: Serial port setup window, set the parameters to the following values:
n Port: Shows the port that the XBee 3 Zigbee RF Module is connected on.
n Baud rate:115200
n Data: 8 bit
n Parity: none
n Stop: 1 bit
n Flow control: hardware
n Transmit delay: N/A
7. Click OK to apply the changes to the serial port settings. The settings should go into effect
right away.
8. To verify that local echo is not enabled and that extra line-feeds are not enabled:
a. In Tera Term, click Setup and select Terminal.
b. In the New-line area of the Tera Term: Serial port setup window, click the
Receive drop-down menu and select AUTO if it does not already show that value.
c. Make sure the Local echo box is not checked.
9. Click OK.
10. Press Ctrl+B to get the MicroPython version banner and prompt.
MicroPython v1.9.3-716-g507d0512 on 2018-02-20; XBee3 Zigbee with EFR32MG
Type "help()" for more information.
>>>
Now you can type MicroPython commands at the >>> prompt.
Use picocom in Linux
With the XBee 3 Zigbee RF Module in MicroPython mode (AP = 4), you can access the MicroPython
prompt using a terminal.
Note The user must have read and write permission for the serial port the XBee 3 Zigbee RF Module is
connected to in order to communicate with the device.
1. Open a terminal in Linux and type picocom -b 115200 /dev/ttyUSB0. This assumes you have
no other USB-to-serial devices attached to the system.