30 Installing the enclosures
Figure 20 Opening and closing a 2U16 drawer: pull or push drawer along slide
To close the drawer, simply slide the drawer into the enclosure along the drawer slide until it properly seats
in the drawer bay. Take care to ensure there are no loose cable wires protruding beyond the limits of the
igus chainflex cable. After closing the drawer, revolve the handle downwards such that it is flush with the
drawer front panel—in its stowed position—and tighten the Torx screw before re-attaching the bezel to the
front of the enclosure.
Aligning an AMS or disk module for installation into a 2U16 drawer
Once you have opened the drawer, you can access the disk bays. The enclosure uses an SFF sledded disk
positioned to lay on its side—with the disk PCBA facing up—for insertion into the disk slot within the
drawer. Each disk is mated to a connector on the drawer PCBA. In the absence of quantity-four disks, the
enclosure uses an AMS insert within disk bays to manage air flow within the enclosure, to help maintain
optimal operating temperature. A new AMS is also available for single disk slots.
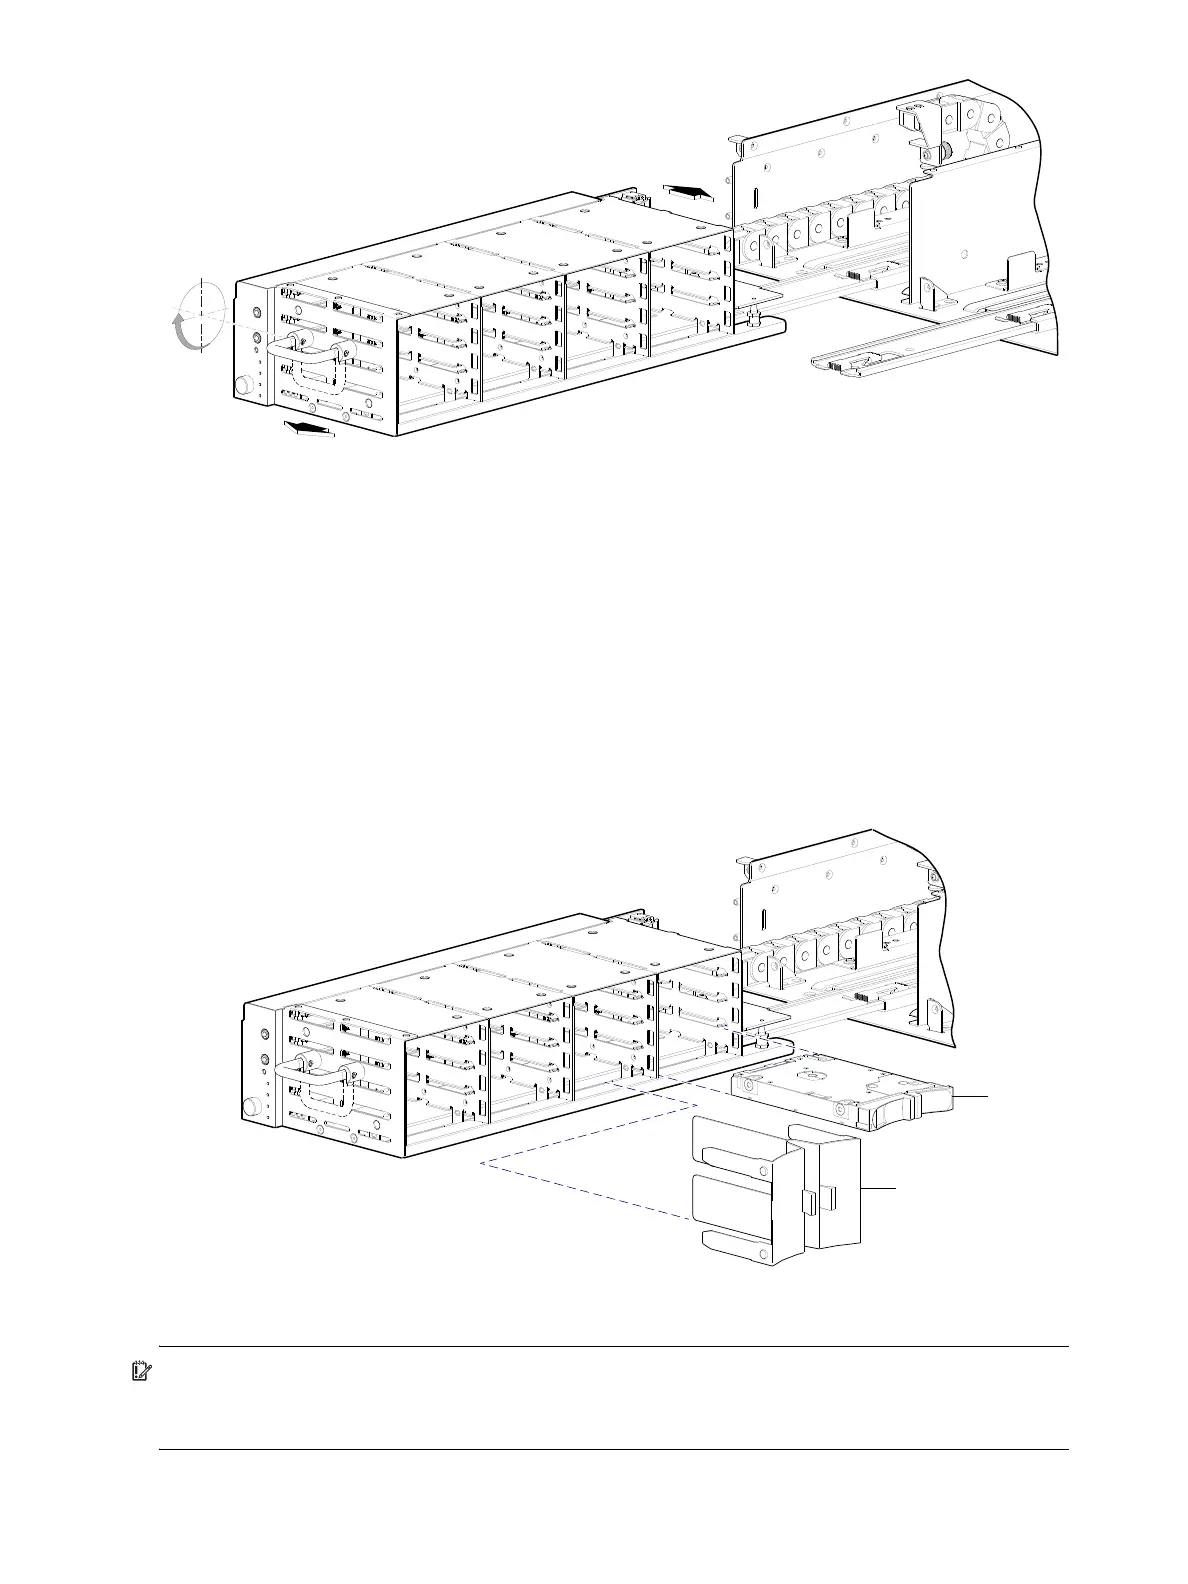
Figure 21 Align AMS or disk module for installation into the 2U16 drawer
IMPORTANT: Each disk bay must be populated with either a full complement of four disk drive modules, a
disk bay AMS insert (shown above), or a combination of disks and single disk slot AMS inserts (see
Figure 24 on page 31). Empty disk slots are disallowed.