AssuredSAN 4004 Series Setup Guide 31
Installing an AMS into a 2U16 drawer
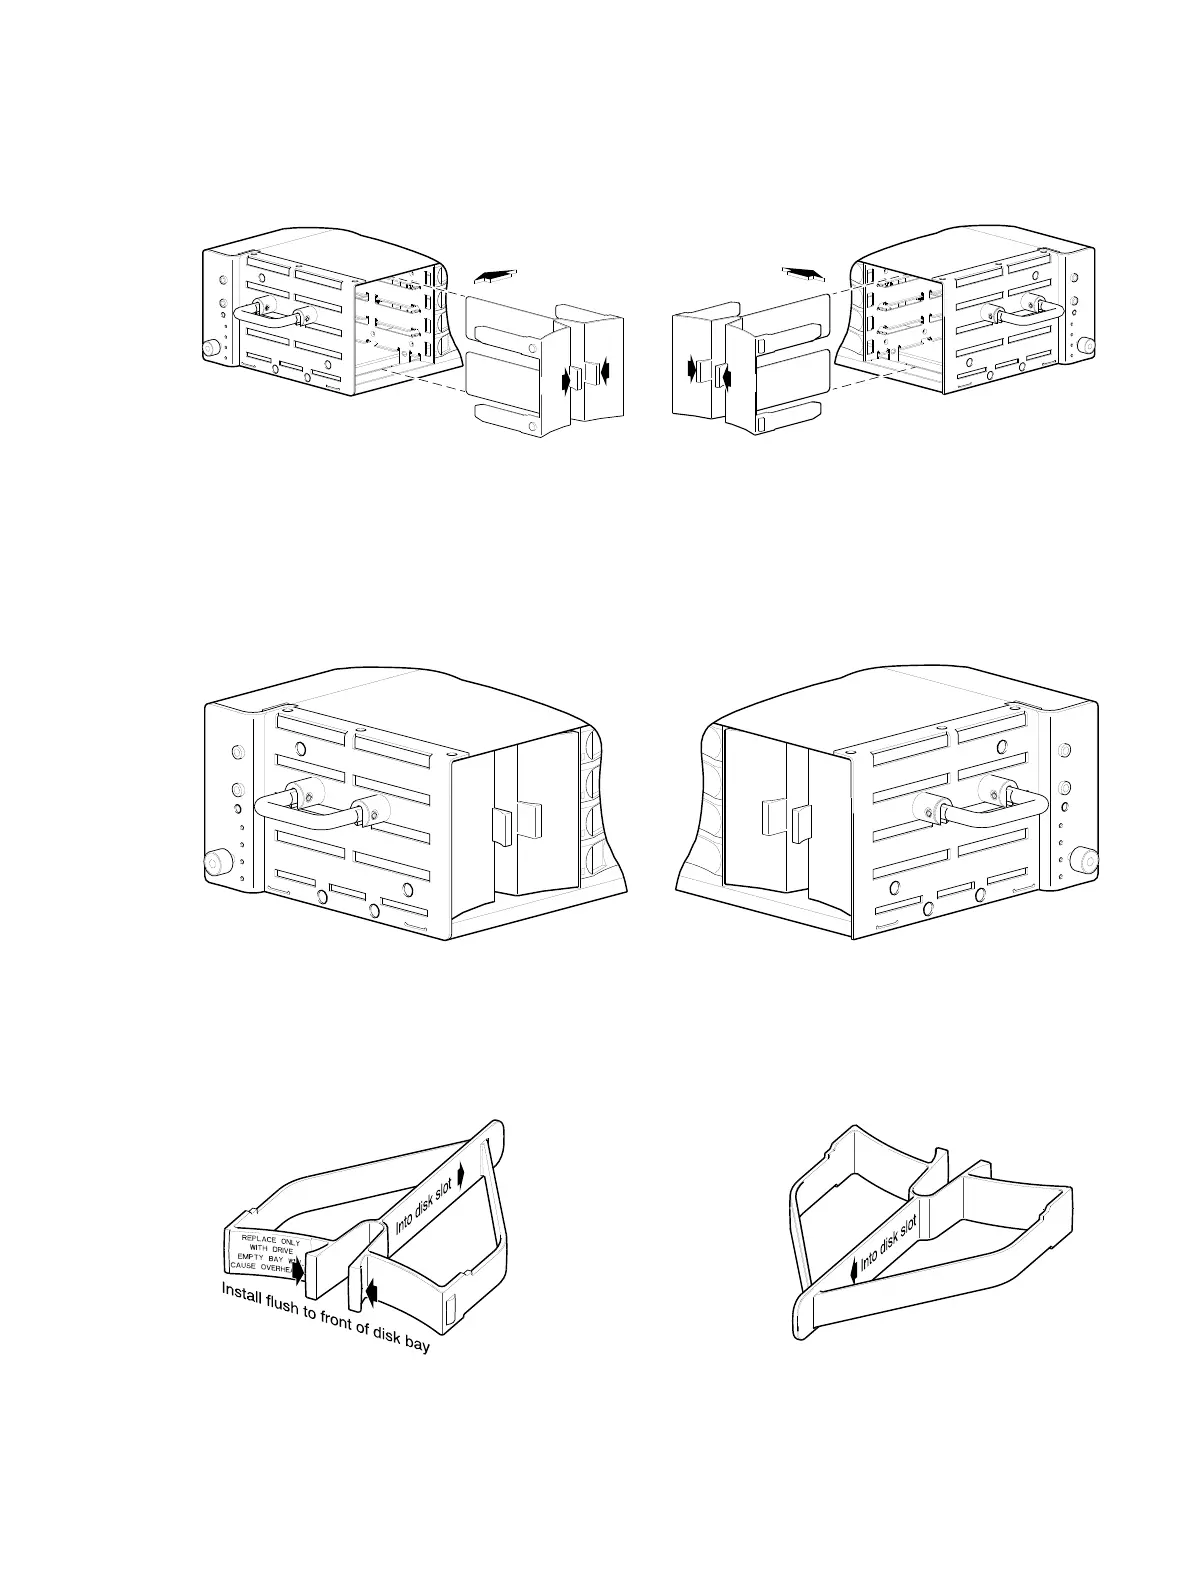
Refer to Figure 22 when orienting the AMS for insertion into the target drawer. If you are installing into the
left drawer or middle drawer, refer to the illustration on the left when performing this step-procedure. If you
are installing into the right drawer, refer to the illustration on the right when performing this step-procedure.
Figure 22 Orient the AMS for installation (2U48)
1. Squeeze the latch release flanges together—so that the locking-nib will clear the sheet metal bay
wall—and insert the AMS into the target disk bay.
2. Verify that the AMS is firmly seated in place.
The installed disk drive modules and AMS inserts should now appear as shown in the sectioned
cutaway views of the respective drawers in Figure 23.
Figure 23 Secure the AMS into the disk bay (2U48)
If using the new single disk slot AMS insert shown in Figure 24, the insertion steps are essentially the same
as those described for Figure 22 and Figure 23 above; however, they pertain to a single disk slot rather
than a disk bay (four vertically-contiguous disk slots).
Figure 24 AMS insert for a single disk slot (2U48)
Align AMS for insertion into disk bay
Right drawerLeft or middle drawer
Right drawerLeft or middle drawer
The single disk slot AMS insert
is slated to replace the disk
bay AMS insert over time.