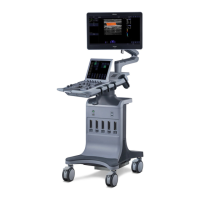
Acclarix LX9 Series Diagnostic Ultrasound System User Manual
6.4
Needle Biopsy Guide
NOTE:
Use proper sterile technique at all times when performing a biopsy.
Always follow these basic precautions:
1. The needle guide bracket kits are not disinfected or sterilized before delivery. Sterilize the needle
guide kit before the first use and after each use.
2. Calibrate the needle guide kit (see section 6.4.3) under any of the following conditions:
a) The first time that each bracket/transducer combination is used.
b) If the bracket or transducer head is dropped or struck, or has evidence of wear.
c) If previous use has shown some drift of the needle from the center of the guidelines.
3. The displayed needle guide pathway on the EDAN video monitor is intended for reference during
biopsy procedures. A variety of factors outside EDAN‟s control, such as changing tissue density,
bending of the needle, off-axis pressure by the person holding the transducer, etc., may cause
deflection of a needle outside of the displayed video pathway even when the transducer, needle
guide, and the system software are all performing as intended and within manufacturing
specification. The specialist performing a biopsy procedure must be aware of potential external
factors when performing an invasive procedure.
4. Do not freeze the system when performing a biopsy.
5. EDAN needle guides are designed and manufactured to attach firmly to designated transducers
and should not require excessive force to assemble or disassemble. Do not use a needle guide
that requires excessive force or manipulation to assemble or disassemble.
6. A single-use sheath should be used on transducer when performing a biopsy.
6.4.1. Installing Needle Guide Bracket
1. For illustration purpose only, transducer and bracket may be shown without a protective sheath.
Always place a protective sheath on transducer and bracket to protect cross infection.
BGK-C5-2/BGK-002/ BGK-004/BGK-007/BGK-008/BGK-009/BGK-010/BGK-012/BGK-P5-1X
The installation steps for these brackets are the same. Here we take one bracket for illustration.

 Loading...