Acclarix LX9 Series Diagnostic Ultrasound System User Manual
7.4.3. Full Screen Zoom
Full screen zoom function can zoom in the image to full screen display.
1. Configure the function of user-defined key <F1> or <F2> as full screen zoom (See section 10.1.2
for details).
2. Press the user-defined key <F1> or <F2> to zoom in the image area and image parameter area.
3. Press the user-defined key <F1> or <F2> again to zoom in the image area only.
4. Press the user-defined key <F1> or <F2> again to exit the full screen zoom.
7.5
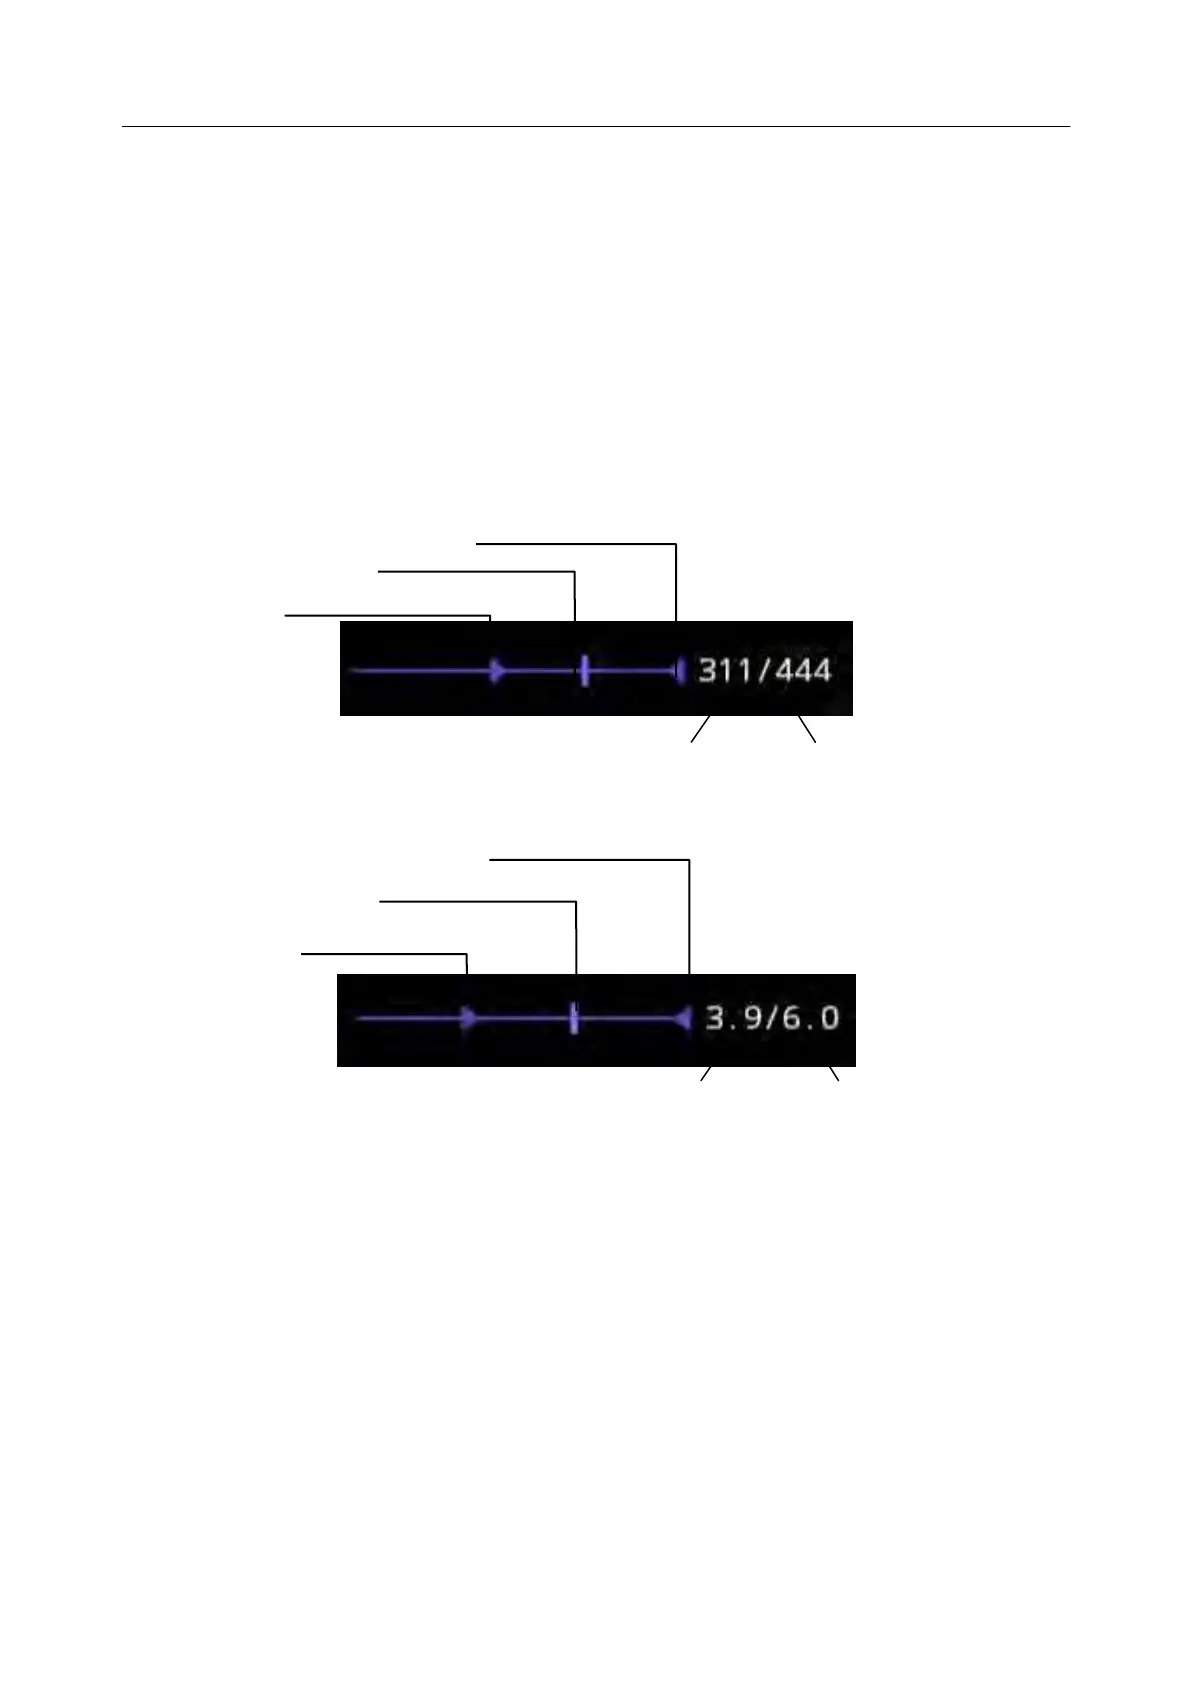
Cine Review
Press <Freeze> key on the console to freeze the image or select a stored cine clip, and the cine bar is
displayed on the bottom of the screen, as shown below.
Figure 7-3 Typical Cine Bar in B/Color Mode
Figure 7-4 Typical Cine Bar in PW/CW/M/CM Mode
The cine can be reviewed manually or automatically.
Manual Review:
Move the trackball to review the cine frame by frame. As the trackball moves, the current cine number
is displayed on the right of the cine bar.
Auto Review:
1. Set the start frame: in manual review status move the trackball to review frame by frame until the
frame that you want to set as the start point, press Set Start button on the touch screen to select
a frame as the start frame.
2. Set the end frame: in manual review status, move the trackball to review frame by frame until the
frame that you want to set as the end point, press Set End button on the touch screen to select a
frame as the end frame.
 Loading...