Acclarix LX9 Series Diagnostic Ultrasound System User Manual
Export Format: This location displays export format for files. BMP, JEPG and TIF formats are
available for static images. AVI and WMV formats are available for clips. All exam data can be
exported as DICOM and RawData files.
Send/Burn: Pressing this will send/burn the highlighted exam(s) to the destination. This button is
available when one or more exams are selected.
Working with one study:
A study is selected by clicking on it. When a study is selected thumbnail images from that study
are shown on the right side of the screen. Operations such as editing report, reviewing, deleting
and restarting of the selected study can be accessed on the touch screen.
A study can also be send to a network server, saved to a USB device or DVD drive, or deleted. If
the study has been copied to either a server or to a USB device or DVD drive a small save icon
appears next to it, indicating that it has been saved.
CAUTION:
Studies stored on the system hard drive should be archived regularly. The system is not
intended for long term storage of patient information. Confirm successful archiving before
deleting a study from the hard drive.
Working with multiple studies:
Multiple studies can be selected by clicking the small box at the left of each listed study. Multiple
studies can be stored to a network server, saved to a USB device or DVD drive, or deleted. Only
one study can be reviewed at a time.
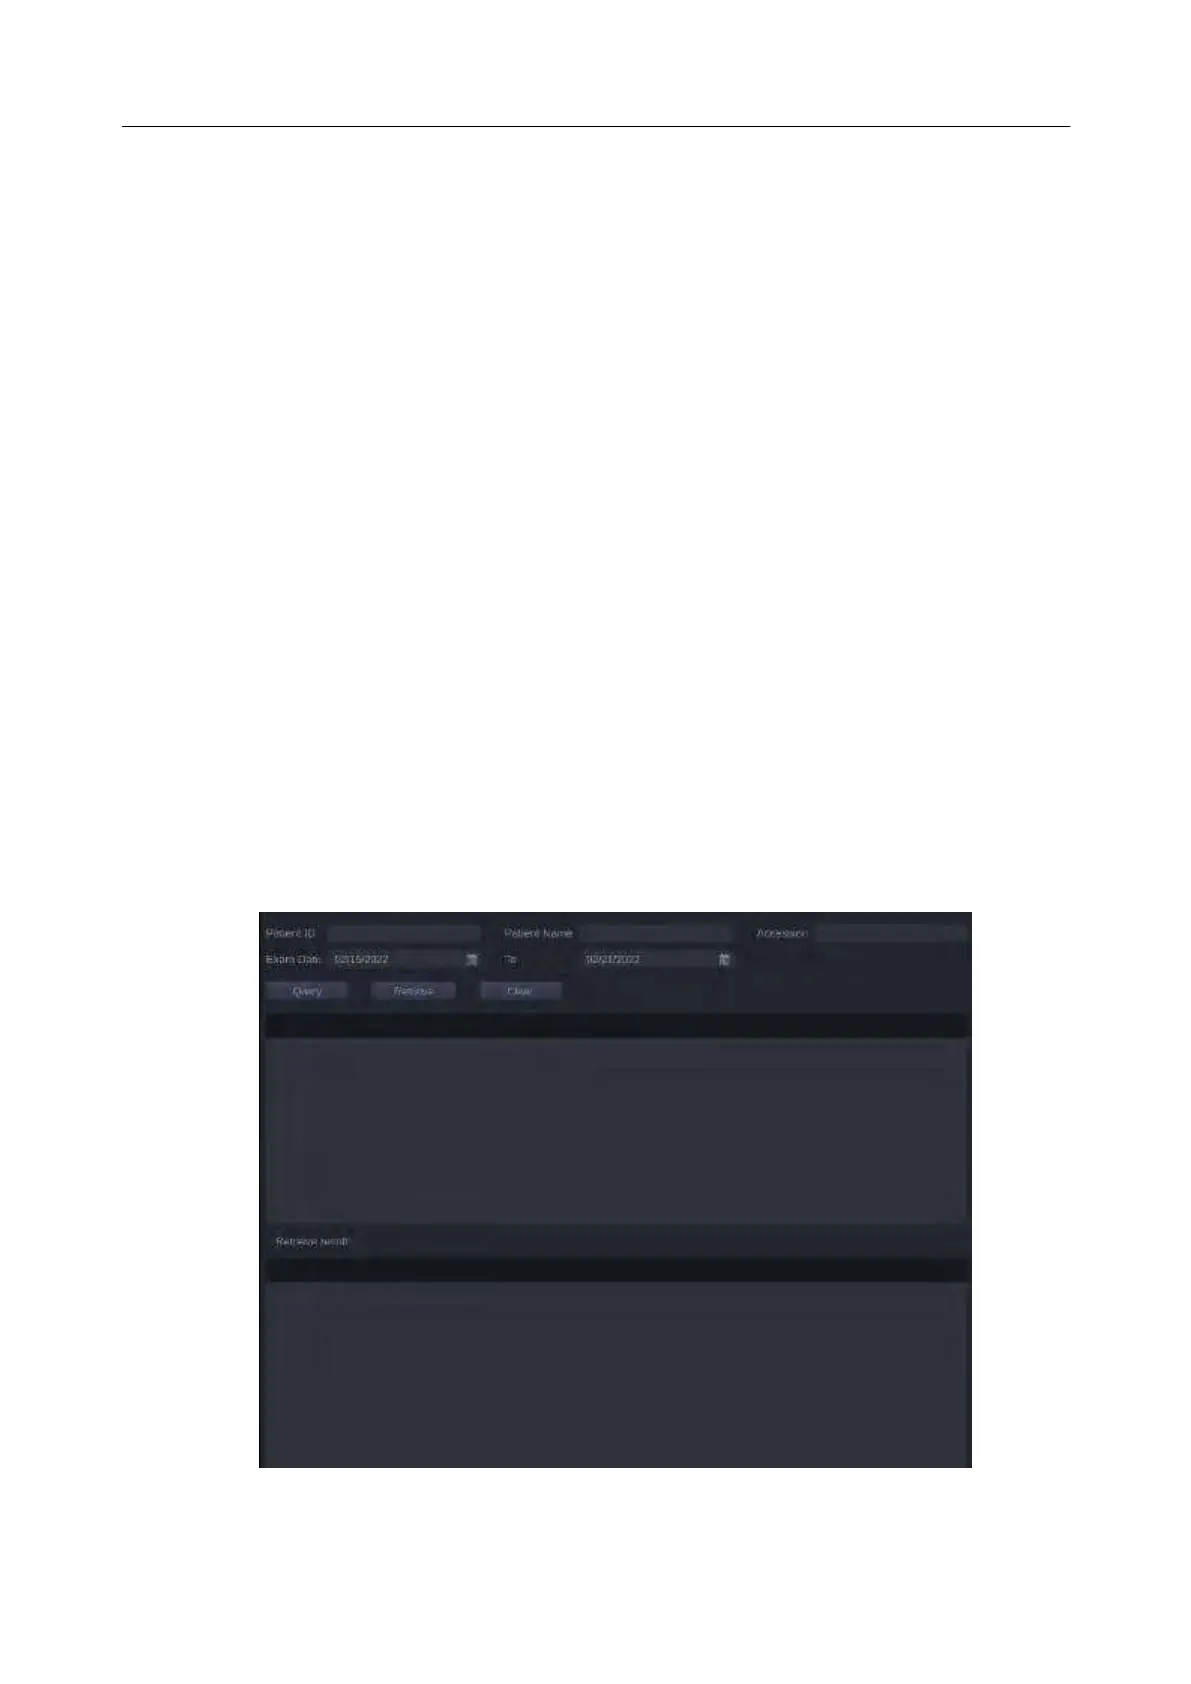
Query/Retrieve:
Pressing this will open the Query/Retrieve page, as shown below, where you can enter key words and
query prior exams from the configured DICOM Server. To configure the DICOM server, please see
section 10.6.2.
Figure 9-3 Query/Retrieve Page
Patient ID, Patient Name, Accession: enter the key words for query.
 Loading...