19
DASHBOARD
AND CONTROLS
SAFETY
STARTING
AND DRIVING
WARNING LIGHTS
AND MESSAGES
IN AN EMERGENCY
MAINTENANCE
AND CARE
TECHNICAL
SPECIFICATIONS
INDEX
fig. 17
SETUP MENU Fig. 18
The menu comprises a series of functions arranged in a cy-
cle which can be selected through buttons ▲ and ▼ to
access the different select operations and settings (setup)
given in the following paragraphs.
The setup menu can be activated by briefly pressing but-
ton
MODE.
Single presses on buttons ▲ and ▼ will scroll the setup
menu options.
Handling modes differ with each other according to the
characteristic of the option selected.
Selecting a menu option
– Briefly press button
MODE to select the menu option
that needs to be changed;
– press buttons ▲ and ▼ (by single presses) to select the
new setting;
– briefly press button
MODE to store the new setting and
at the same time go back to the previously selected menu
option.
Selecting “Set Clock”
– Briefly press button
MODE to select the first value to
change (hours);
– press buttons ▲ and ▼ (by single presses) to select the
new setting;
– briefly press button
MODE to store the new setting and
go to the next setup menu option (minutes);
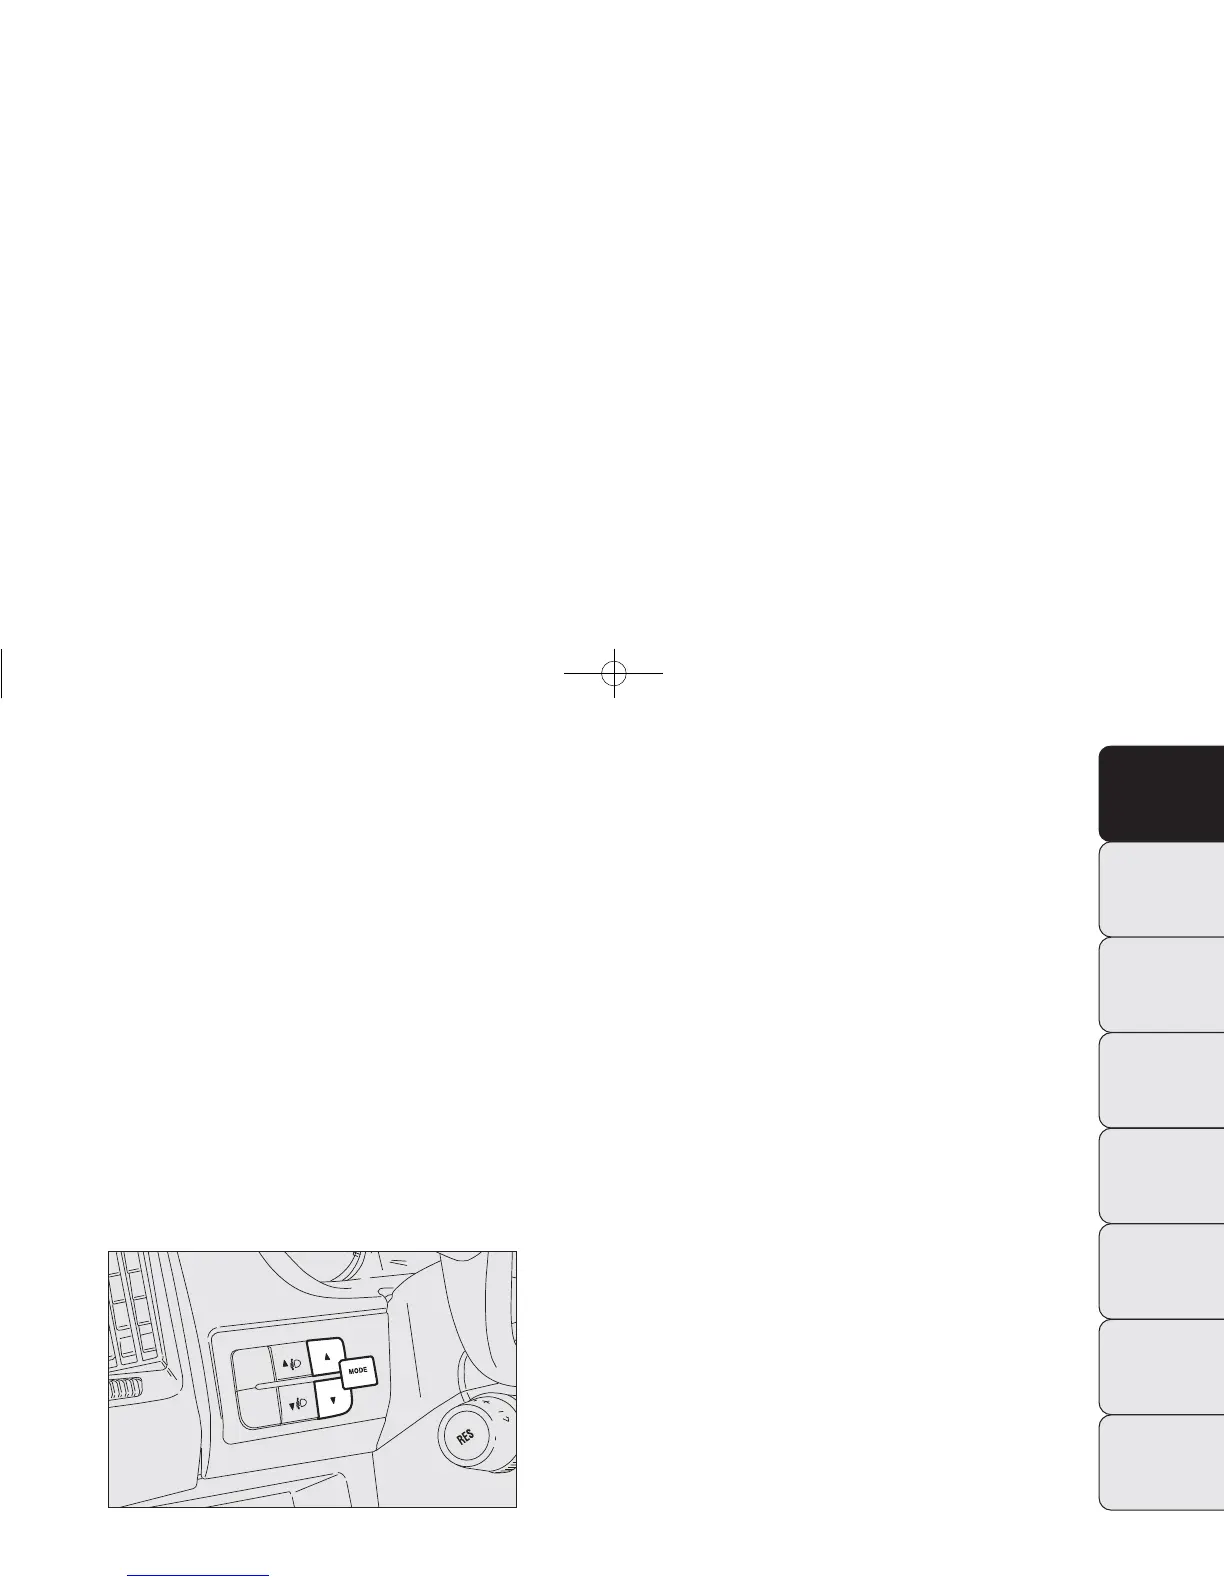
CONTROL BUTTONS fig. 17
▲ To scroll the displayed menu and the related options
upwards or to increase the value displayed.
MODE Press briefly to access the menu and/or go to
next screen or to confirm the required menu op-
tion. Hold down to go back to the standard
screen.
▼ To scroll the displayed menu and the related options
downwards or to decrease the value displayed.
NOTE Buttons
▲ and ▼ activate different functions
according to the following situations:
Setup menu
– within the menu, they allow you to scroll up and down
through the options;
– during setting operations they allow an increase or de-
crease.
001-036 DUCATO LUM EN 11-02-2010 13:53 Pagina 19