Revision 1 32 9/10/2019
The application software is located in the Software folder. It is not necessary to transfer the
contents of the CD to your computer as the application program will install itself in a
designated folder on the hard drive. Open the folder and double click on the executable file
(GAS903W_vxxx_date.exe) to install the program. xxx is the version number and the date of
generation the file will be indicated (e.g. GAS903W_v100_Aug.15, 2011a indicates version
100a, generated on August 15, 2011). If you have any questions about the software, please
include the version number.
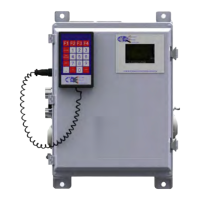
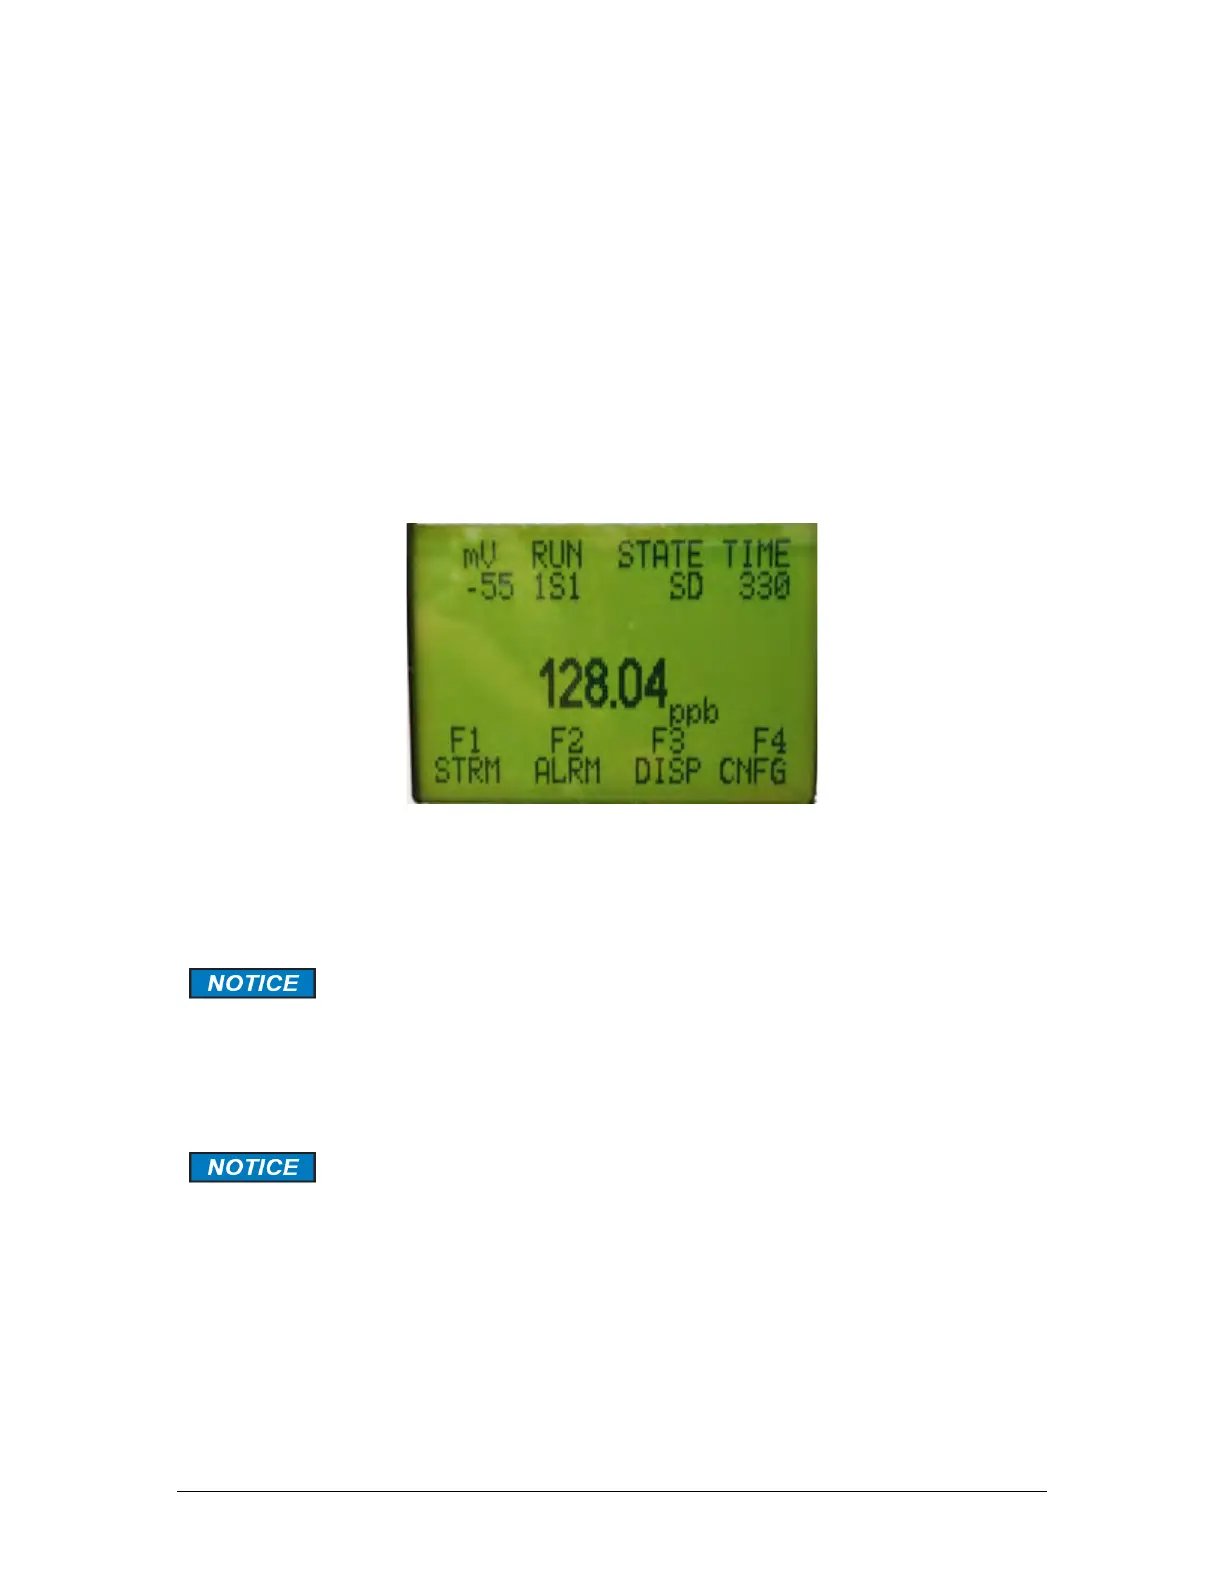
3.4.3 Power up the Analyzer
When the analyzer is powered up, it will go through a number of diagnostic protocols and
display the results on the front panel display. After about 1 minute, the main screen will be
presented (Figure 3-4).
Figure 3-4: The Main Analyzer Screen
a) Open the Galvanic USB Drivers folder on the computer and the QS Driver download
subfolder then double click on the QS Driver Installer to install the drivers. Follow the on
screen instructions.
If you are not using the USB mode of communication between the analyzer
and the computer, skip step b and continue to Section 3.4.3.
b) Connect the USB to USB cable that is provided with the system to the analyzer and the
personal computer. The Message Found New Hardware should be presented and the
driver installation will be completed automatically.
If this message is not presented, then reboot the computer. The analyzer
will then be recognized.