Revision 1 43 9/10/2019
3.7 Testing the Analyzer
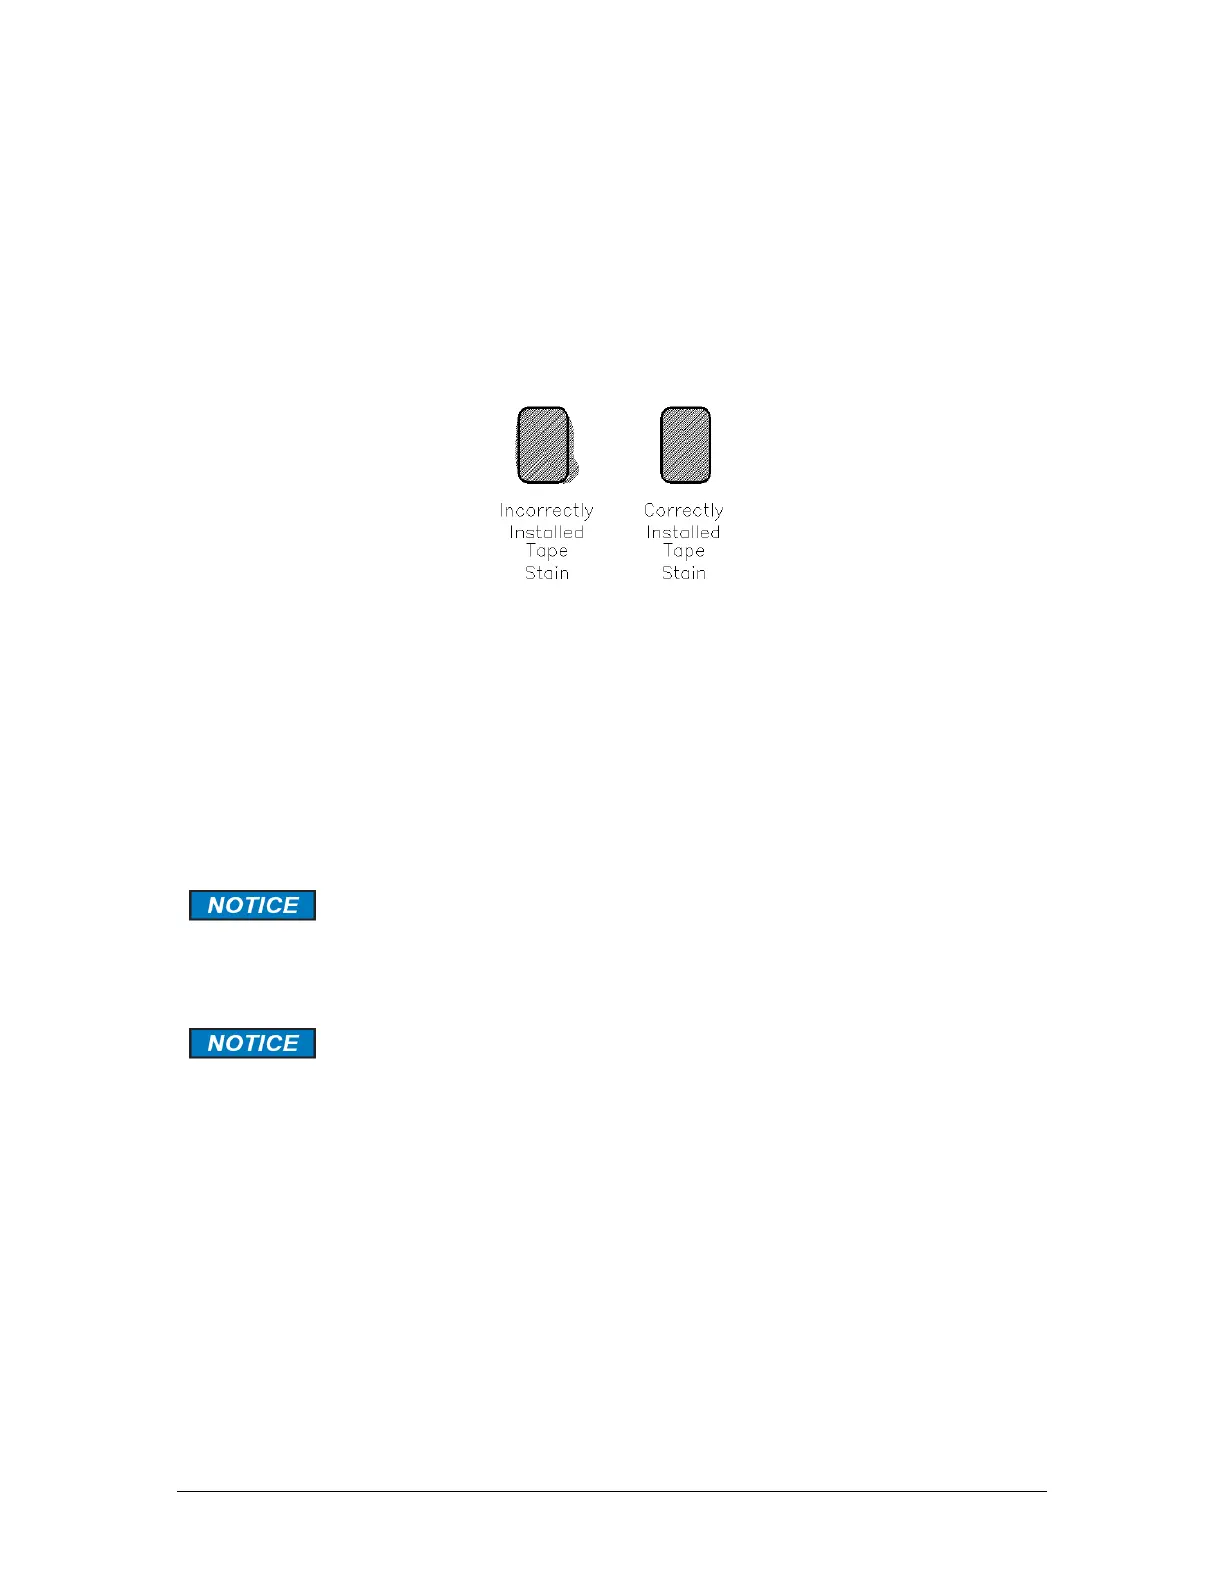
Allow the analyzer to run on sample gas for approximately 1 hour. After 1 hour, inspect the
stains on the tape and compare them to those in Figure 3-23. If the stains are crisp and well
spaced, the compression head is sealing the tape well against the sample chamber. If the
stains have fuzzy edges, check the seal again. In addition, check to ensure that the tape is
flat against the sample chamber (i.e. not creased) and is correctly installed.
Figure 3-23: Stain Appearance
Once the correct seal has been established, connect a calibration gas of known
concentration to the calibration port and perform a manual reference run. Repeat this step for
the second stream, if applicable. If the reading on the analyzer LCD screen is within ±2% of
the certificate value for the calibration gas, the analyzer is within calibration and can be
immediately entered into service.
Once the system is calibrated, it is ready to start analyzing sample gas.
See Section 6.6 if the analyzer requires calibration.
It is recommended that the output signals from the analyzer be validated.
Refer to the As Built Mechanical and Wiring Diagrams provided in the
analyzer documentation package for location and descriptions of the
outputs.
If the system is not calibrated correctly, see Section 5.9.3 for analyzer
calibration procudures.