190-01115-01 G3X™/G3X Touch™ Avionics Installation Manual
Rev. AV Page 21-26
UMA N/T1A9-X, JPI 4208XX - Magnetic pickup tach sensors:
The magnetic pickup tach sensor is installed in the magneto bleed port. It is recommended it be installed in
the non-impulse magneto, but it can be installed in the impulse magneto if only one magneto exists
(engines with single electronic ignition). The UMA N/T1A9-X sensors are suitable for non-pressurized
magnetos only. JPI 4208XX RPM sensors are available in different versions for both pressurized and non-
pressurized magnetos. Given the bleed port size on Slick and Bendix magnetos differ, the installer should
verify the sensor part number is appropriate for the magneto type.
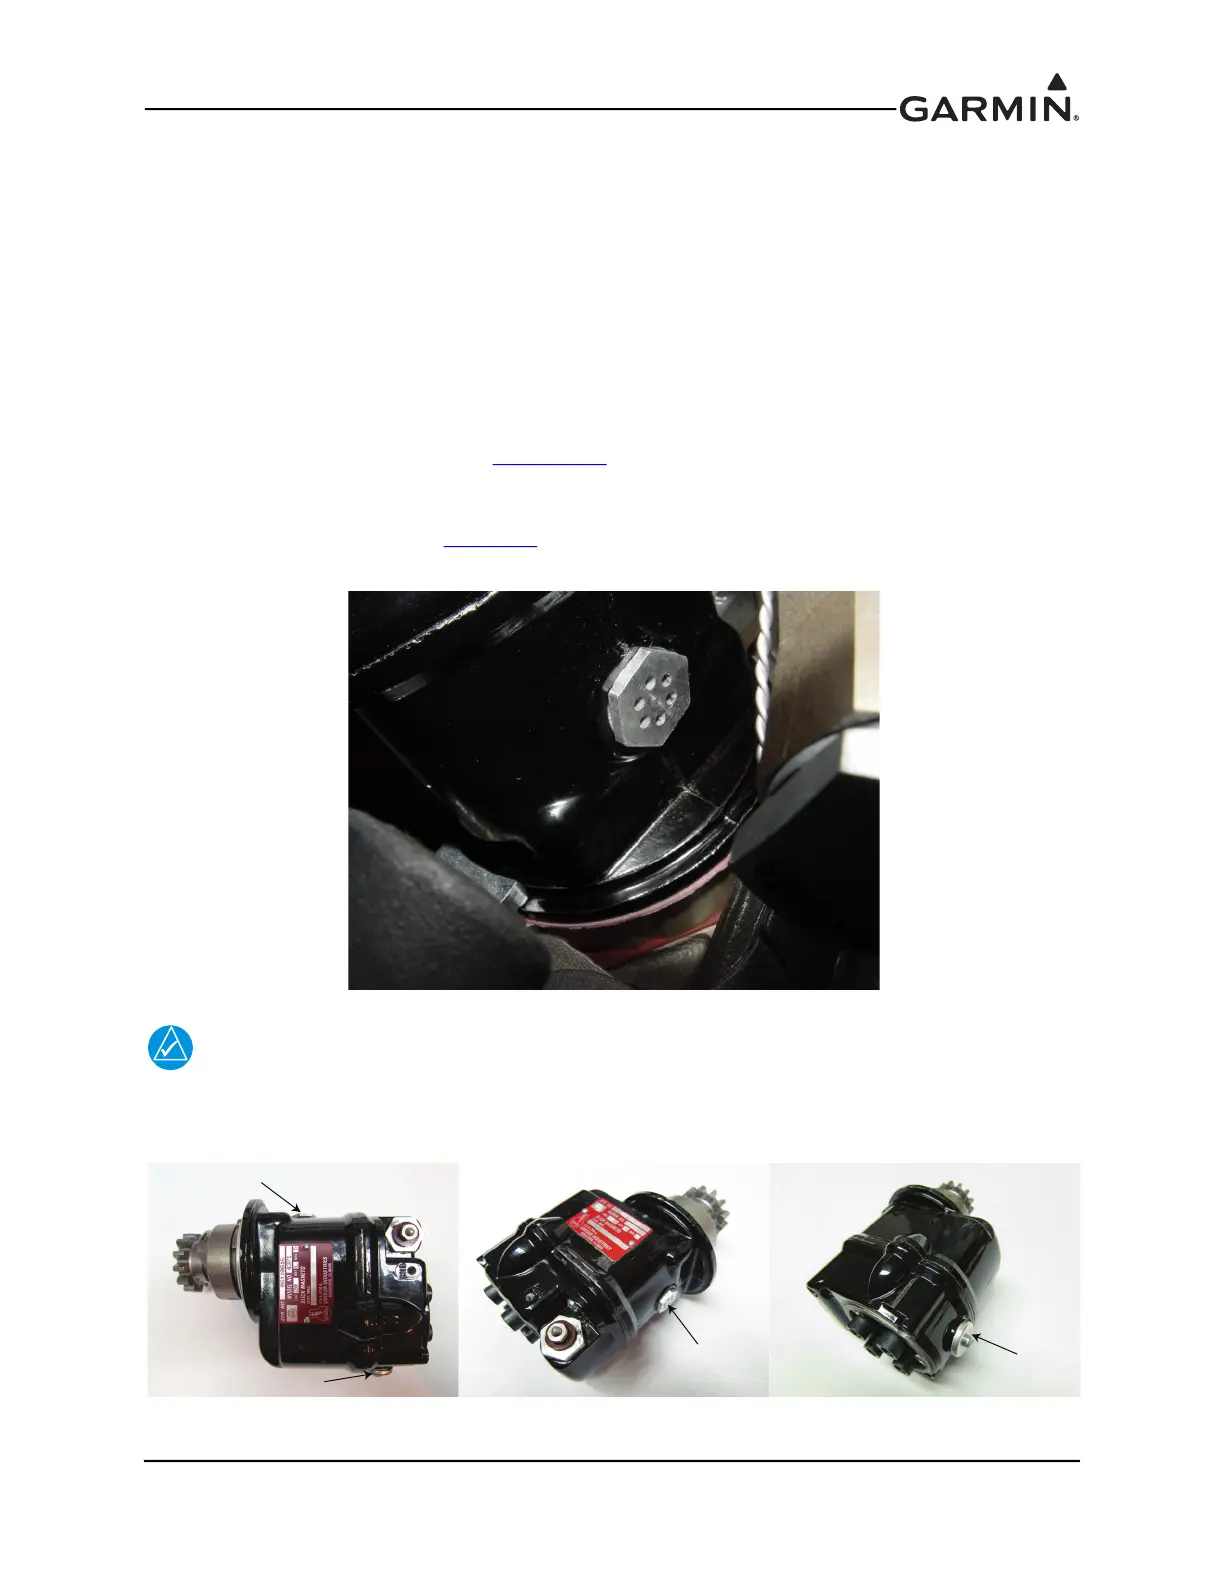
1. Remove the existing vent plug from the magneto bleed port (Figure 21-15).
2. Lightly apply thread sealer such as Loctite 242 (or equivalent) to the threads of the sensor. Be
careful not to apply too much, and make sure sealer is applied only to the threads and not the
pickup face itself.
3. Install the sensor into the port (Figure 21-17
). The sensor should be installed finger tight plus 1/6
turn. Do not over-tighten.
4. Connect the supplied connector to the appropriate inputs on the GEA 24/GSU 73 as referenced in
the G3X interconnects in Section 27
. Secure the connector and wire assembly to an appropriate
location in the engine compartment to provide strain relief.
Figure 21-15 Magneto Bleed Port
NOTE
There are two plugs on a Slick/Unison 43xx series magneto (Figure 21-16) where the tach
sender could fit. The one closest to the rotating magnet, with the hex-shaped plug, is
correct. The one on the opposite side, with a round plug, is incorrect.
Figure 21-16 Plugs on Slick/Unison 43XX Magneto
CORRECT TACH SENSOR PORT
WRONG PORT
CORRECT TACH
SENSOR PORT
WRONG PORT


 To Next Page