190-01115-01 G3X™/G3X Touch™ Avionics Installation Manual
Rev. AV Page 22-19
NOTE
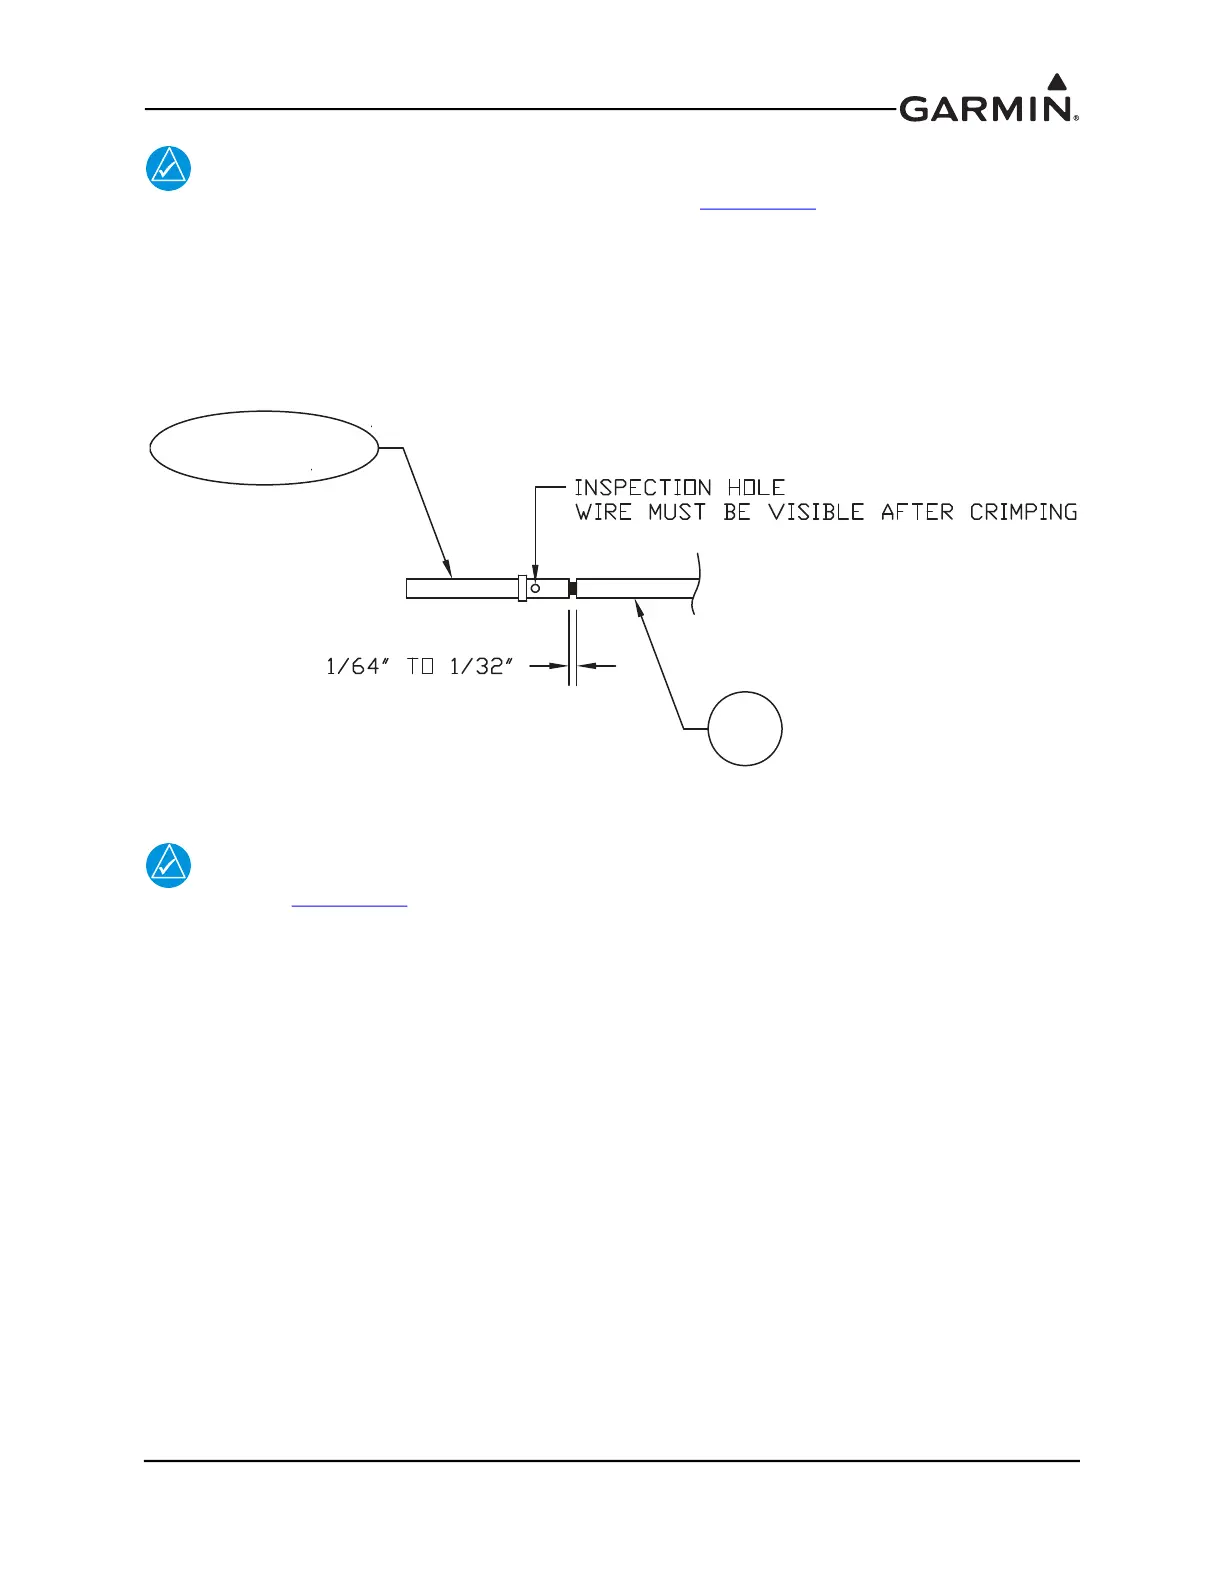
For the following steps please refer to Figure 22-12 & Figure 22-13.
1. Strip back approximately 0.17 inches of insulation from each wire of the four conductor wire
harness (item 3, Figure 22-12) and crimp either a pin (item 4, Figure 22-12) or a socket (item 9,
Figure 22-12) to each conductor. It is the responsibility of the installer to find the proper length of
insulation to be removed. Wire must be visible in the inspection hole after crimping and the
insulation must be 1/64 – 1/32 inches from the end of the contact as shown in Figure 22-12.
Figure 22-12 Insulation/Contact Clearance
NOTE
Refer to Figure 22-13 for all item numbers in the following steps 2-6.
2. Insert newly crimped pins (or sockets) and wires (items 3 and 4) into the appropriate connector
housing (item 5) location as specified by the installation specific wiring diagram.
3. Attach the module (item 1) to backshell (item 6) using screw (item 10).
4. Plug the four conductor wire harness (item 3) into the connector on the module (item 1).
5. Orient the connector housing (item 5) so the inserted four conductor wire harness (item 3) is on the
same side of the backshell (item 6) as the module (item 1).
6. Attach cover (item 7) to backshell (item 6) using screws (item 8).


 To Next Page