GE Healthcare Senographe DS
Revision 1 Service Information and Procedures Class A 2385072-16-8EN
Job Card TSG A015 - Lift Movement Troubleshooting
Page no. 1057 Chapter 9
JC-TSG-A-015.fm
3-5 Bearing and Lift Checks
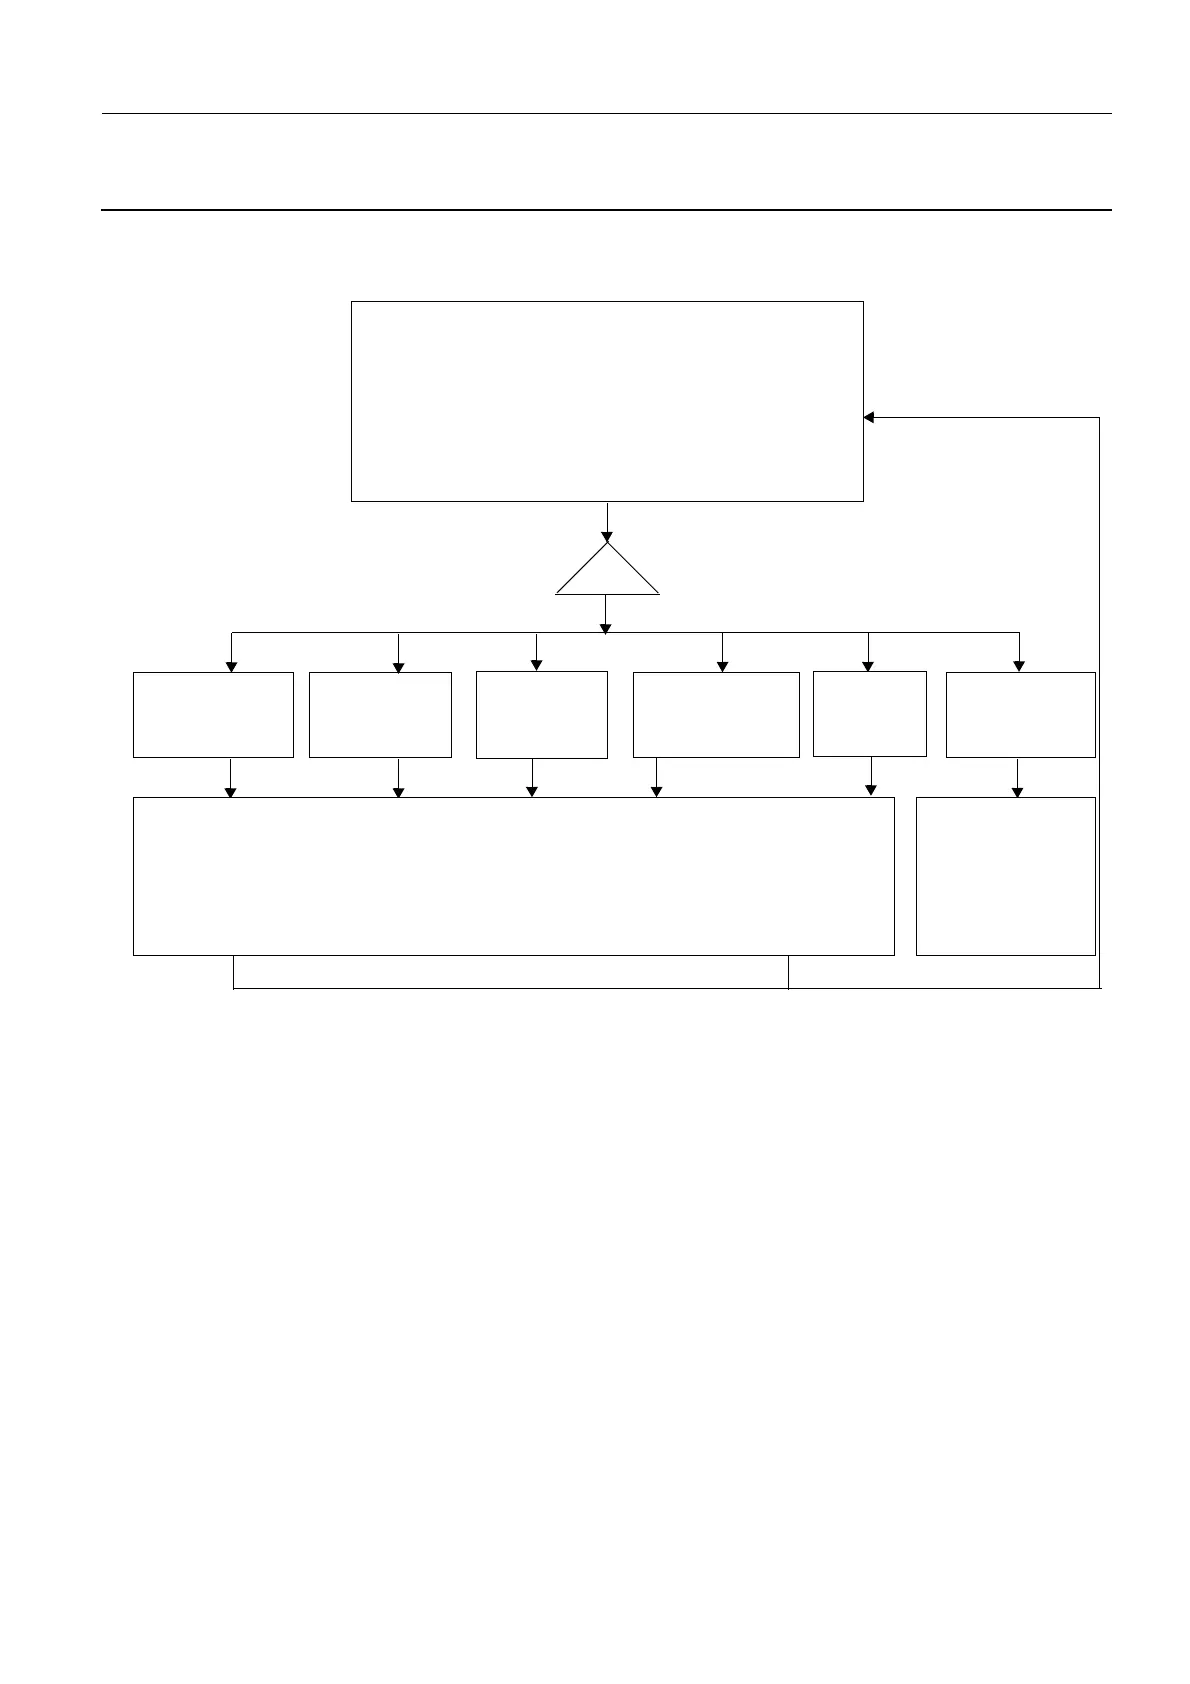
Use the following flow chart to determine the corrective actions to take.
3-6 Lift Motor Checks
Check cabling connections and connectors on the Lift Board, and the Lift Motor.
• If the Lift Motor connectors are not OK, change the Lift Motor according to Job Card D/R A205 - Lift
Motor on page 1179.
• If the Lift Board connectors are not OK, change the Lift Board according to Job Card D/R A201 - Lift
Board on page 1161.
• If the cabling connections and connectors are OK but the Lift does not still work, change the Lift
Board according to Job Card D/R A201 - Lift Board on page 1161, since it is the last remaining part
that can be replaced.
Lift Functional Checks
1. If present, remove the compression paddle.
2. Install the Bucky, and protect the Bucky surface with some paper
or similar non abrasive material.
3. Add approximately 13.5 kg (29.8 lbs) of additional weight on the
Bucky. If the Stereotaxy Positioner is present, install the Stereo-
taxy Positioner instead, and add 6 kg (13.2 lbs) of additional
weight.
4. Use the high speed Arm Control buttons to drive the Lift over the
whole range up and down 10 times in high speed.
IF
The lift moves with
high speed motion,
but the speed
changes notably.
The lift is sticking
or does not move
in particular lift
position.
The bearing
is noisy.
There is notable
or abnormal
vibration.
The motor frame or
lift screw is visibly
damaged (bent com-
ponents etc.).
The lift moves nor-
mally with no
abnormal noises
or vibrations.
Check Lift Motor
See
section 3-6, Lift
Motor Checks
.
For Type 2 Lift Screw Assembly, change Type 2 Lift without Motor (5391083), keeping the motor from the
old lift..
For Type 3 Lift Screw Assembly, change Type 3 Lift without Motor (5373048), keeping the motor from the
old lift.
See
Job Card D/R A232 - Lift Screw Assembly on page 1255.

 Loading...


