GE Healthcare Senographe DS
Revision 1 Service Information and Procedures Class A 2385072-16-8EN
Job Card D/R A287 - Collimator DC-DC Board
Page no. 1381 Chapter 9
JC-DR-A-287.fm
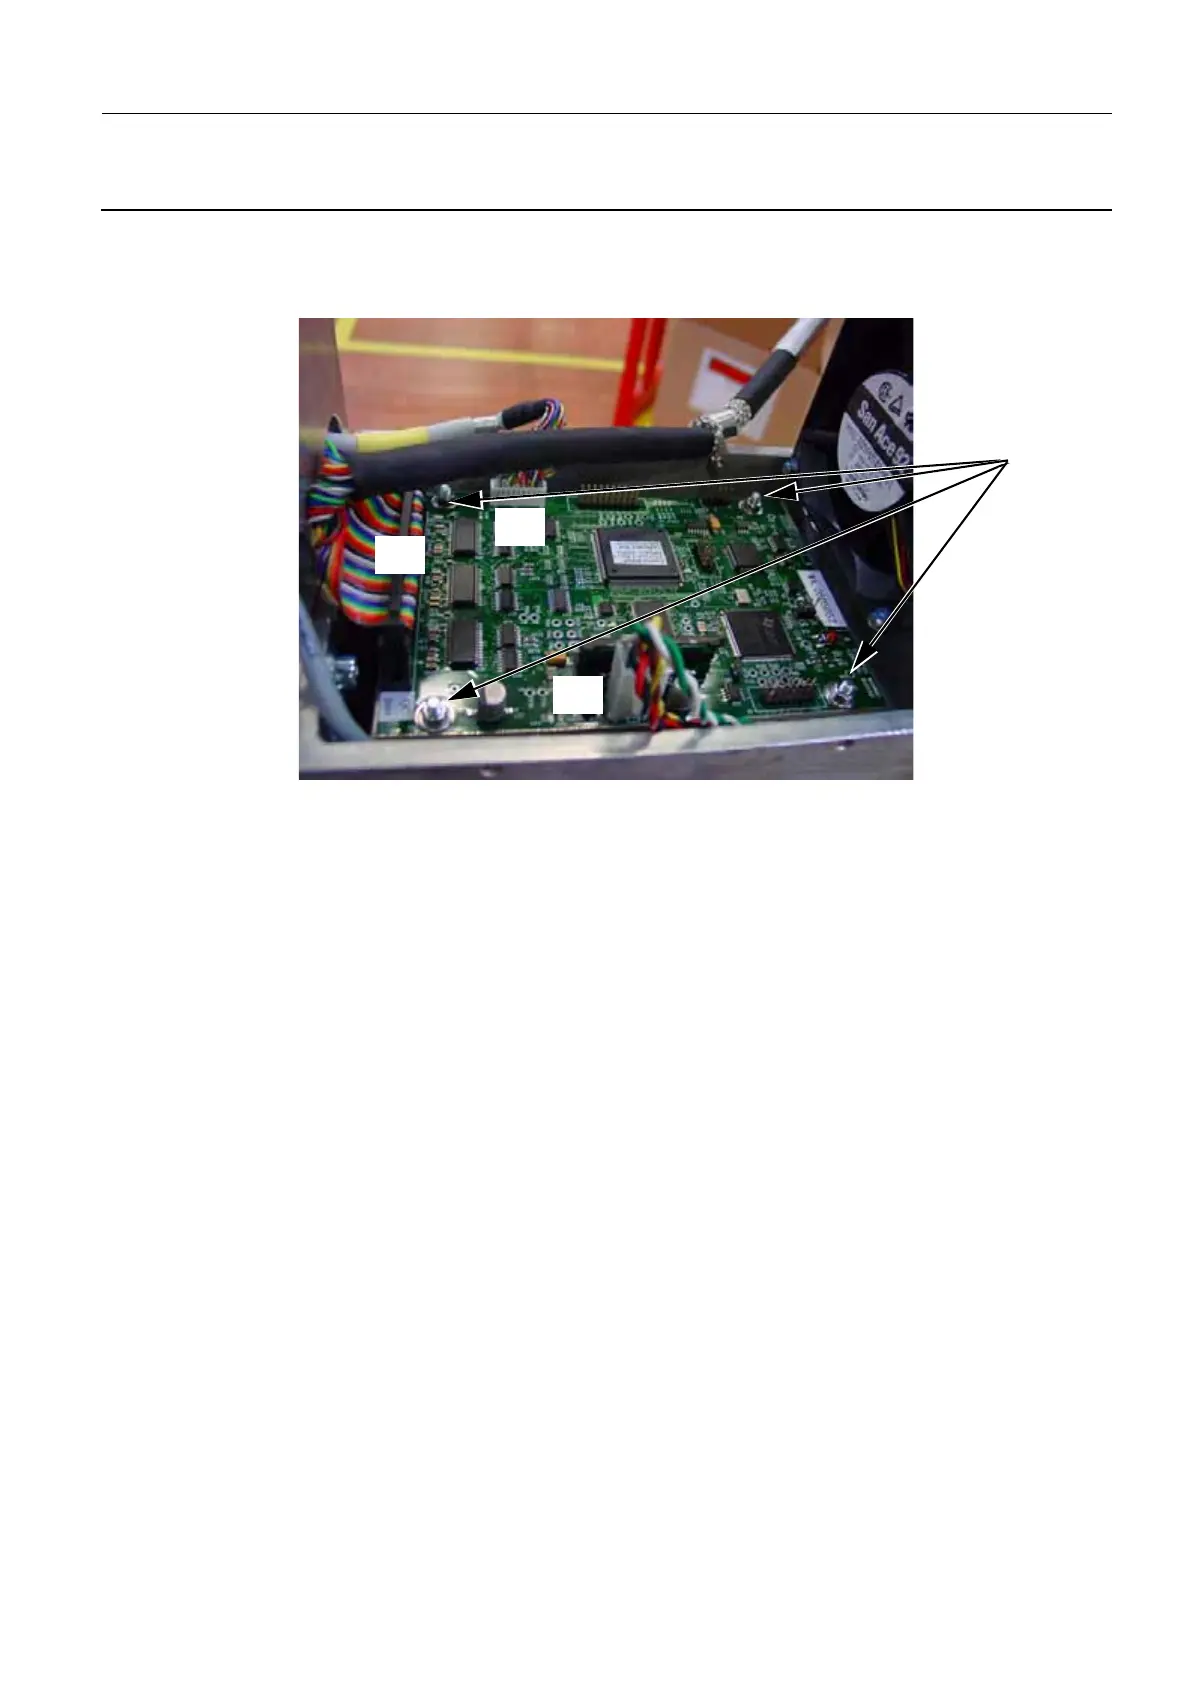
6-3 Reassembly of the Collimator Control Board
1. Carefully place the original Collimator Control board in position. Ensure that you do not pinch the
power cable when you tighten the four nuts.
2. Attach the four nuts (1) and washers to secure the Collimator Control Board (5.5 mm open-ended
wrench) to the framework.
3. Connect the cables to the following connectors on the new Collimator Control Board:
- Collimator cable (multicolored ribbon cable) to connector J8. Ensure that the collimator cable
does not pass over in close proximity to the microprocessor on the Collimator Control Board.
- Power cable (multicolored cable) to connector J9. Ensure that the power cable is routed between
the side of the framework and the side of the Collimator Control Board.
- CAN cable (gray cable with small multicolored cables) to connector J10.
The connectors J2, J3, J4, and J5 are empty.
4. Ensure that the three jumpers TP17, TP20, and CC1TP (to the right of the empty J3 connector) are
all open.
1
J8
J9
J10

 Loading...


