Chapter 9 Page no. 1390
JC-DR-A-288.fm
GE Healthcare Senographe DS
Revision 1 Service Information and Procedures Class A 2385072-16-8EN
Job Card D/R A288 - Collimator Lamp
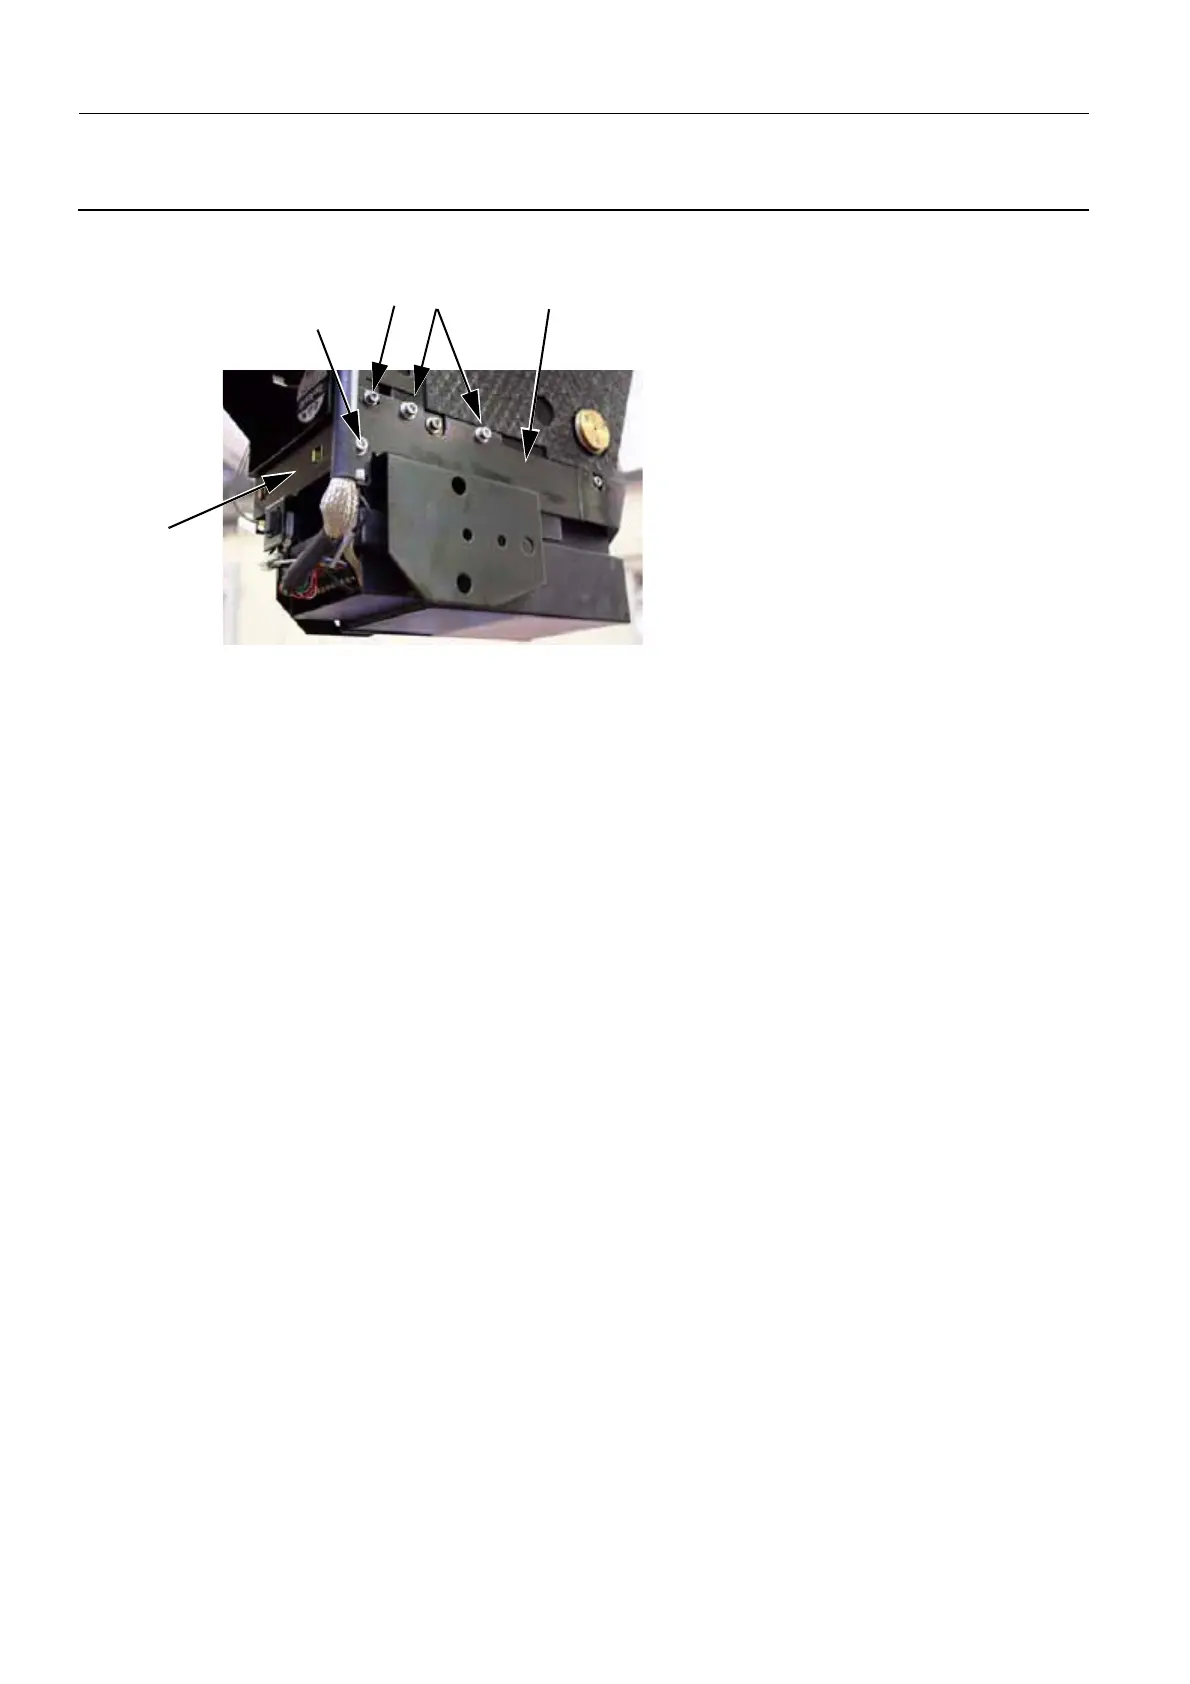
9. Reinstall the X-ray containment box. If necessary, first put back the two screws (9) to secure the fan
protection box.
10. Reinstall the X-ray containment box (10) with the four screws (11, two each side) .
11. Reinstall the plate and FOV button (12) on the X-ray head support arm with the two screws (13, one
each side) (4 mm allen wrench).
12. Check visually that all screws securing the Collimator are well mounted.
13. Perform Job Card ELE A028 - Collimation Checks on page 679 to determine whether the congru-
ence of the light field with the X-ray field is such that the total misalignment (sum of misalignments on
opposite sides) is within the limits set by your local regulations.
• If this congruence action limit is met, go to Completion on page 1390.
• If this congruence action limit is not met, go to Adjusting a Newly Installed Lamp on page 1388.
7 COMPLETION
If the Collimator and or Interface Plate moved during replacing the Collimator Lamp, then perform a com-
plete set of calibrations according to Completion on page 1373 in Job Card D/R A280 - Collimator Set.
9
11
10
13
12

 Loading...


