GE Healthcare Senographe DS
Revision 1 Service Information and Procedures Class A 2385072-16-8EN
Job Card D/R A407 - Generator Interface Board 400-PL2
Page no. 1579 Chapter 9
JC-DR-A-407.fm
7. Put the defective Generator Interface board in an anti-static bag.
6-2 Installation of the Generator Interface Board 400-PL2
1. Carefully place the new Generator Interface board on the Generator chassis by inserting it up into the
connectors of the Generator CPU board. Ensure that the holes for the five allen screws line up with
the five threads on the Generator chassis.
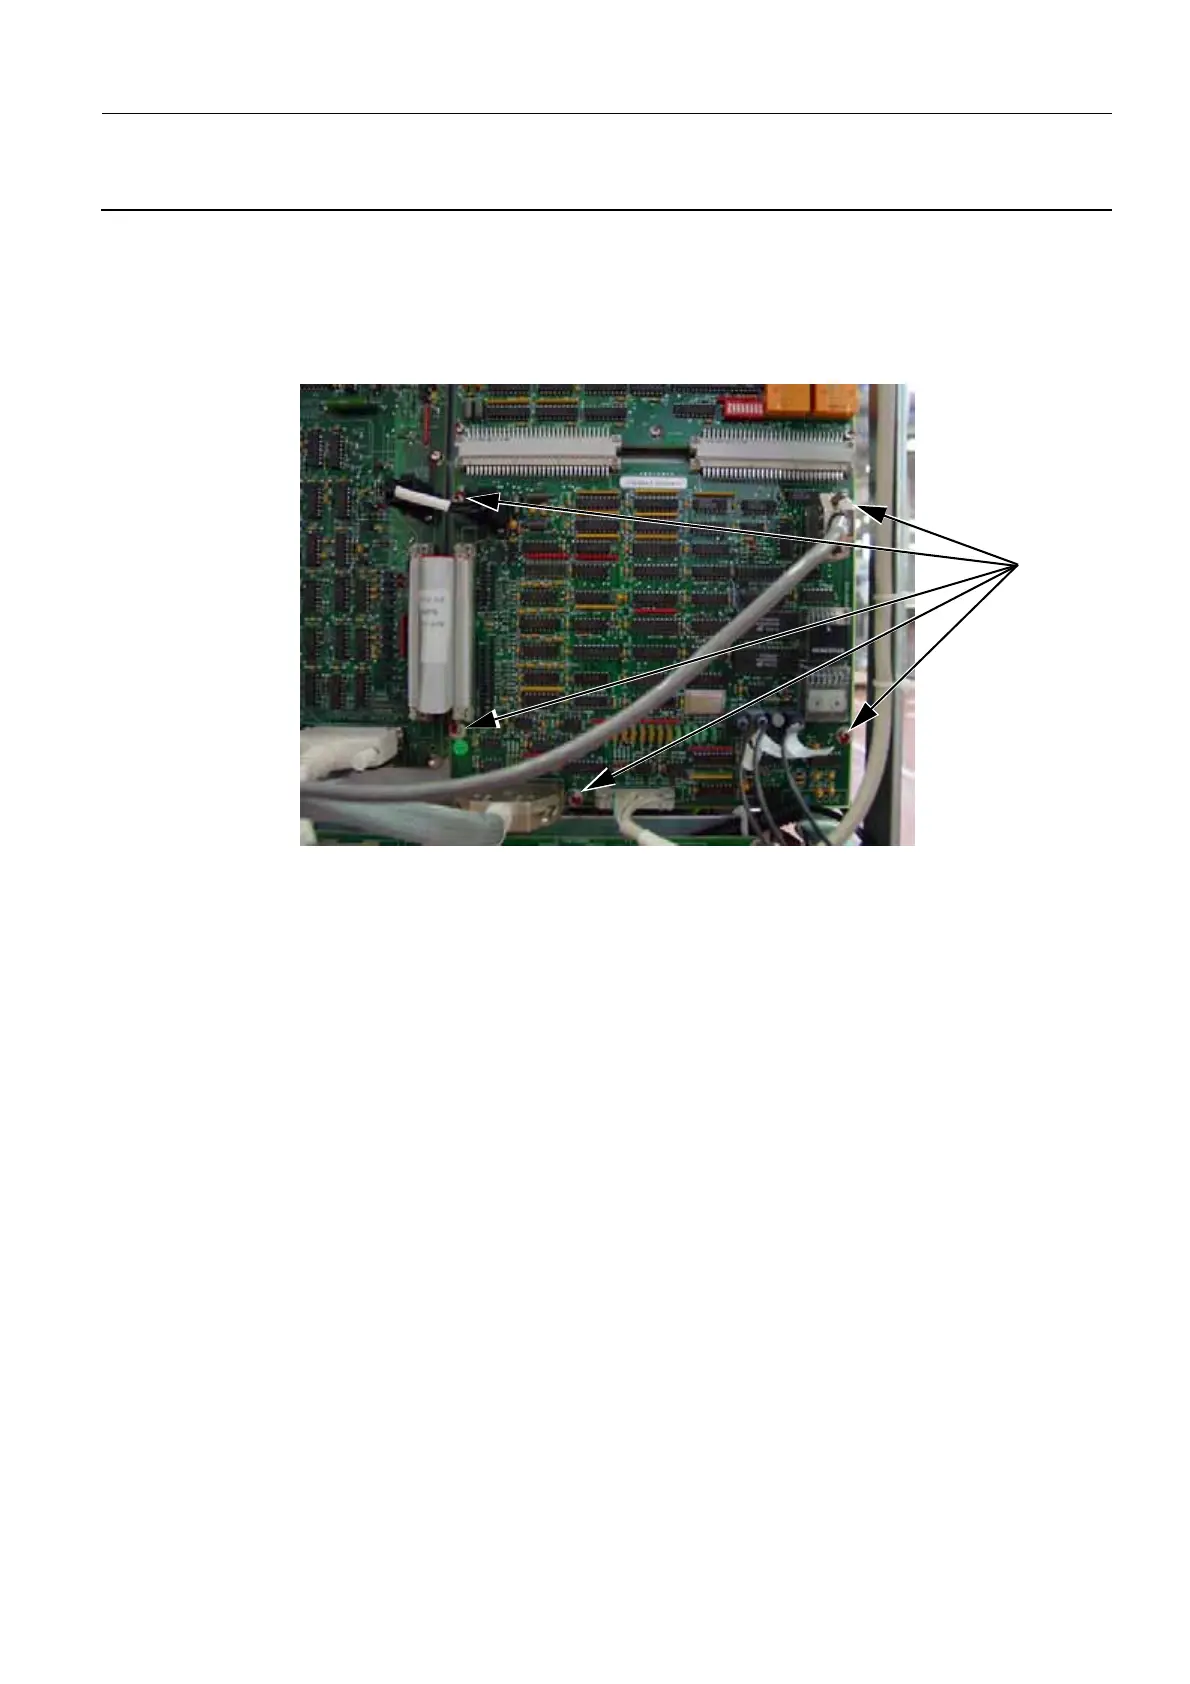
2. Attach the five allen screws (1) (4 mm allen wrench) to secure the Generator Interface board to the
Generator chassis.
3. Connect all the cables to the new Generator Interface board as summarized in the diagram and
table below.
1

 Loading...


