44
Menu functions
form firmware update”). The dictation machine reads this information
once it switched on again.
Select
In the “Select” menu, you can select a dataset for a new dictation. The
dataset is then entered automatically in the new dictation (ID and dicta-
tion data in the DSS header).
Press „ x MENU“.
Use the up/down buttons to navigate to the “ x Data list” menu item
and confirm using „OK“.
Select the “ x Select” subitem using the up/down buttons. Confirm
your selection using „OK“.
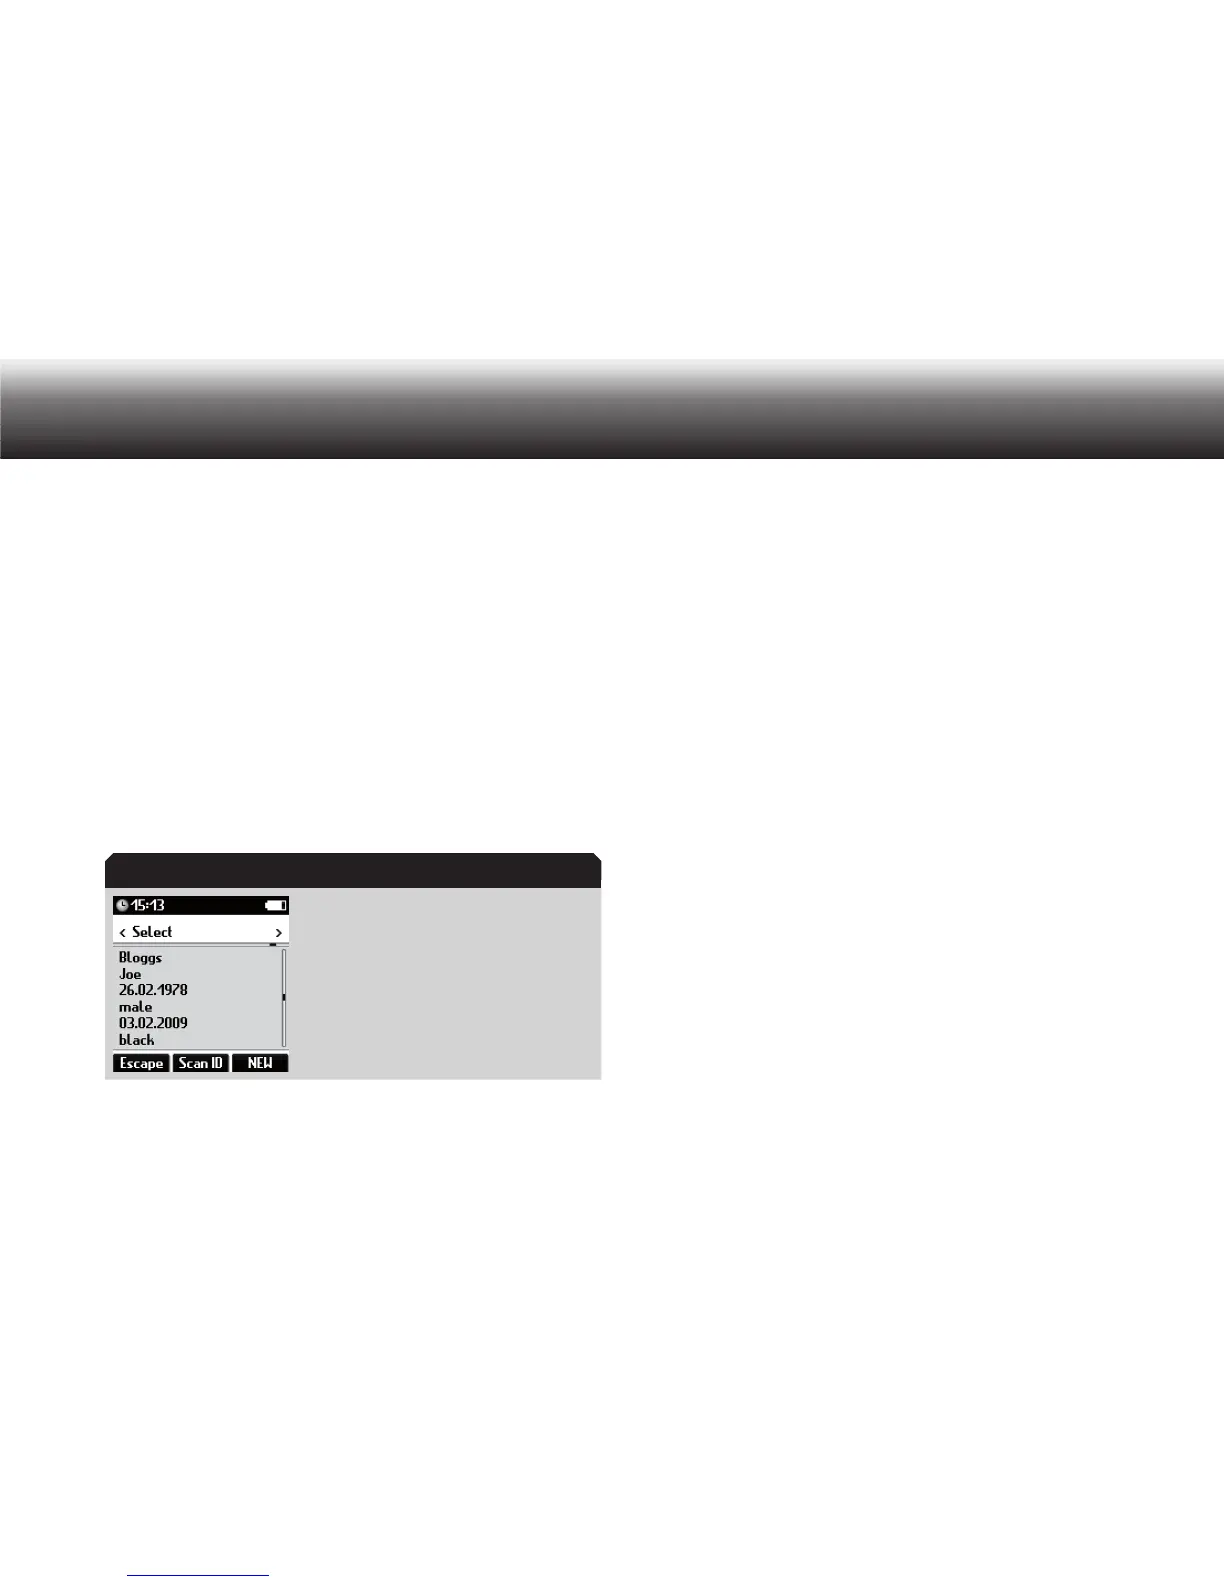
The dataset is shown on the display.
Dataset displayed
Use the left/right buttons (NEW, MENU) to move through the entire x
data list to the desired dataset.
If you wish to begin a new dictation in which this dataset is to be x
entered, press the display button “NEW”.
The dictation ID and the dataset are saved for the current dictation.
Begin recording by pressing the “ x
g” button. Speak your new text.
The recording indicator lights up red. The progress bar advances and
the dictation duration increases.
Workflow
Press x MENU.
Use the up/down buttons to navigate to the “ x Data list” menu item
and confirm using „OK“.
Select the “ x Workflow” subitem using the up/down buttons. Confirm
your selection using „OK“.
Select one of the following settings: x
»No entry«: no dataset is entered•
»On request«: • for each new dictation the option to enter data-
sets is given. If no datasets are entered, “No entry” is shown on
the display.
Activate the selected option by pressing „ x OK“.
The marker bullet moves to the highlighted bar.
Confirm the change using “ x Save”.
If you do not wish to save the change, press the “ x Escape” button.
Example:
Dataset