Creating the Digital Image 105
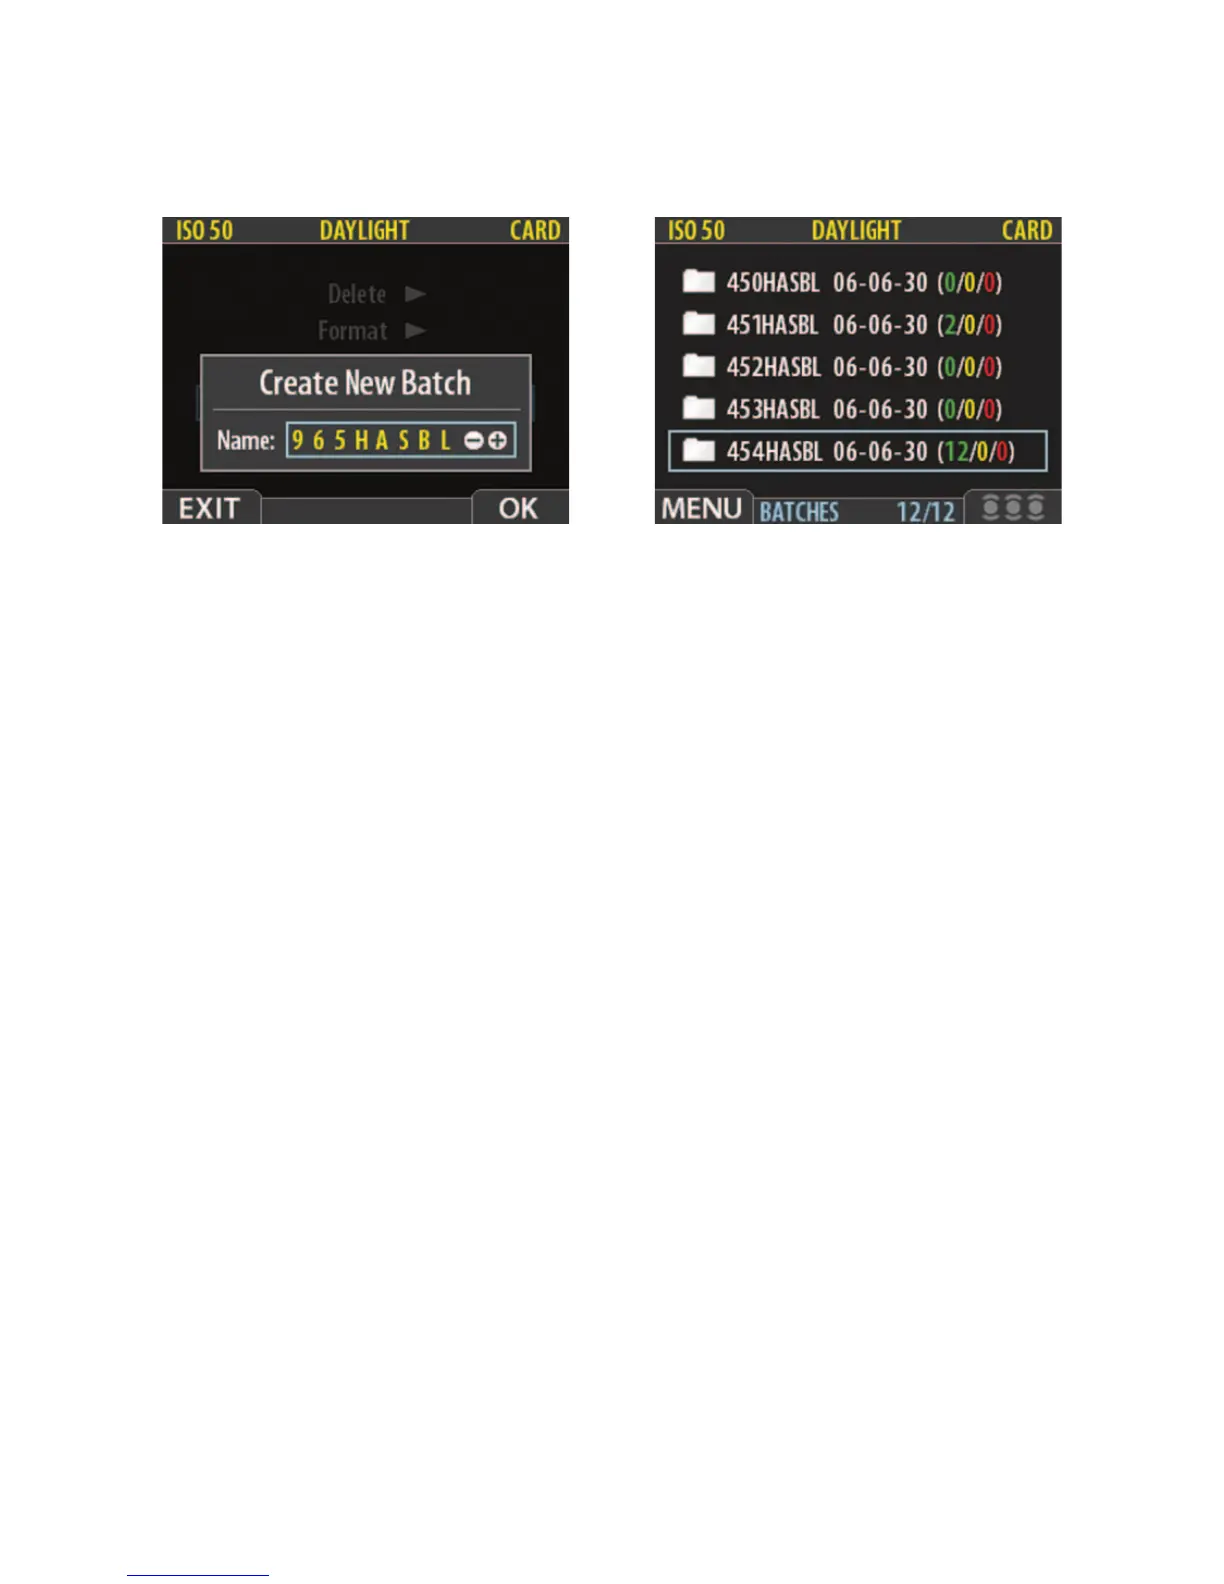
Figure 5-18 Changing the batch name. The
batch name is changed by depressing the
or button in combination with the
navigating control which changes the
number. Confi rm the choice by depressing
the OK button. Press the Exit/Menu control
to go back to the previous menu.
Figure 5-19 The batch list. Display shows
the different batches, batch names with
different numbers, the date the images
were taken, and the number of green,
yellow, and red images in each batch.
COPYING IMAGES
When working with CF cards handheld on location you probably want to copy images to
the Image Bank whenever practical. This will free up space on the card and allow you to
photograph without any cable connections. In other locations you may want to do the same,
but copy the images directly on a computer.
In either case you start with the main menu and navigate down to Storage, then follow-
ing the arrows navigate to Copy and to the Copy Dialog. If more than one disc is attached
use the navigating control to go to From Card to and use the or buttons to select the
medium you want to copy to. Confi rm by answering Yes or No and press the Approval button.
All images remain on the card even after they are copied. The stay there until deleted.
DELETING IMAGES
After recording your images, you will want to decide whether they should be stored or
deleted. The basic approach for deleting images is as follows.
Deleting Single Images
There is a shortcut to delete just one image, which is especially practical for deleting the last
image taken. With the selected image on the display screen, push and hold the bottom of the
navigating control until the Delete This Image message appears. Depress the OK button. Make
certain the message says This Image Only as you have other options of deleting other images