74 THE HASSELBLAD MANUAL
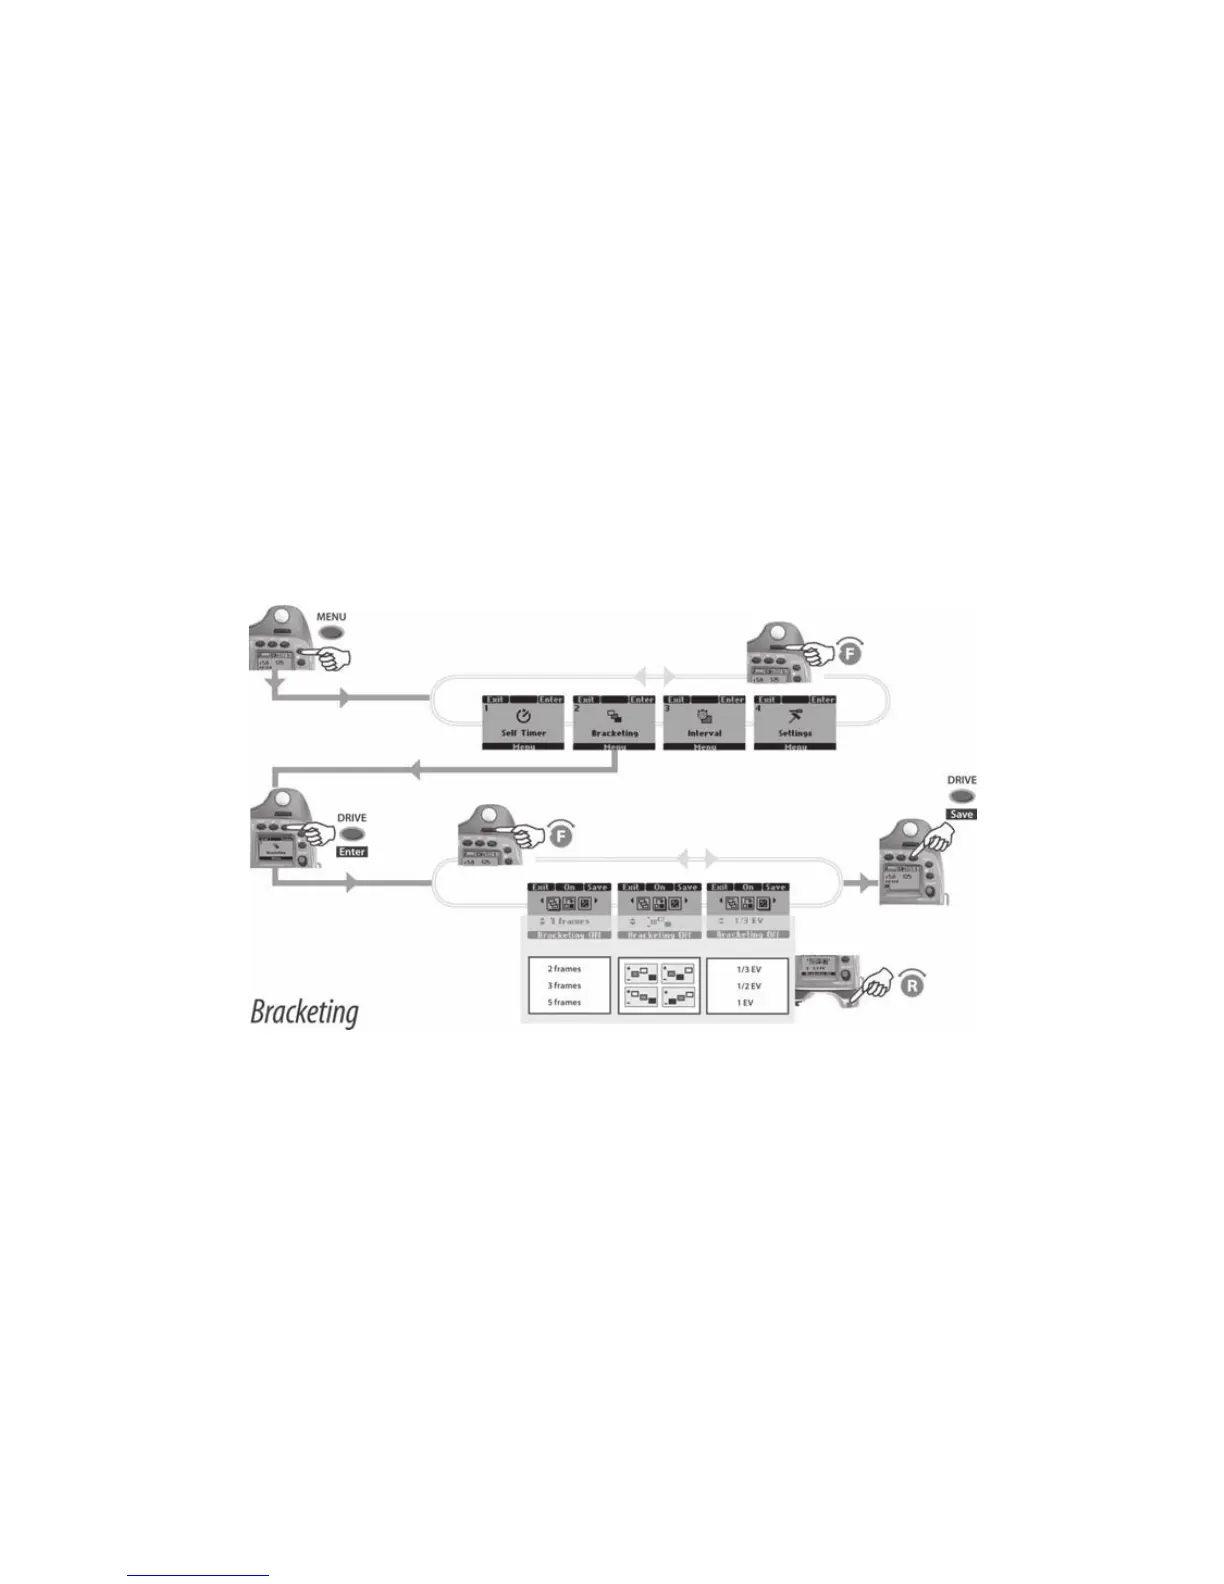
Programming Automatic Bracketing
To program automatic bracketing, follow these steps shown in Figure 4-23.
1. Click the Menu button and turn the front wheel until BRACKETING appears.
2. Click the ISO/WB (Drive) button, which brings up the three bracketing symbols on top of the
display. Select the leftmost icon, and turn the rear wheel to set the desired number of frames.
3. Select the middle icon with the front wheel and change the desired exposure sequence with
the rear wheel.
4. Select the rightmost icon with the front wheel, and change the desired amount of exposure
adjustment.
5. Click the AF button. The status line at the bottom of the LCD will now show BRACKETING ON.
6. Click the ISO/WB (Drive) button to lock. To go back to normal operation, click the Esc (ON/
OFF) button.
Figure 4-23 The operating sequence for automatic bracketing.
OTHER OPERATING AND IMAGE CREATING CONTROLS
Manual Diaphragm Stop Down Control
As with all SLR cameras, the lens diaphragm is normally wide open to produce the bright-
est image on the focusing screen. In many situations, you may want to evaluate the image as
it will be recorded at a smaller aperture to see the amount of blur in foreground and back-
ground areas.
You can do this by using the manual Stop Down button (item 22, Figure 4-1) at the front
of the camera. Pressing the button closes the aperture to the preset value. The aperture stays