340 THE HASSELBLAD MANUAL
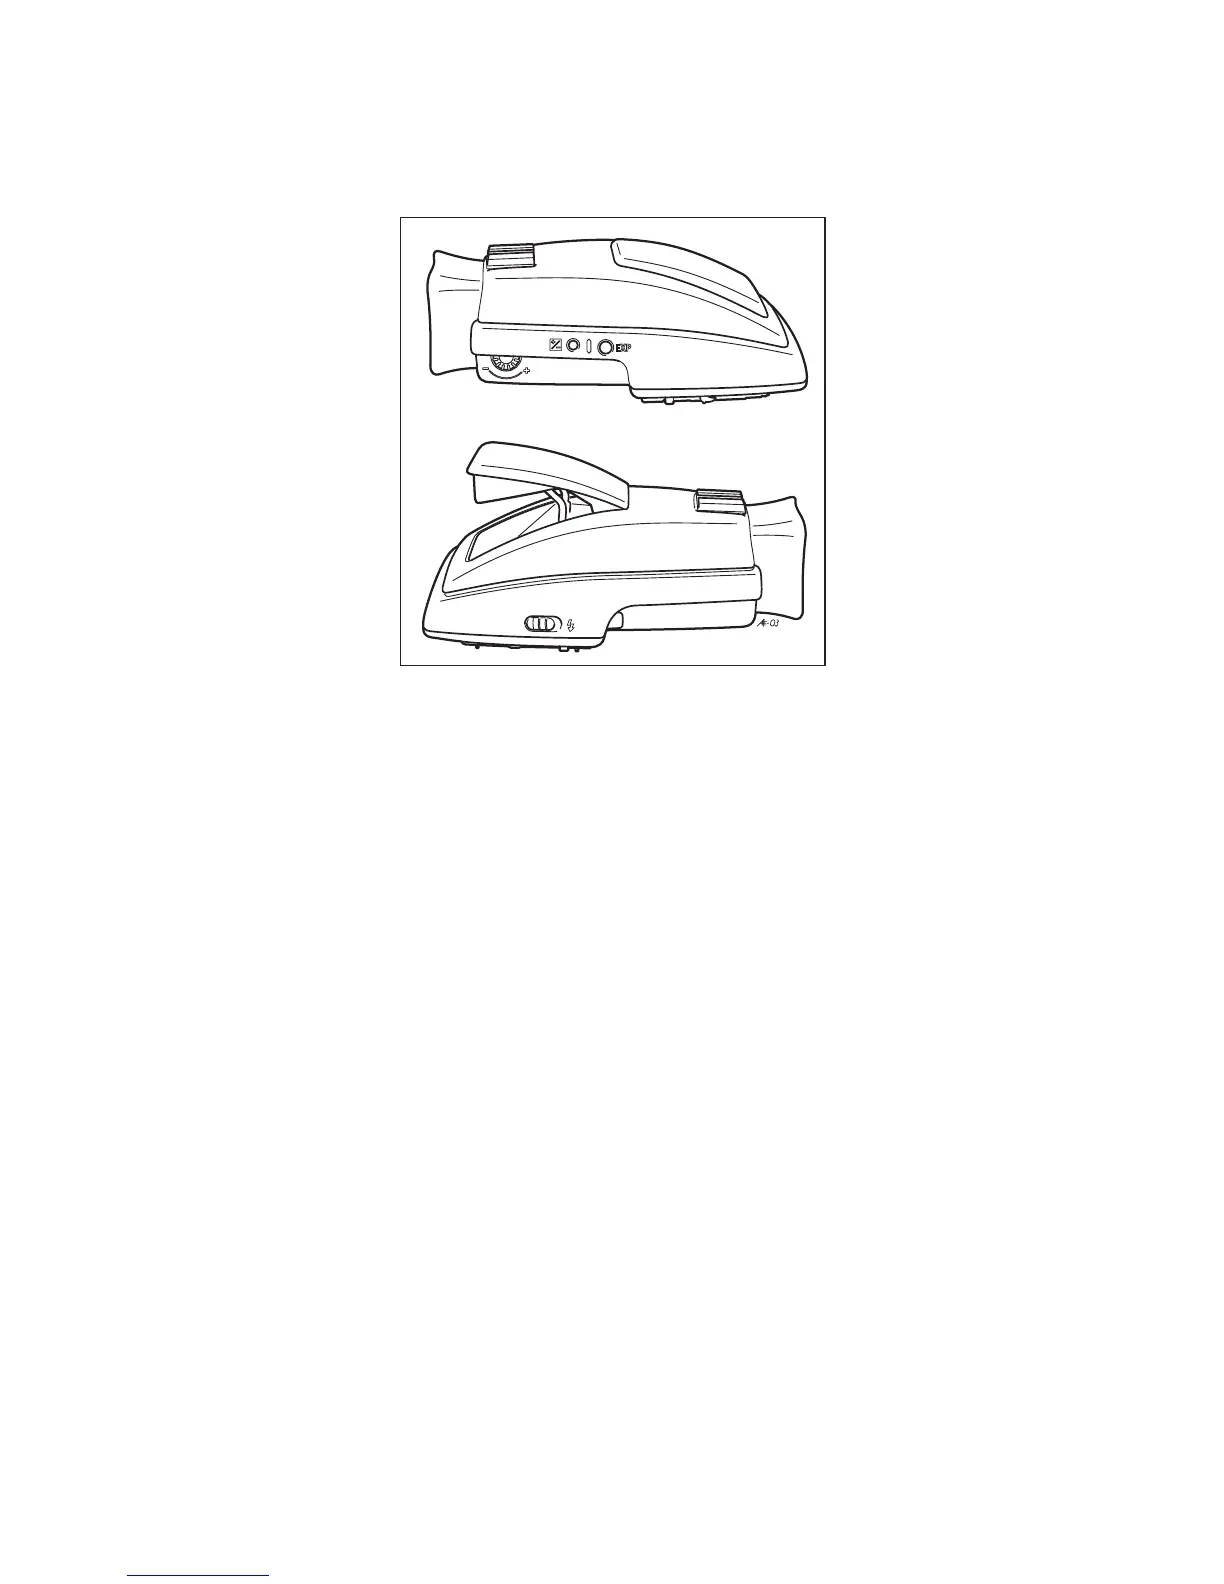
Figure 18-4 Viewfi nder controls. Bring the fl ash in the operational position by sliding the catch
lever (lower illustration) toward the fl ash symbol. Pressing the fl ash unit downward closes
it. The top illustration shows from left to right the diopter correction wheel, the Exposure
Adjustment button, and the Exposure Mode/Light-Metering Mode button.
When using an H camera with a digital back, you can use the TTL metering in exactly the
same way as with fi lm. The difference in the refl ectance value is automatically taken care of so
you need not make an adjustment. Dedicated fl ash is therefore the recommended approach
for location work also for digital capture.
Shutter Speeds, Flash Sync, and Metering Modes
Flash photography can be done at all shutter speeds up to
1
/
800
second and in many situations
you can also use all measuring modes (certainly M, P, Pv, and S). The A and S modes are not
recommended for indoor fl ash work as the normally dark room light may set a long shutter
speed that is unsuitable for handheld work. The P and Pv modes are usable because they set
the shutter speed at
1
/
60
second or shorter.
You can program the H camera so that it can be released only when a dedicated fl ash is
fully charged (see custom options in Chapter 4). You also have the option of programming
the camera so that the fl ash exposures are made at the moment the shutter is fully open, as
normally done (normal sync), or just before the shutter closes (rear sync). This sophisticated
option which offers interesting possibilities with moving subjects is done with the rear wheel
after pressing the fl ash button which brings up the Flash Option screen.
You can also program into the camera a fl ash compensation from 3 to 3 EV values
to create any desired lighting ratio between the existing light and the fl ash. The advantages
 Loading...