Operating the H Cameras for Digital and Film Photography 65
the release completely. The distance setting is maintained as long as the release is pressed
halfway. If you remove the pressure on the release button purposely or accidentally and press
the release again, the cameras will focus on the new subject in the focusing area. After the
picture is taken, the distance setting is no longer locked and adjusts to whatever subject
area is in the center of the composition. If you want to maintain the focus setting for several
pictures, you need to keep the release in the halfway position between exposures which is
impractical.
If you want to maintain the focus setting for a number of exposures of the same subject
or the same location — perhaps to bracket daylight or fl ash exposures or to end up with dif-
ferent poses of a model — you have another, better option with the AF drive.
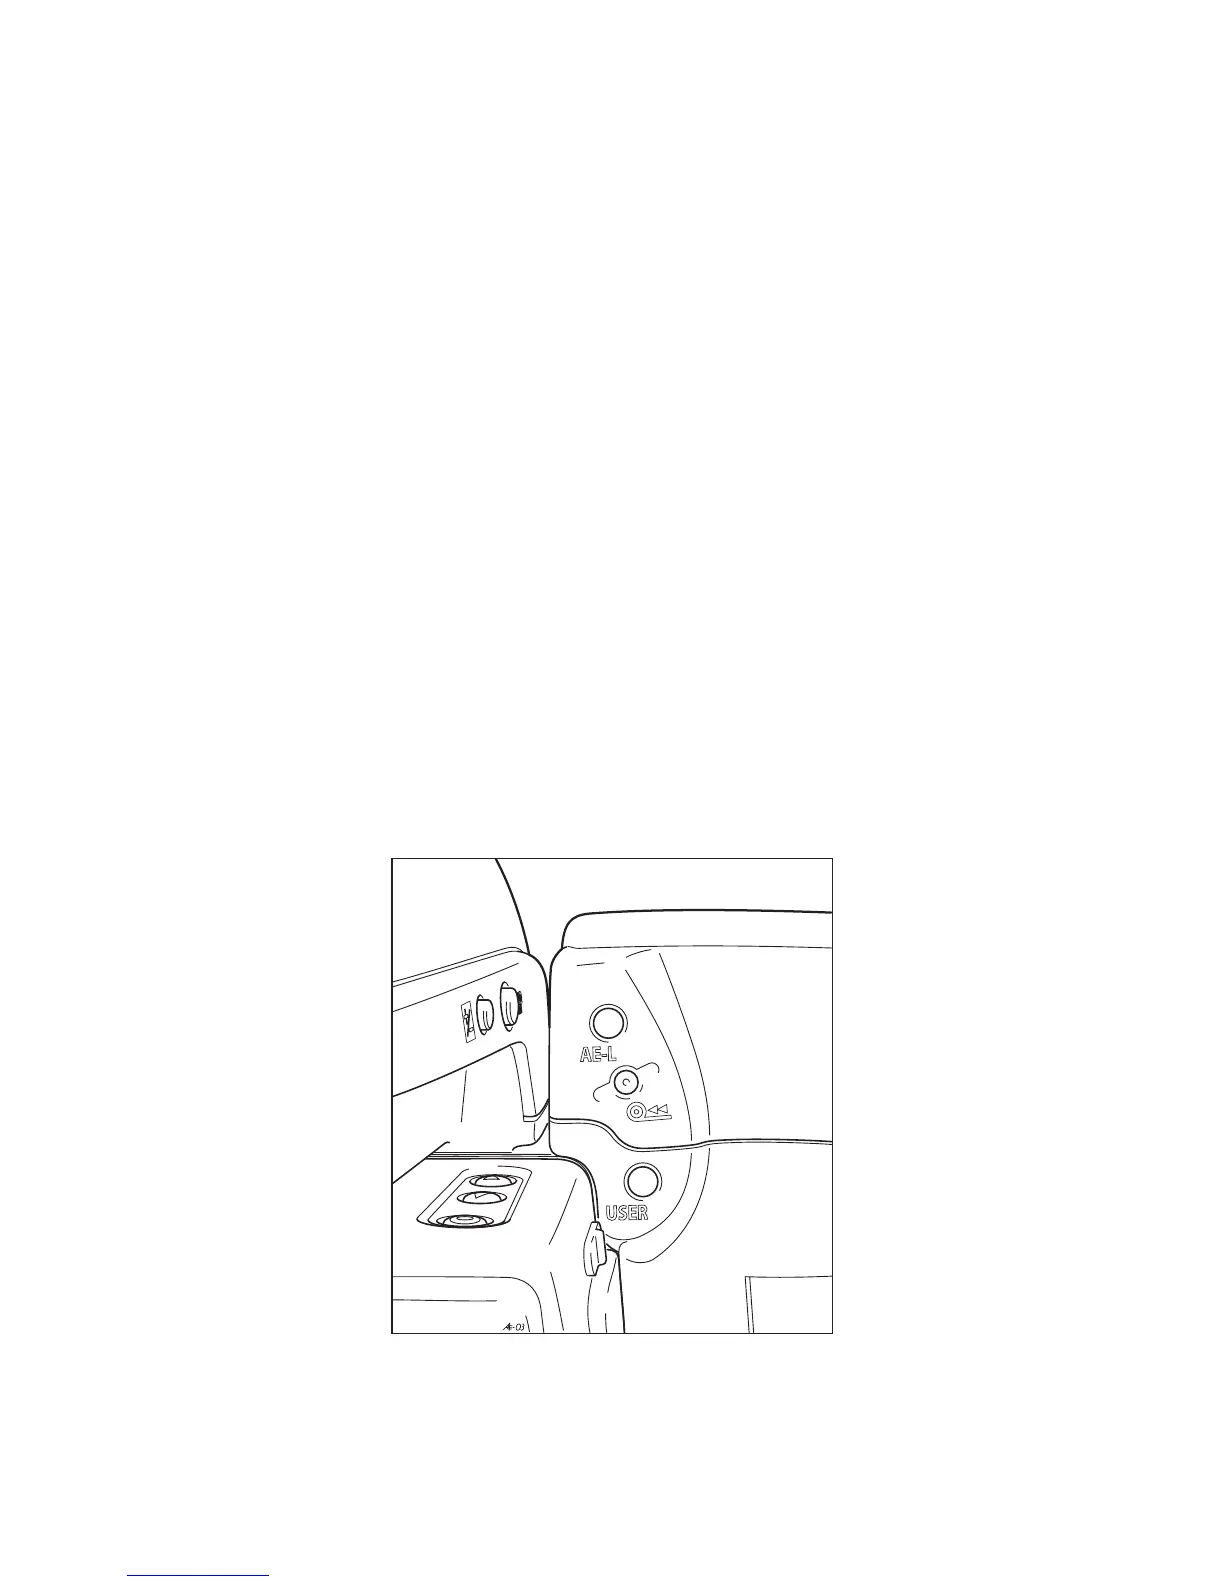
Setting the User Button to AF Drive Figure 4-18 shows the controls at the rear of the camera grip
including the User button. This is used in this Focusing mode and is my favorite focusing
approach in outdoor photography.
You can set this focusing option using the following shortcut:
1. Depress the AF button, set the camera for manual focus (MF), and lock with the ISO/WB/(Drive)
button.
2. Click the Menu button and then the User button on the rear part of the camera grip.
3. Turn the rear wheel to AF DRIVE.
4. Click the ISO/WB (Drive) button, or press the release halfway.
Although the camera is set to manual focus, focusing is automatic when you press the
User button.
Figure 4-18 The controls at the rear of the camera grip (from top to bottom): the AE Lock (AE-L)
button, the button for rewinding partially exposed fi lm, and the User button.