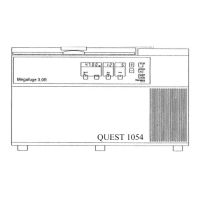
Feed the cable through the steel tube and
hand tighten the probe holder onto the tube
thread.
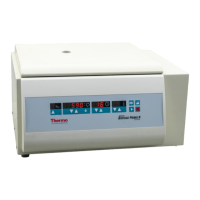
Note the design of the probe holder:
• Locate the spigot to be facing
upwards.
• Grub screw which bites onto the pipe
thread to prevent rotation of the probe
holder.
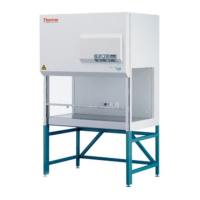
Attach the ¾” BSP lock nut to the steel tube and
feed the cable through the lance handle.
Then hand tighten the lance handle onto the tube.
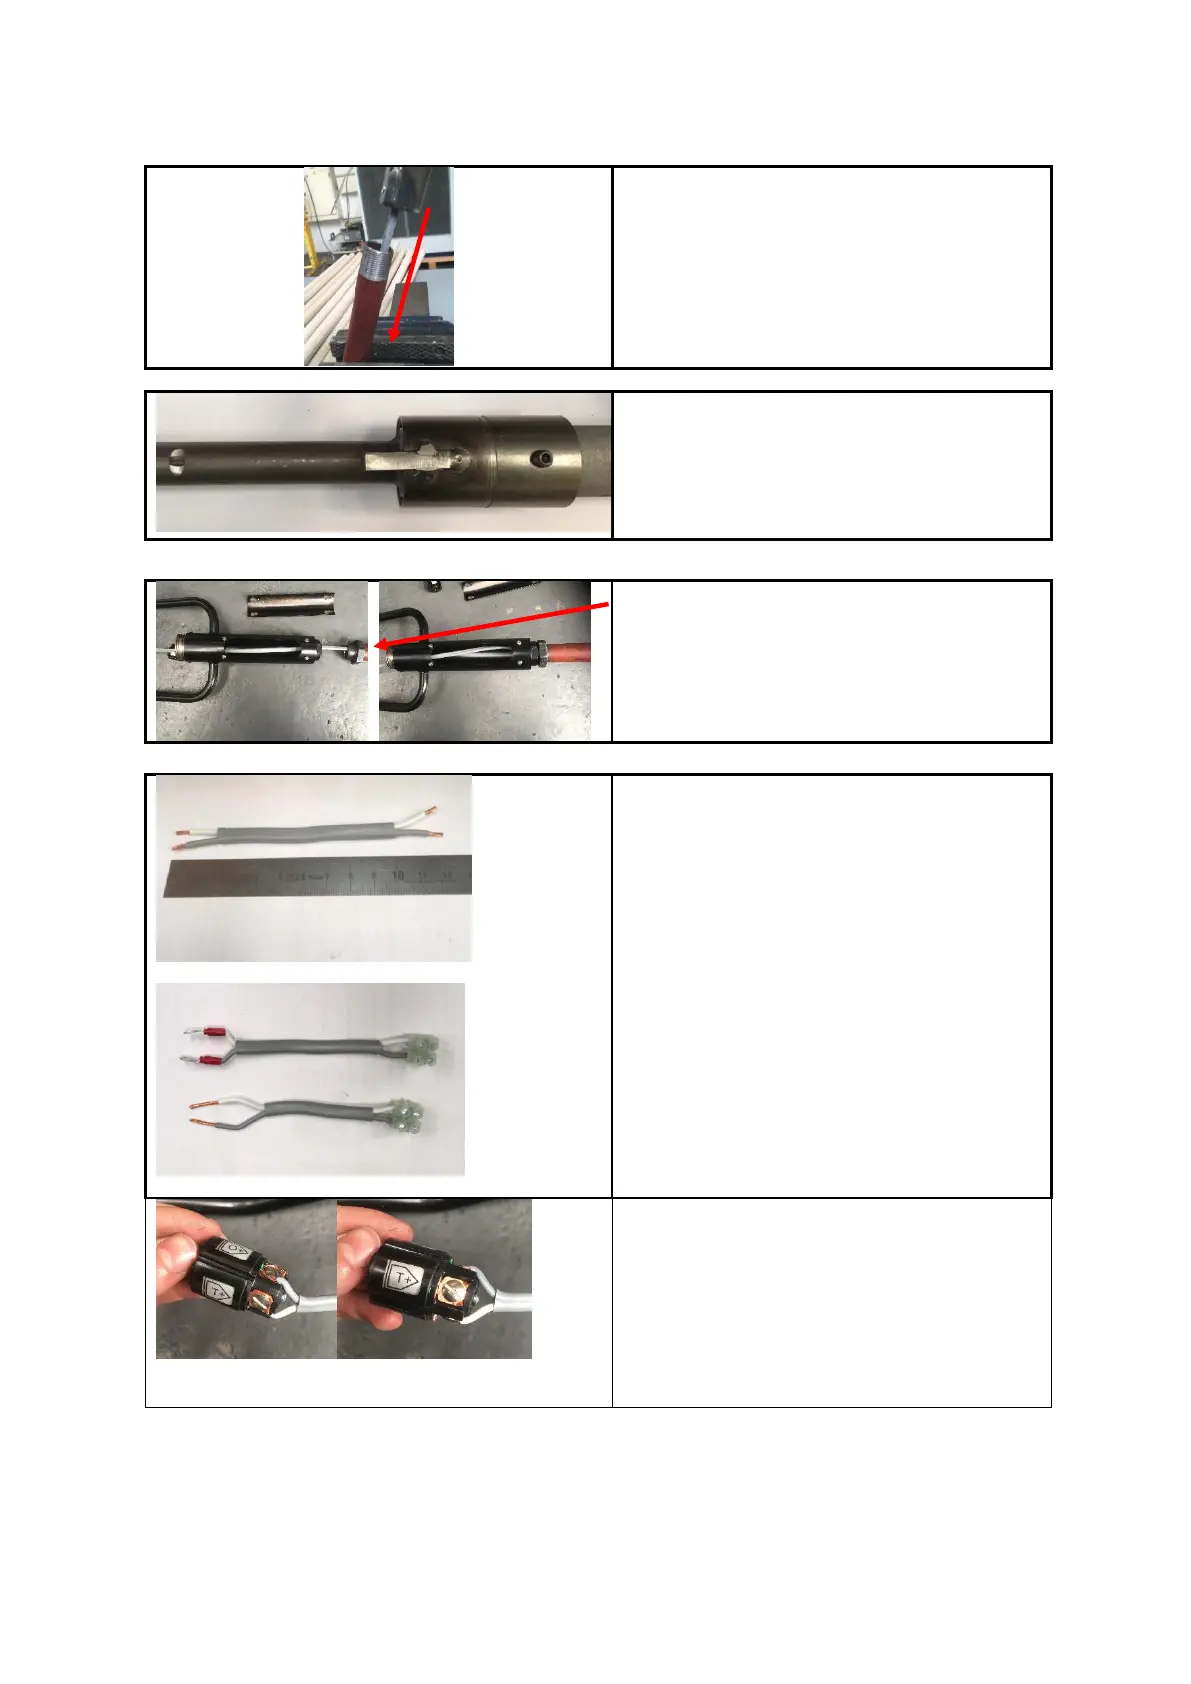
Flying lead
To simplify replacement of the probe holder /
cable assembly for the future, it is expedient to
attach a short flying lead to the Russel-Stowe
(R-S) connector which attaches to the probe
holder cable via a terminal strip
Cut the cable 120mm of cable from the probe
holder and cable assembly.
Strip back the outer insulation 20mm minimum
each end and strip the cable by 5mm
minimum.
Fix the terminal strip to one end of the cable
Option 1: (preferred if equipment is available)
Fix the crimps to the exposed conductors
preferred with the cable sides facing
Option 2: Strip the outer insulation to 40mm
and strip the conductors to 20mm
Attach the flying lead to the R-S connector.
GREY CABLE (+) to O+
WHITE CABLE (-) to O-
For Option 1, remove the terminal screws and
fit the crimp terminals
For Option 2, wrap the copper wire clockwise
under the head of the terminal screw, and
tighten, ensuring that it is held securely with no
exposed wire strands