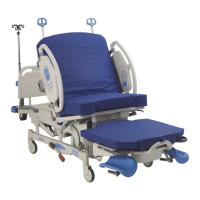
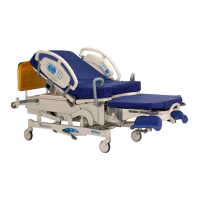
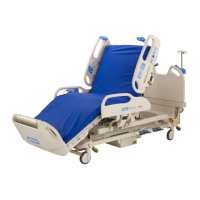
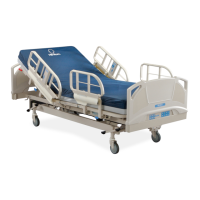
4.22 Transformer Assembly
Chapter 4: Procedures
Affinity® Four Birthing Bed Service Manual (195826 REV 2) 4 - 39
4
4.22 Transformer Assembly
Tools: T25 Torx® head bit Ratchet
The voltage in the electrical system presents an electrical shock hazard. Do standard electrical service
procedures before attempting service within the P.C. board enclosure. Follow all electrical safety
precautions when servicing the bed’s electrical system. Failure to do so could cause personal injury or
equipment damage.
REMOVAL
1. Set the brake/steer pedal to the brake position.
2. Make sure the bed is out of the Trend-Like position.
3. Raise the head section to the high position.
4. Raise the bed to the high position.
Failure to unplug the bed could cause injury or equipment damage.
5. Unplug the bed from its power source.
6. Put the siderail lockout switch at the head end of the bed in the locked position.
7. Remove the top motor cover (see Procedure 4.1 on page 4-3).
8. Disconnect the transformer electrical cables from the power entry module.
9. Remove the four screws (B) that attach the transformer assembly (A) to the bed frame (C).
10. Remove the transformer assembly (A) from the bed.
REPLACEMENT
1. Do the removal procedure in reverse order.
2. Make sure the wiring connectors are firmly connected to the transformer assembly (A) and that the
connections at the power entry module are correct for the appropriate voltage of the facility:
• For all power ranges, connect the green wire with the yellow trace to the ground (G) terminal on
the power entry module, and connect the white wire to the neutral (N) terminal on the power
entry module.
• For 100V facility power, connect the gray wire to the hot (L) terminal on the power entry
module.
• For 120V facility power, connect the black wire to the hot (L) terminal on the power entry
module.
• For 230V facility power, connect the orange wire to the hot (L) terminal on the power entry
module.
3. Do the “Function Checks” on page 2-5.