Tabletop electric components
52
4990851_002_00 – 2082262 – 2022-01-10
8.7 PCBA distributor board
Attention: the distributor board requires a serial number. Observe
Chapter 1.9 when replacing the distributor board.
Removal 1. Prepare the operating table (Chapter 5).
2. Disconnect the power supply on the operating table
(Chapter 6.1).
3. Remove the pad plate from the seat section (Chapter 7.2).
Attention: Leave the pad plate on the back section attached
so that the adjustment of the struts is maintained.
4. Remove the column head cover (Chapter 9.3).
5. Switch on the operating table using the switch at the running
gear.
6. Shift the longitudinal slide of the tabletop to the zero
position.
7. Switch off the operating table using the switch at the running
gear.
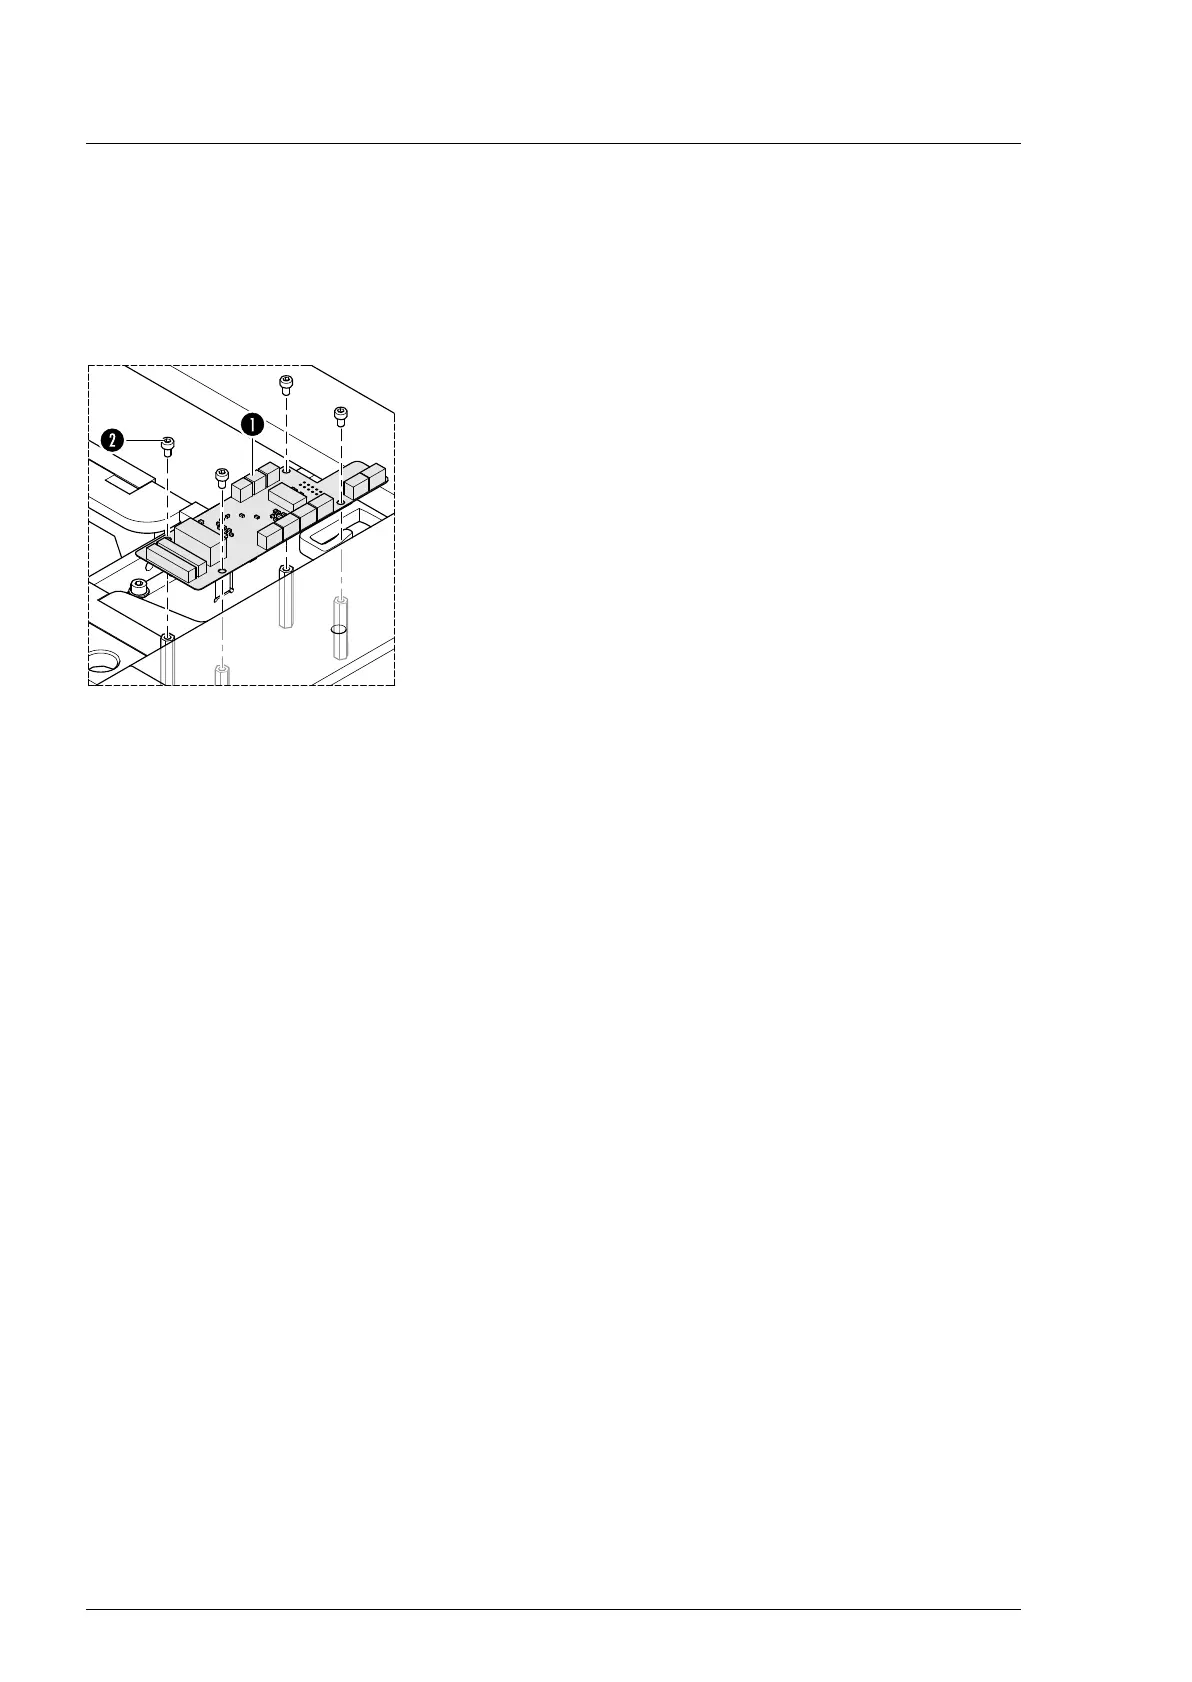
8. Note the cable routing. Disconnect all plugs from the PCBA
distributor board [1].
9. Remove the PCBA distributor board [1] (4 screws [2]).
Assembly 1. Insert and install the PCBA distributor board (4 screws).
2. Attention: Do not interchange the plug connections. Pay
attention to the wiring diagram on page 64.
Restore the original cable routing. Connect all plugs to the
PCBA distributor board.
3. Mount the column head cover (Chapter 9.3).
4. Mount the pad plate onto the strut (Chapter 7.2).
5. Put the pad in place.
6. Connect the power supply to the operating table
(Chapter 6.2).
7. Calibrate the tilt sensor with the service software.
8. Update the firmware of the operating table.