92 Thor VM3 with Microsoft Windows Embedded Compact 7 User Guide
15. Provide mechanical support for the cable by securing it to the vehicle structure at
approximately one foot intervals, taking care not to over tighten and pinch
conductors or penetrate the outer cable jacket.
16. Connect the watertight connector end of the power cable to the Thor VM3 dock
power connector by aligning the connector pins to the power connector; push down
on the watertight connector and twist it to fasten securely. Flip the power switch on
the back of the dock to On.
17. Secure the power cable to the Thor VM3 using the Strain Relief Cable Clamps.
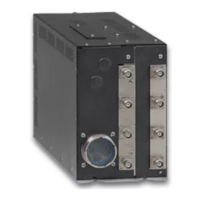
18. Place Thor VM3 in the Dock
19. If using the Screen Blanking feature, install the screen blanking box or switch.
20. Press the Power Switch on the back of the Thor VM3 dock.
21. Press the Power Button on the front of the Thor VM3 to turn on the Thor VM3.
Note: Ignition control is not available for trucks over 60VDC.
Wiring Diagram
must be connected to the vehicle chassis ground.
is connected to the vehicle chassis ground, which can also be battery negative.
Power
Connector
-
-
-Vo
Black
Green
Blue
(not connected)
+Vo
COM1 or COM2
Connector
+
+
User supplied serial
cable for optional
screen blanking
connection,
see below
Existing Circuitry on Vehicle
Forklift Battery
Main Switch
Quick Mount
Smart Dock
DC/DC
Power
Supply
Fuse - See
Warning
statement below
See
statement below
Red
Red/White (if present)
Black/White (if present)
Caution: For battery powered vehicles:
Caution: For internal combustion engine powered vehicles:

 Loading...