4-38
Assemhly
Access
Printhead Assembly Removal
1.
UNPLUG COMPUTER POWER CORD FROM AC OUTLET.
2.
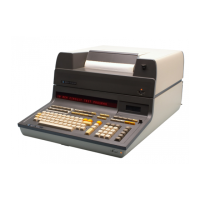
Remove printer from
computer
as previously described,
and
set printer
down
in
upright
position.
3. From front of
printer, completely remove two signal/power cables (Figure 4-36).
4.
Remove
#2
Pozidriv screw, washer,
and
nut that attach ground cable
and
strap to side of
printer
and
remove
ground
cable (Figure 4-36).
GROUND STRAP HEX HEAD BOLTS TRANSPARENT COVER
GROUND CABLE
SIGNAL/POWER CABLES
Figure 4-36. Disassembling Printer
5. Remove two 7/16-inch
hex
head
bolts
and
associated springs that attach transparent cover to
printer (Figure 4-36),
and
remove transparent cover (Figure 4-37).
Figure 4-37. Removing Transparent Cover