Chapter 7
Removing and Replacing Components
Front and Top Covers
145
Front and Top Covers
NOTE When the front or top cover is removed the chassis fan units increase to high speed to assist cooling. When the
top cover is replaced at the end of the operation, the chassis fans return to normal speed.
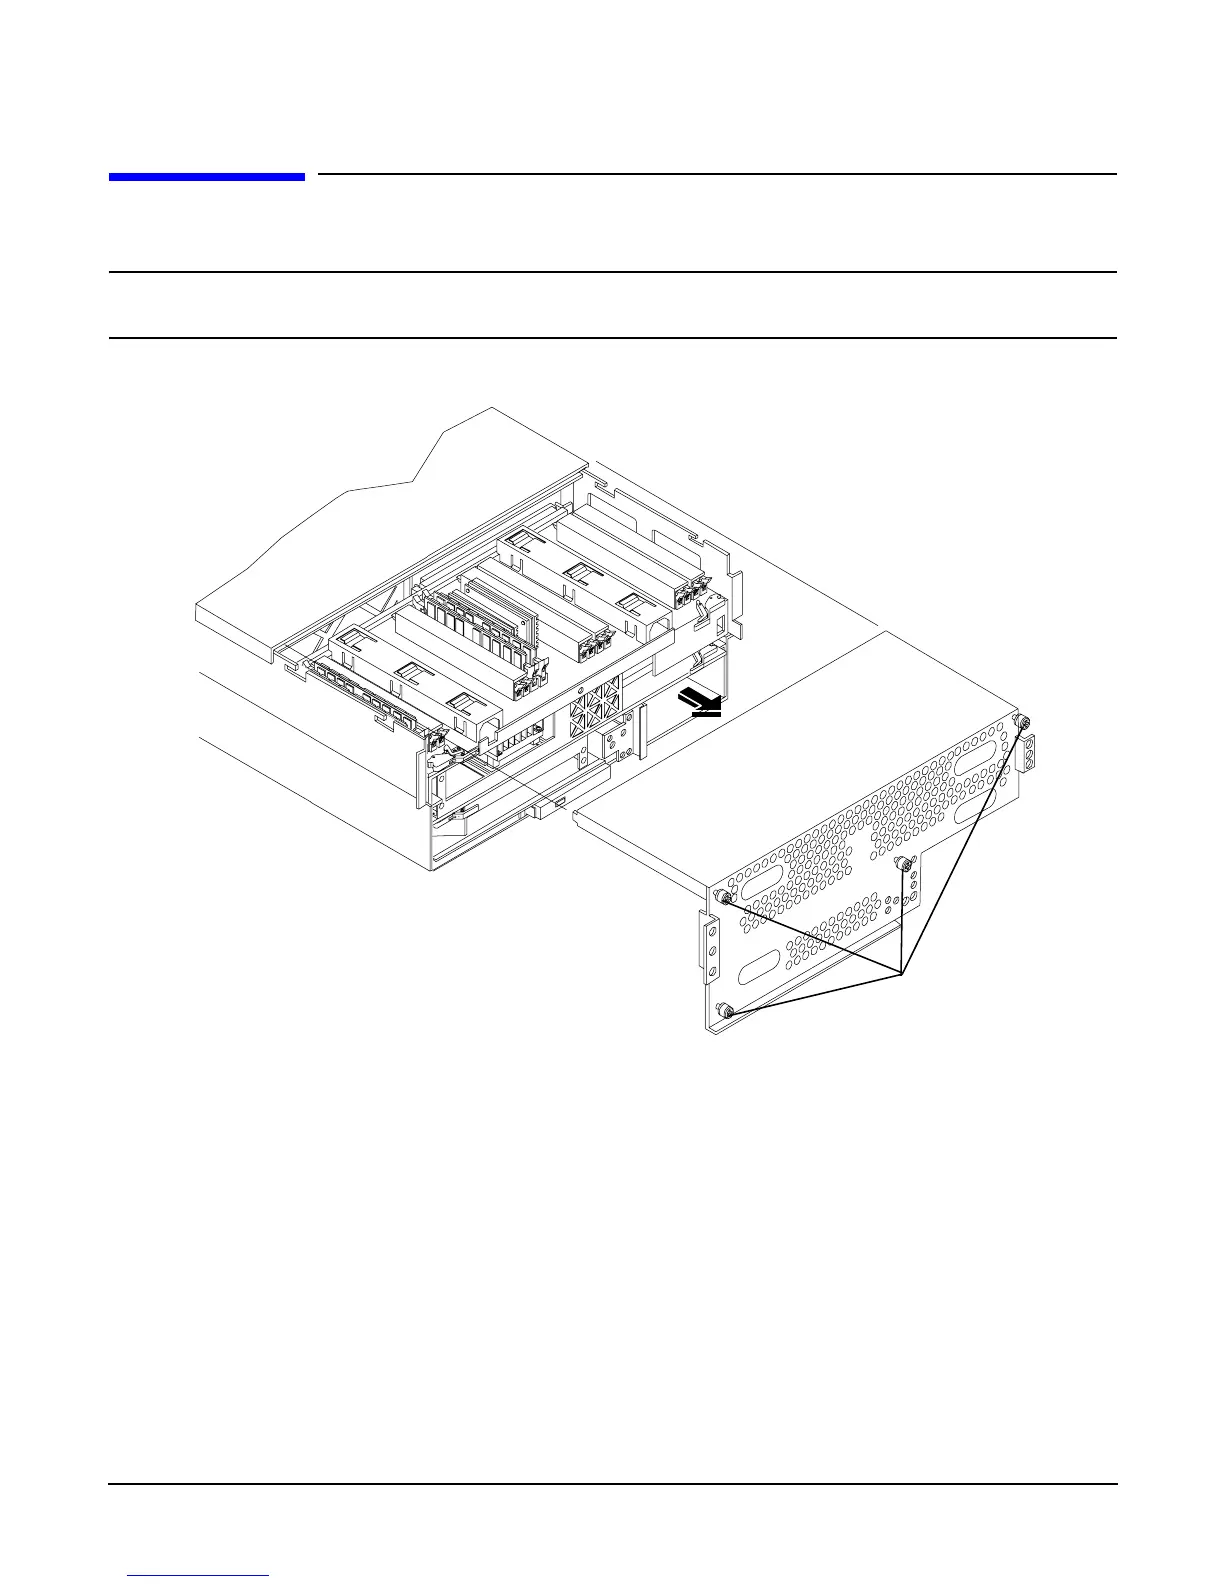
Figure 7-4 Removing and Replacing the Front Cover
Removing the Front Cover
To remove the front cover, perform the following steps:
Step 1. If rack mounted, slide the HP Server out from the rack until it stops. See “Accessing a Rack Mounted Server” on
page 141.
Step 2. Remove the front bezel. See “Front Bezel” on page 144.
Step 3. Using a torx T15 driver, loosen the four captive thumbscrews that hold the front cover in place.
Step 4. Raise the cover slightly, and pull the cover toward the front of the server to free the tabs from the slots in the center
of the chassis.
Thumbscrews