Chapter 4
Installing Additional Components and Configuring
Installing Processors and Memory
43
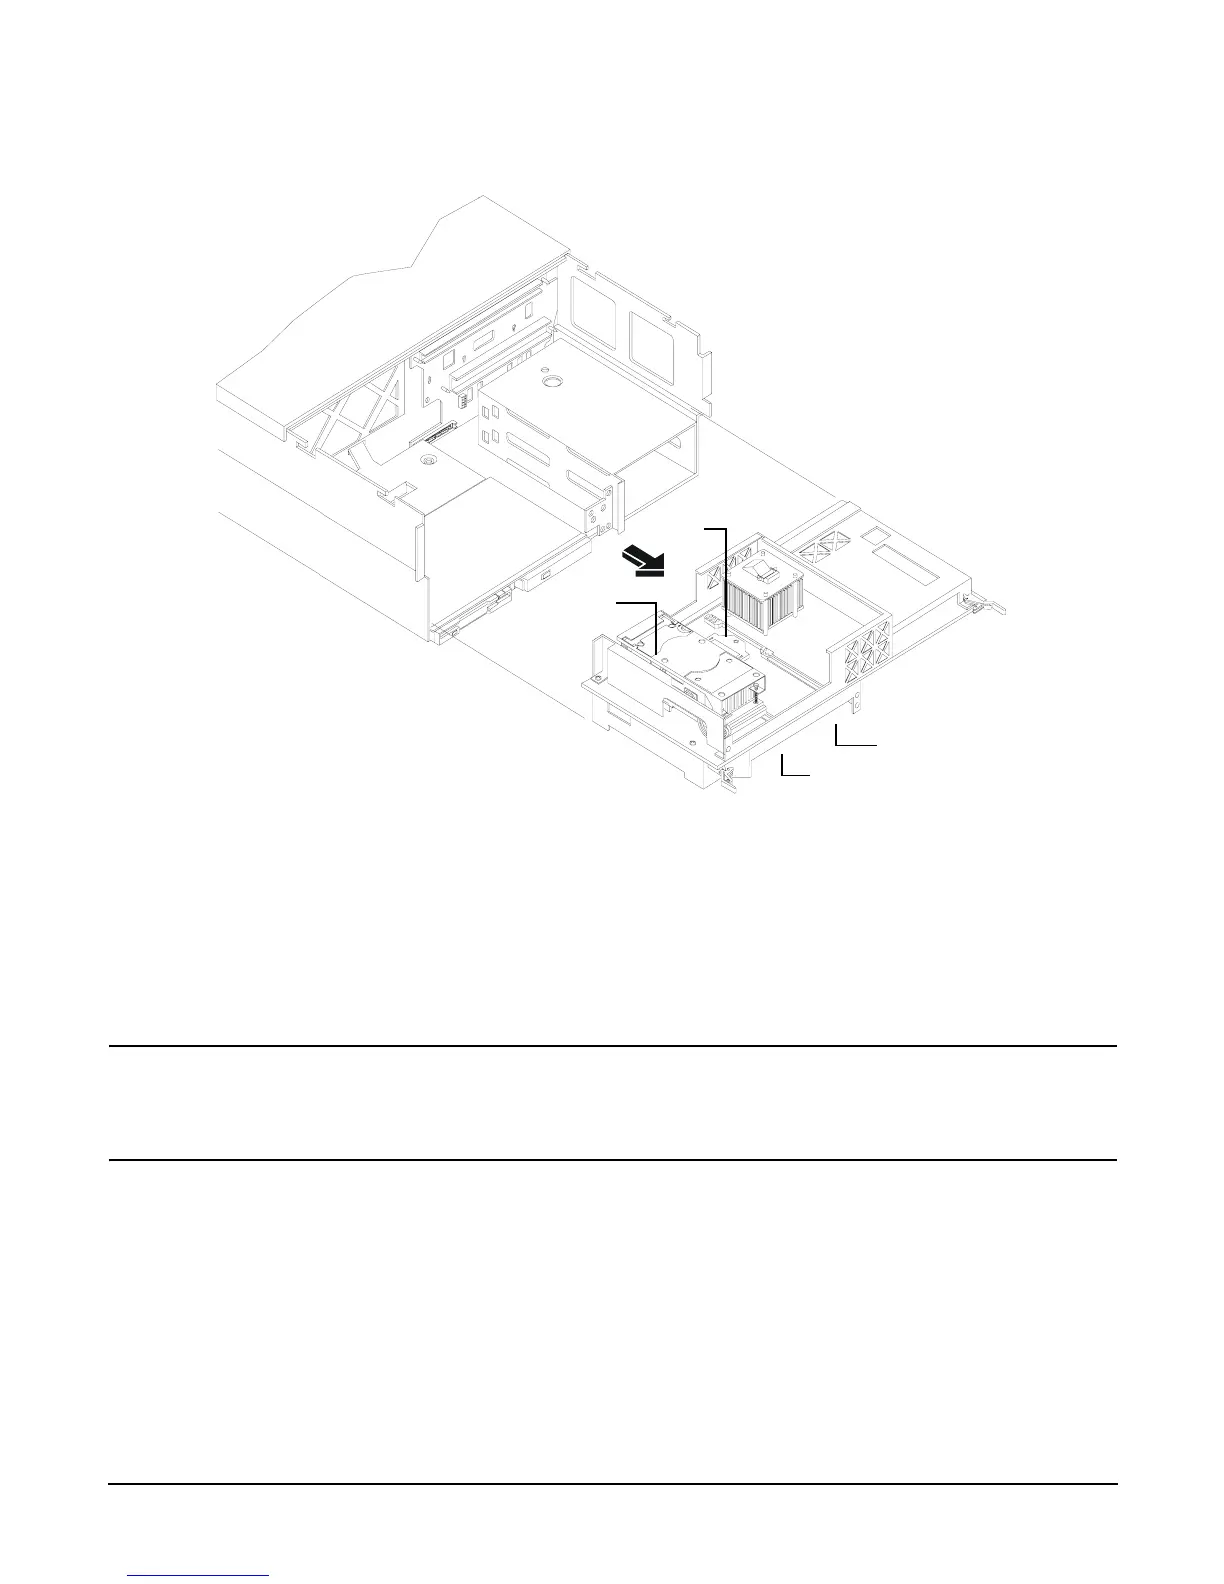
Figure 4-8 Removing Processor Extender Board
Step 6. Using an antistatic wrist strap place the extender board ona grounding mat (Electrically Conductive Field Service
Grounding Kit-HP 9300-1155).
Step 7. Ensure the cam on the processor socket lock is in the unlocked, counterclockwise position.
Step 8. Carefully lower the processor, without the sequencer clamp, onto the processor socket. Align the pins on the
bottom of the heatsink to the slots in the retention frame on the extender board as shown in Figure 4-11, “Installing
Processor on Extender Board Example.”
CAUTION Test the alignment of the assembly to the socket by gently moving the assembly back and forth
with the palm of your hand—you should feel little or no sideplay. However, because the assembly
is not yet tightened, it may tilt slightly towards the center of the extender board—this is
acceptable.
CPU 0
CPU 1
CPU 2 (under)
CPU 3 (under)