09/01/13www.HandiQuilter.com Installaon | 3.27
To aach the tablet computer
1. Remove the front handlebar from the front of the quilng machine, making sure to rst disconnect
the handlebar D-cable from the side of the head and then remove the three (or two if the handlebar is
the HQ Sixteen tilt-screen version) hex-head bolts with a 5mm Allen wrench.
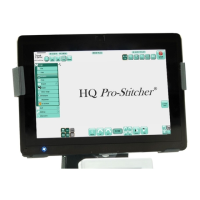
2. For HQ Sixteen Tilt-screen Handlebars: Remove the adapter plate that is held in place with one
hex-head screw and is revealed aer pulling the front handlebar o the HQ Sixteen.
3. Place the black computer bracket (see Parts List, item F) on the head so the three holes of the bracket
line up with the three holes in the head.
4. For HQ Sixteen Tilt-screen Handlebars: Secure the
bracket in place by placing the adapter plate on top of
the bracket and securing with the short bolt through
the hole on the le.
a. Put the two long bolts in posion without the
handlebar in place just to ensure that when
ghtening the short bolt, the long bolts will go
through.
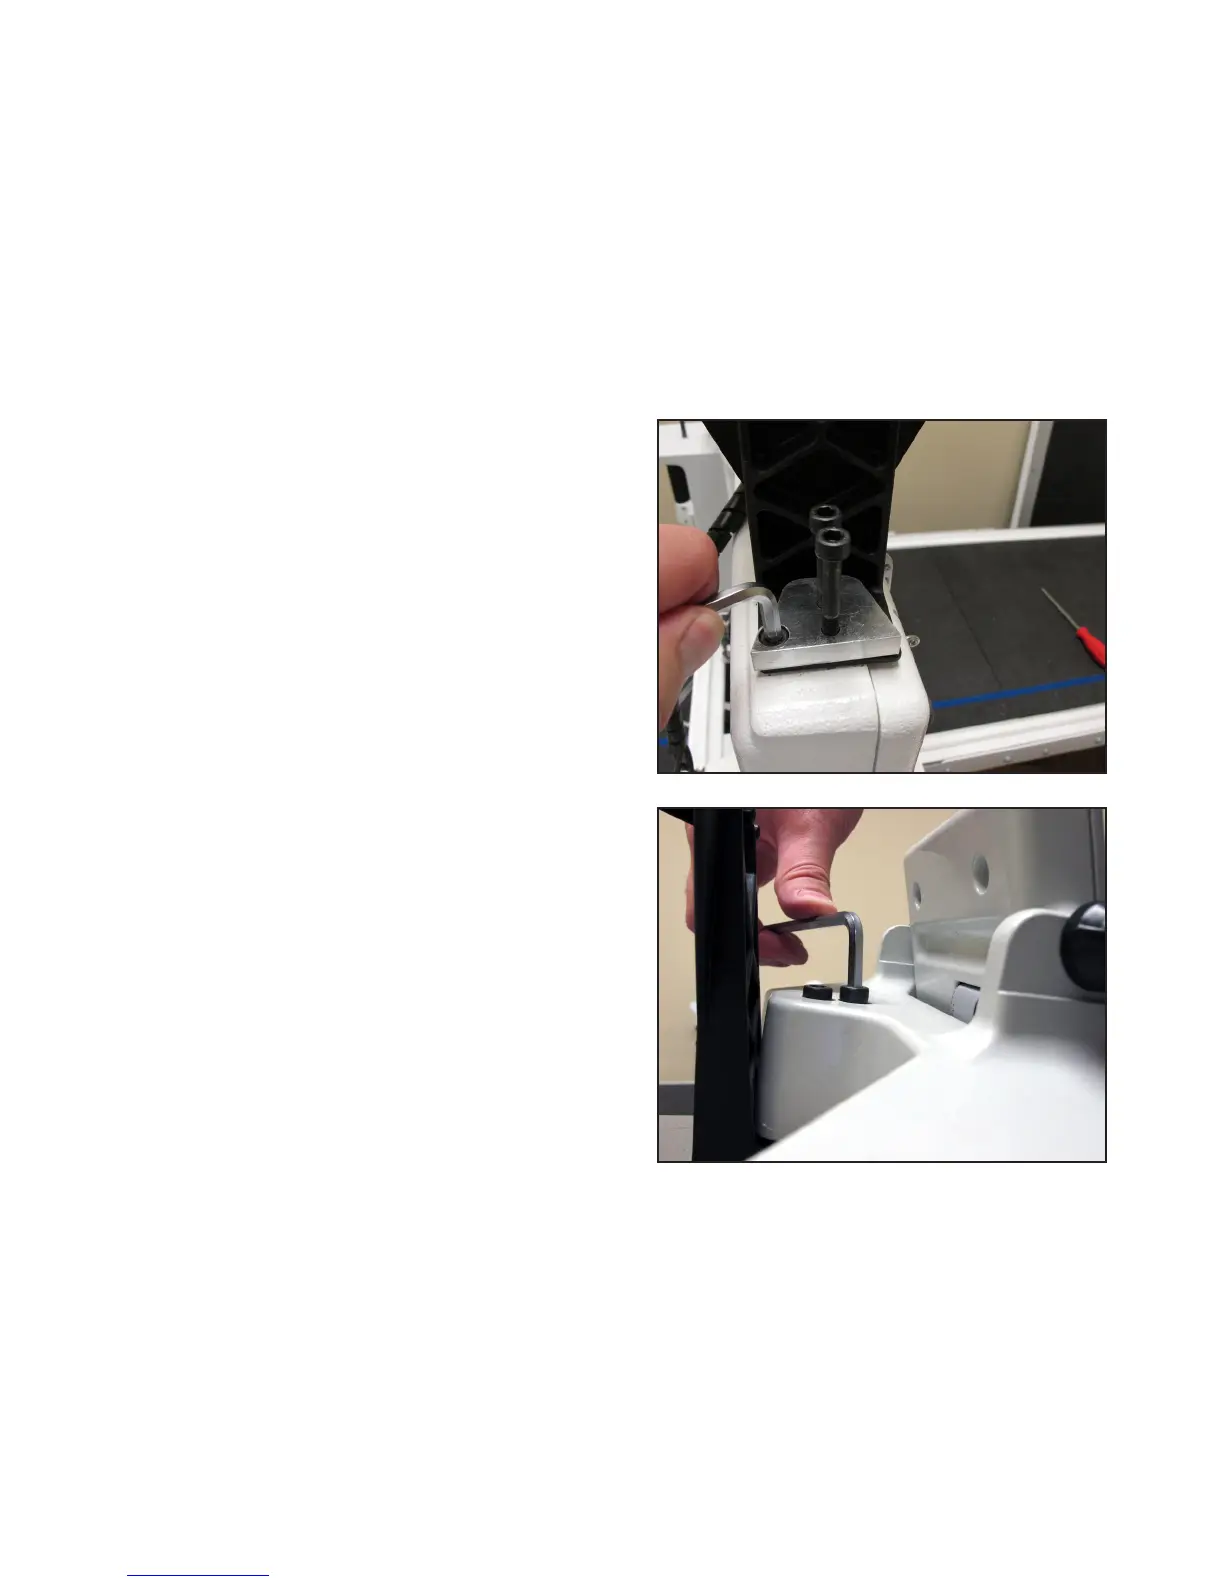
b. Once the short bolt is ghtened, remove the two
long bolts and posion the front handlebar over the
adapter plate.
c. Secure the front handlebar in place with the two
long handlebar bolts.
5. For HQ
18
Avanté and HQ Sixteen non-lt-screen handlebars: Posion the handlebar over the bracket
and secure the handlebar and bracket in place using the three handlebar bolts.