146 Powermax30 AIR Service Manual 808850
6 – Power Supply Component Replacement
8. On the inside of the front panel, unscrew the retention nut on the torch lead’s strain relief so that the torch lead
moves freely. See Figure 63.
9. Remove the torch lead by pulling the wires through the hole in the front panel . If you are replacing the strain relief,
remove the strain relief from the front panel.
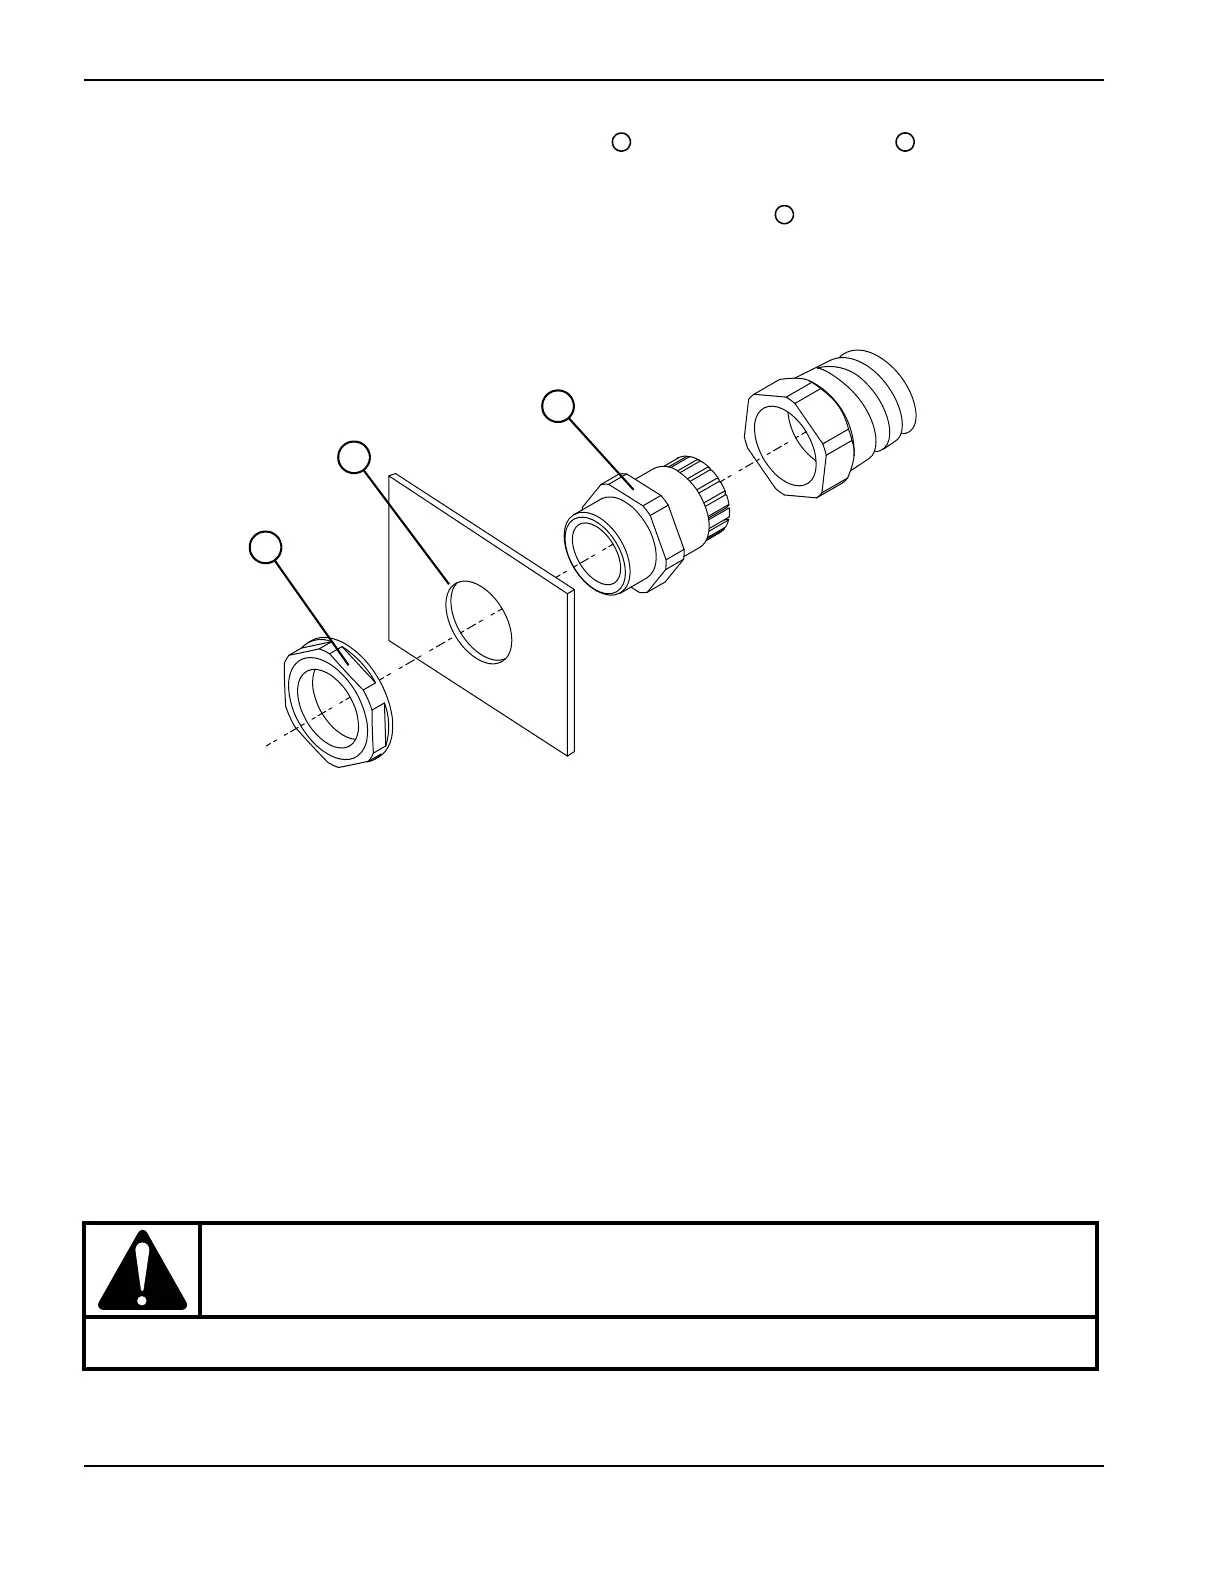
Figure 63
Install the torch lead and strain relief
If you are replacing just the torch lead cable, not the whole torch assembly, refer to Replace the torch lead on page 197
for details on how to connect the new lead to the torch.
1. Are you installing a new strain relief?
If yes, slide the new strain relief and strain relief nut over the new torch lead and up to the hole in the front panel.
If no, continue with the next step.
2. Route the wires for the new torch lead through the hole in the front panel and then through the retention nut for the
strain relief.
3. From the inside of the front panel, tighten the retention nut onto the strain relief.
CAUTION!
Be careful not to twist the torch lead as you tighten the retention nut onto the strain relief.

 Loading...


