EasyManuals Logo

Hypertherm Powermax30 AIR Service Manual

Hypertherm Powermax30 AIR
223 pages
To Next Page IconTo Next Page
To Previous Page IconTo Previous Page
Page #162 background imageLoading...
Page #162 background image
162 Powermax30 AIR Service Manual 808850
6 Power Supply Component Replacement
6. Hold down the base of the power supply with one hand. With your other hand, lift the end of the internal compressor
that is nearest the rear panel until the compressor is free of the 2 retaining screws.
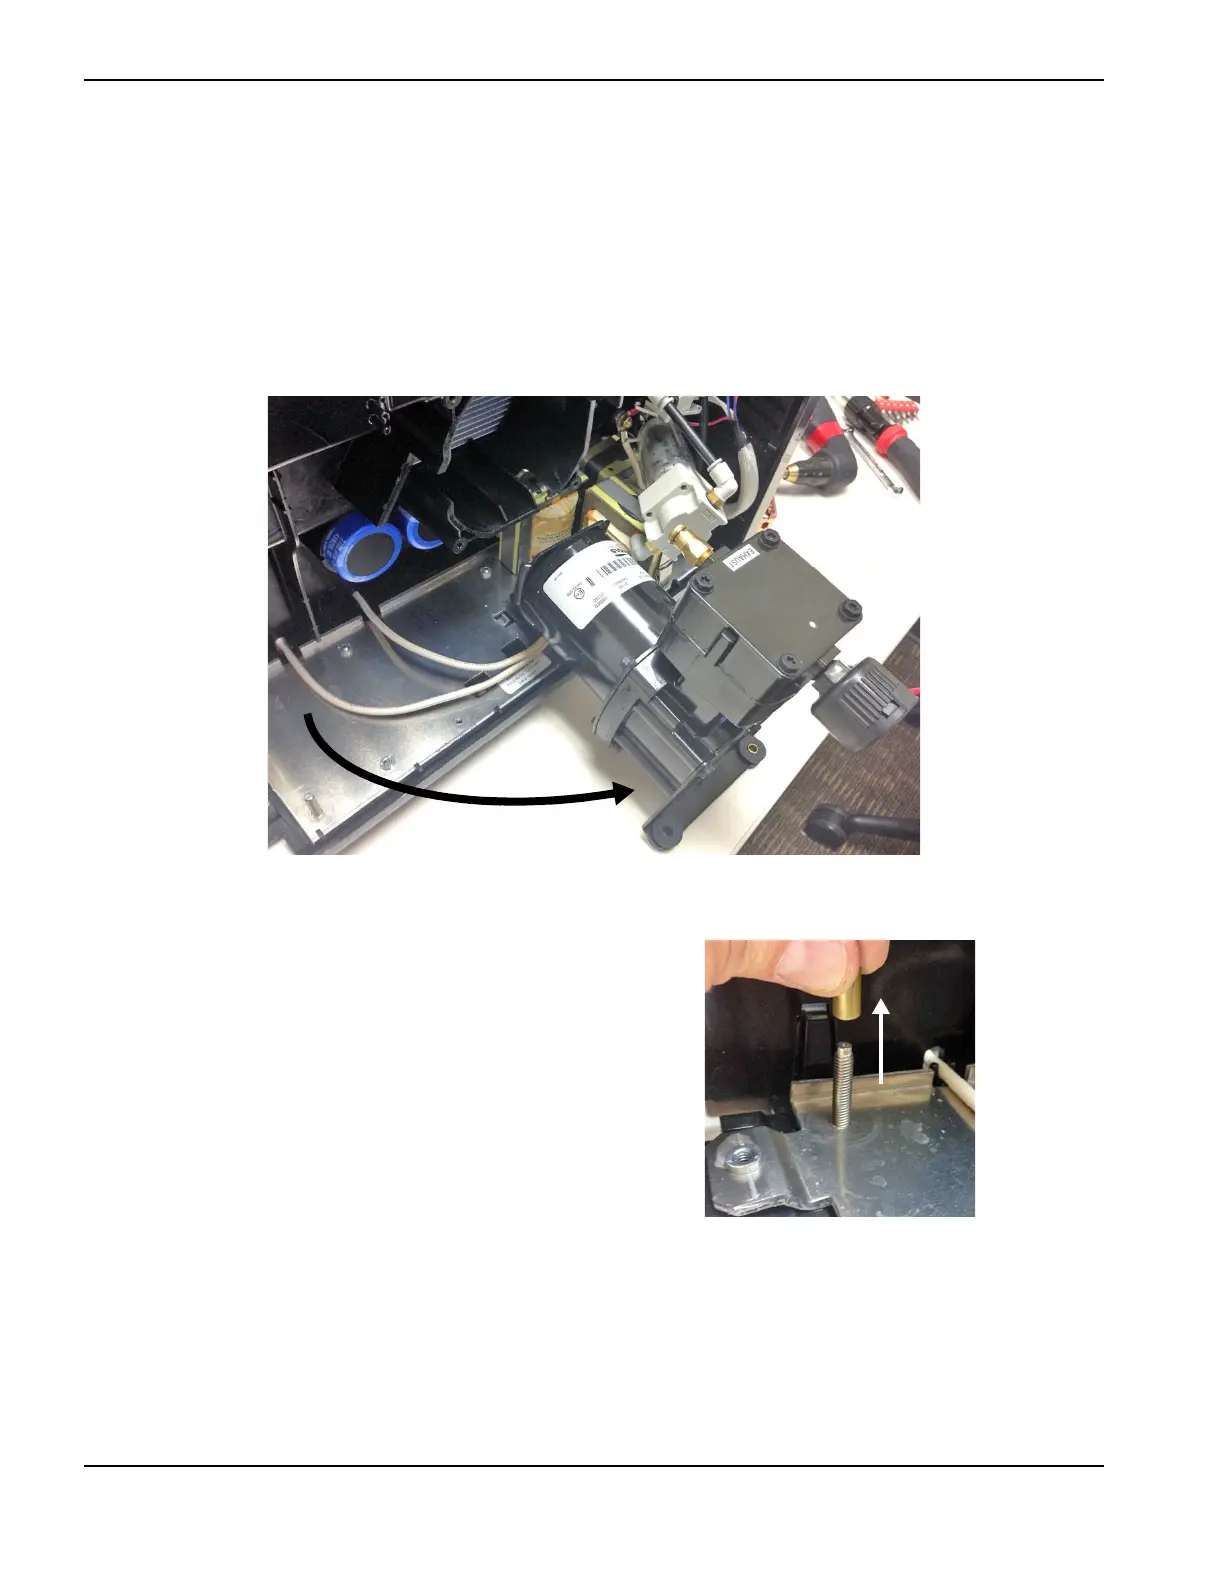
7. Rotate the internal compressor 90° counterclockwise so that it is outside the power supply. See Figure 74.
8. Lift the internal compressor until it is free of the third retaining screw (the one in the middle of the power supply).
Remove the internal compressor from the power supply.
Figure 74
9. Check the 3 retaining screws in the power supply. If
brass sleeves were left behind on any of the screws,
remove the sleeves.

Table of Contents

Other manuals for Hypertherm Powermax30 AIR

Questions and Answers:

Question and Answer IconNeed help?

Do you have a question about the Hypertherm Powermax30 AIR and is the answer not in the manual?

Hypertherm Powermax30 AIR Specifications

General IconGeneral
Built-in Air CompressorYes
Output Voltage83 VDC
Input Voltage120-240 V
Current Output15–30 A
Cutting ThicknessUp to 10 mm (3/8 in) recommended cut
Gas SupplyBuilt-in air compressor
Operating Temperature-10°C to +40°C (+14°F to +104°F)

Related product manuals