Powermax30 AIR Service Manual 808850 181
6 – Power Supply Component Replacement
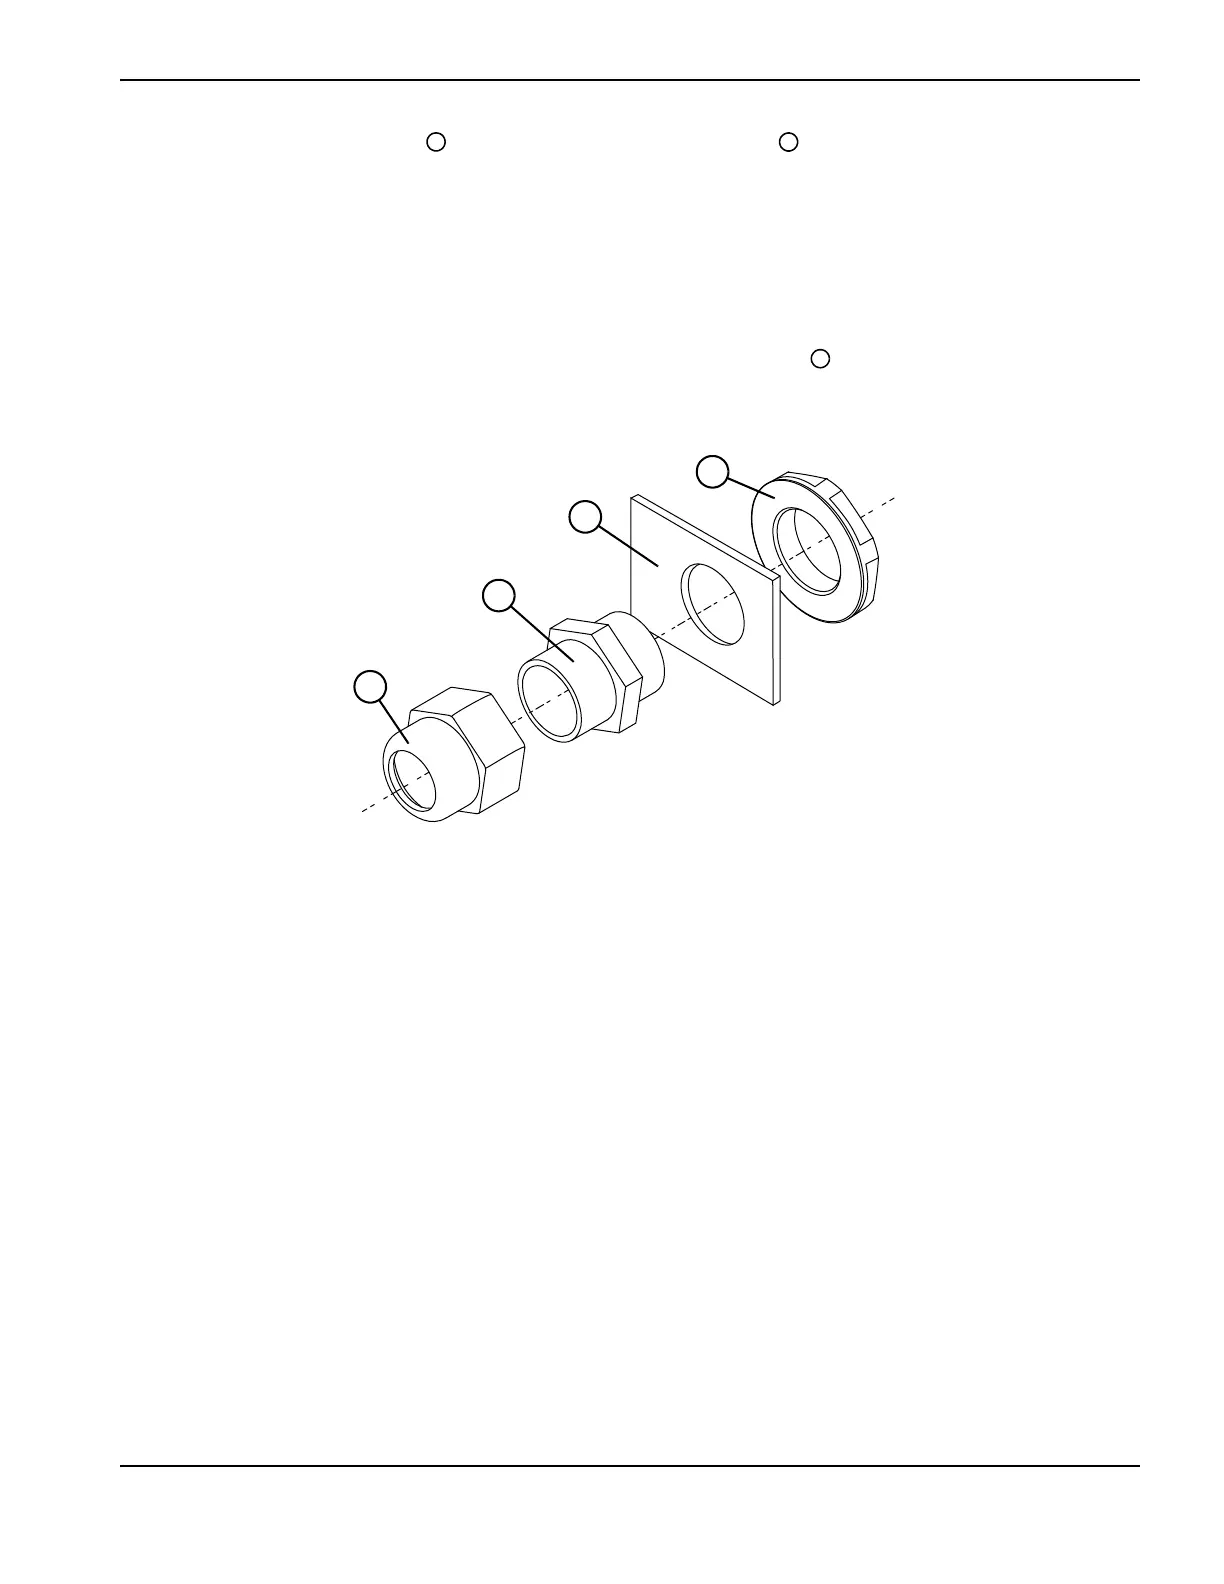
4. On the inside of the front panel , remove the strain relief’s retaining nut . See Figure 91.
5. Pull the work lead through the hole in the front panel.
6. Route the ring terminal on the new work lead through the hole in the front panel and then through the retaining nut.
7. Attach the work lead to the power board at J22 using the screw and washer that you removed in step 3. Tighten the
screw to 23.0 kg∙cm (20 inch∙pounds).
8. On the inside of the front panel, tighten the retaining nut onto the strain relief .
Figure 91
9. Complete the following procedures:
a. See Reattach the front panel on page 103.
b. See Install the component barrier on page 101.
c. See Install the power supply cover on page 99.
d. Reconnect the power cord, and set the power switch to ON (I).
 Loading...


