1. Locate and remove from the forms path torn pieces of paper or other foreign material that can cause forms
jams.
2. Ensure the rear tractor paper door is open or removed.
3. Ensure that the paper bail is removed. See Table 47 on page 303.
4. Ensure that the rear tractor assembly is in the pull mode.
To put the tractor assembly in pull mode, pull the two levers on the back and pivot the part that mounts to the
printer until it detents (approximately 45 degrees).
5. Ensure the rear tractor push-pull selector is set correctly.
To set the rear tractor for the pull forms path, pull the push-pull selector toward the front of the printer until the
gear shafts are completely at the bottom of the slots in the selector. See Figure 67 on page 313 and
Figure 60 on page 306.
6. Inspect the following parts for wear, damage, or binds. Use knob (PN 08H7271), if available, to hand cycle the
paper feed mechanism to observe the parts. The knob installs on the left end of the platen shaft. Install new
parts, as needed.
v Upper feed roller gear
v Idler gear
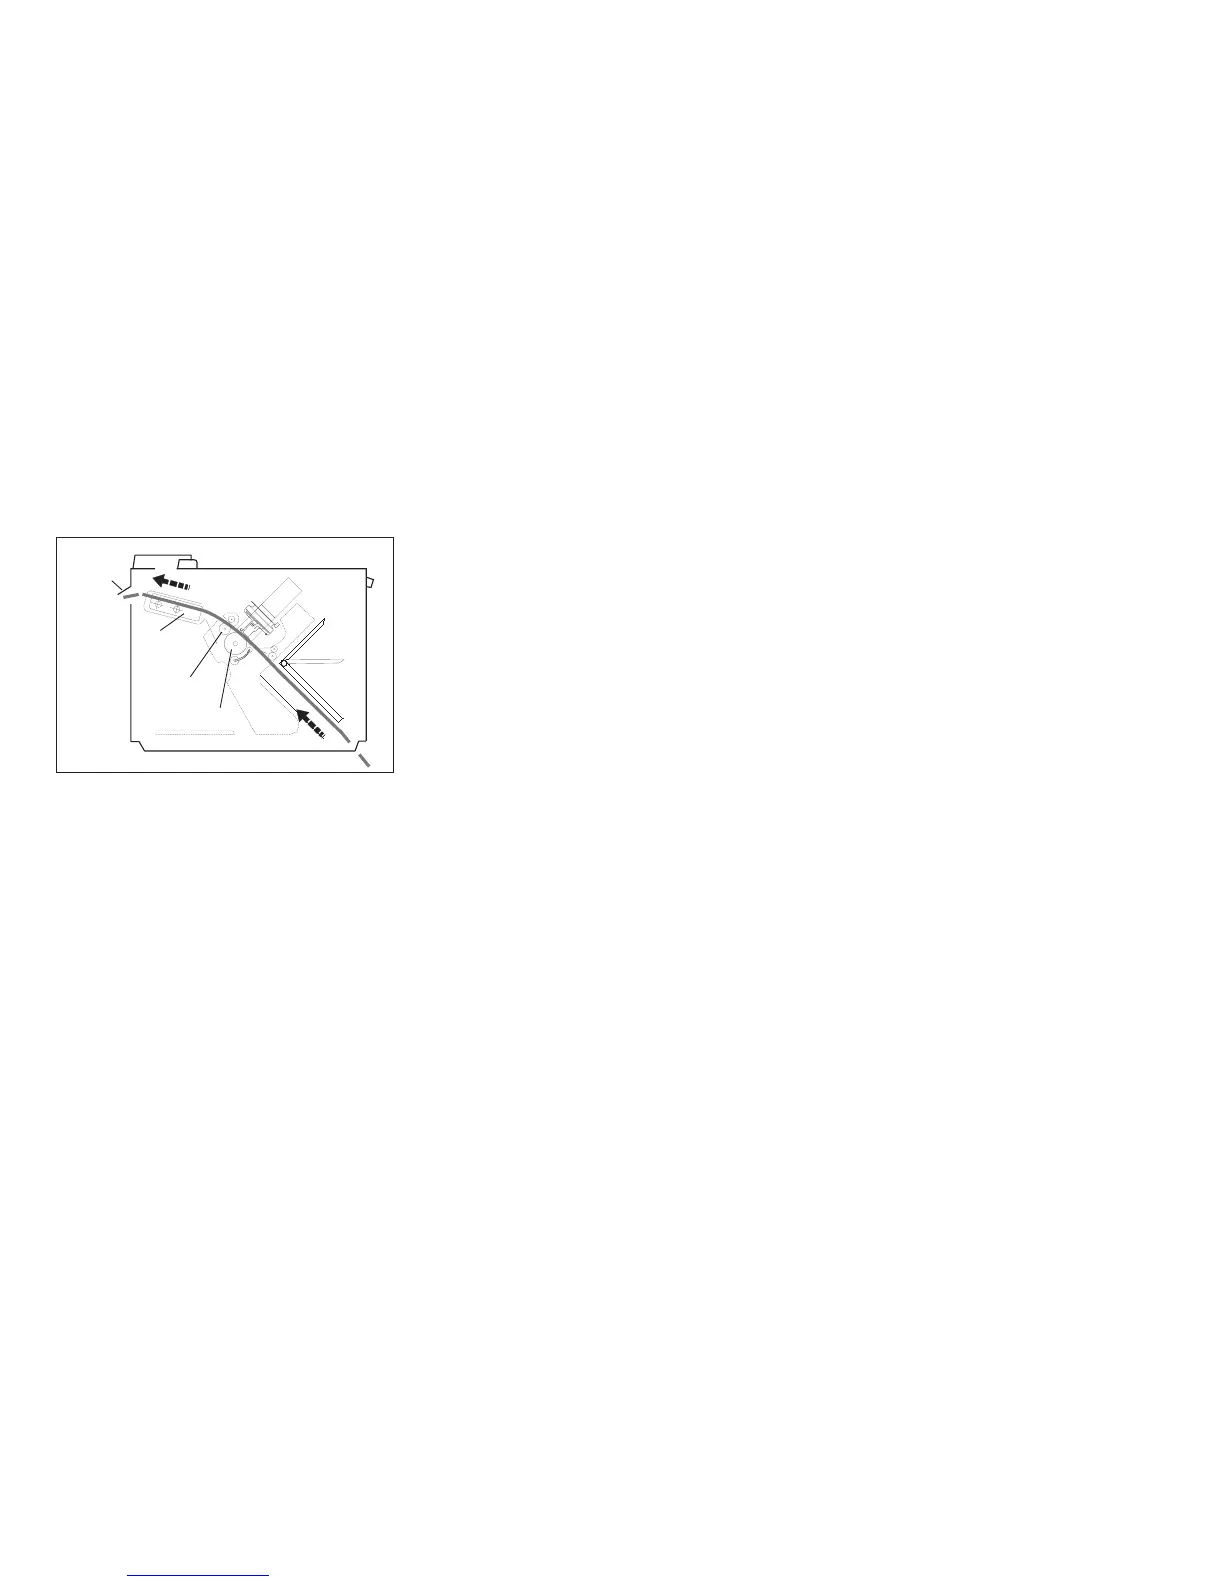
Tractor
Assembly
Upper
Feed
Roller
Rear
Paper
Door
Platen
E90AFF2
Figure 66. Rear Pull Path Overview.
(Viewed From Left Side)
Chapter 5. Removals and Adjustments 312