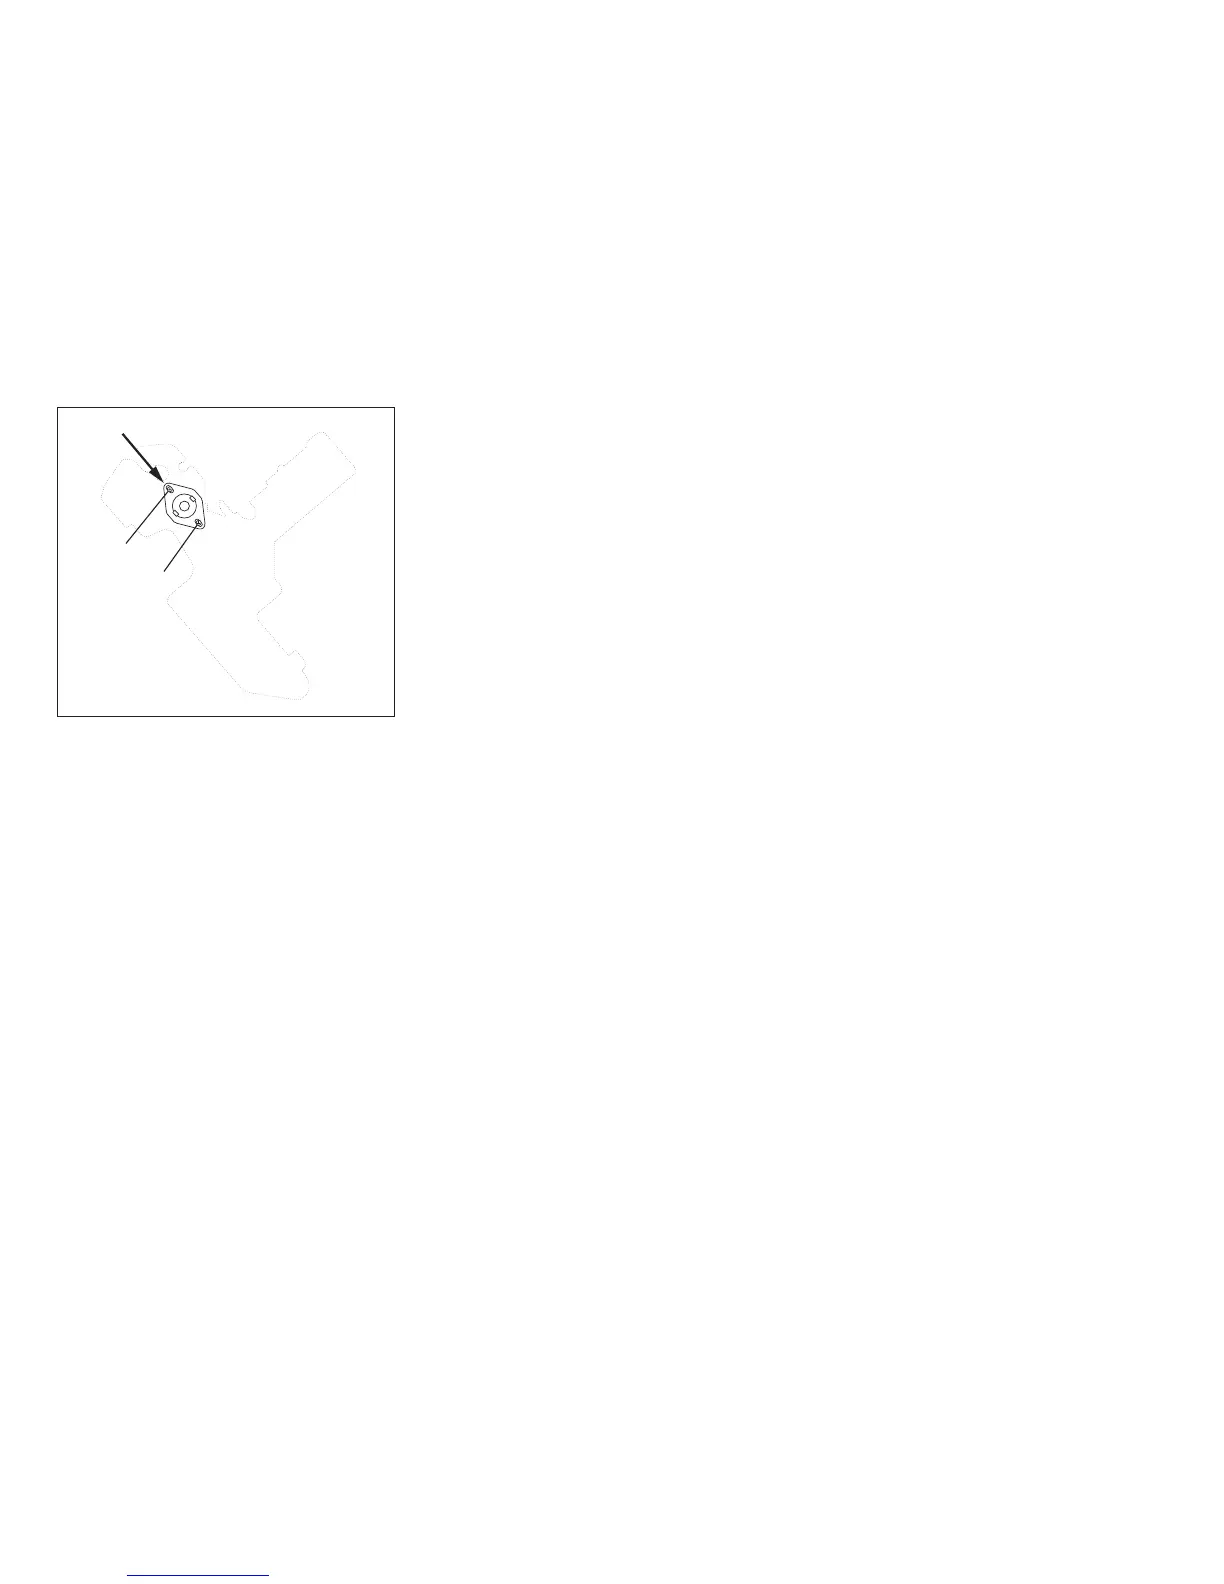
To do this, push the retainer toward the front bottom corner of the printer (shown by arrow in Figure 168) while
you tighten the screws.
3. Perform the paper feed belt tension adjustment. See “Paper Feed Belt” on page 281.
4. Perform AFTA service check. See “Standard AFTA Service Check and Adjustment” on page 285.
Printhead Mask
Removal
1. Remove the operator panel and all of the printer covers. See “Printer Covers” on page 347.
2. Remove the ribbon cartridge. See “Ribbon” on page 353.
3. Remove the paper bail assembly. See “Paper Bail Assembly” on page 422.
4. Open the printhead gap to its maximum limit by rotating the AFTA indicator wheel to the maximum value.
5. Loosen the left end of the aluminum profile:
e90aloch
Screw A
Screw B
Figure 168. Platen Bearing Retainer.
Push Retainer in Direction of Arrow
Chapter 5. Removals and Adjustments 432