Replacement
1. Follow the removal steps in reverse order.
2. Perform the paper feed drive belt service check. See “Paper Feed Belt” on page 281.
3. Perform the carriage drive belt service check. See “Carriage Drive Belt” on page 279.
4. Perform the bidirectional printing service check. See “Bidirectional Printing” on page 294.
5. Perform the AFTA service check. See “Standard AFTA Service Check and Adjustment” on page 285.
Carriage Assembly
Removal
1. Remove the printer covers. See “Printer Covers” on page 347.
2. Remove the printhead. See “Printhead” on page 356.
3. Remove the AFTA assembly. See “Automatic Forms Thickness Adjust (AFTA) Assembly” on page 407.
4. Remove the pinch roller bellcrank. See “Platen Pinch Roller Assembly” on page 411.
5. Remove the paper bail assembly. See “Paper Bail Assembly” on page 422.
6. Perform the following:
a. Loosen the carriage belt clamp screw and remove the belt from the clamp.
b. Remove the left carriage shaft screws and retainer.
C-clip
Lower Feed
Roller Assembly
Left
Side
Screws
Cut Sheet
Tray Frame
Right
Side
Screws
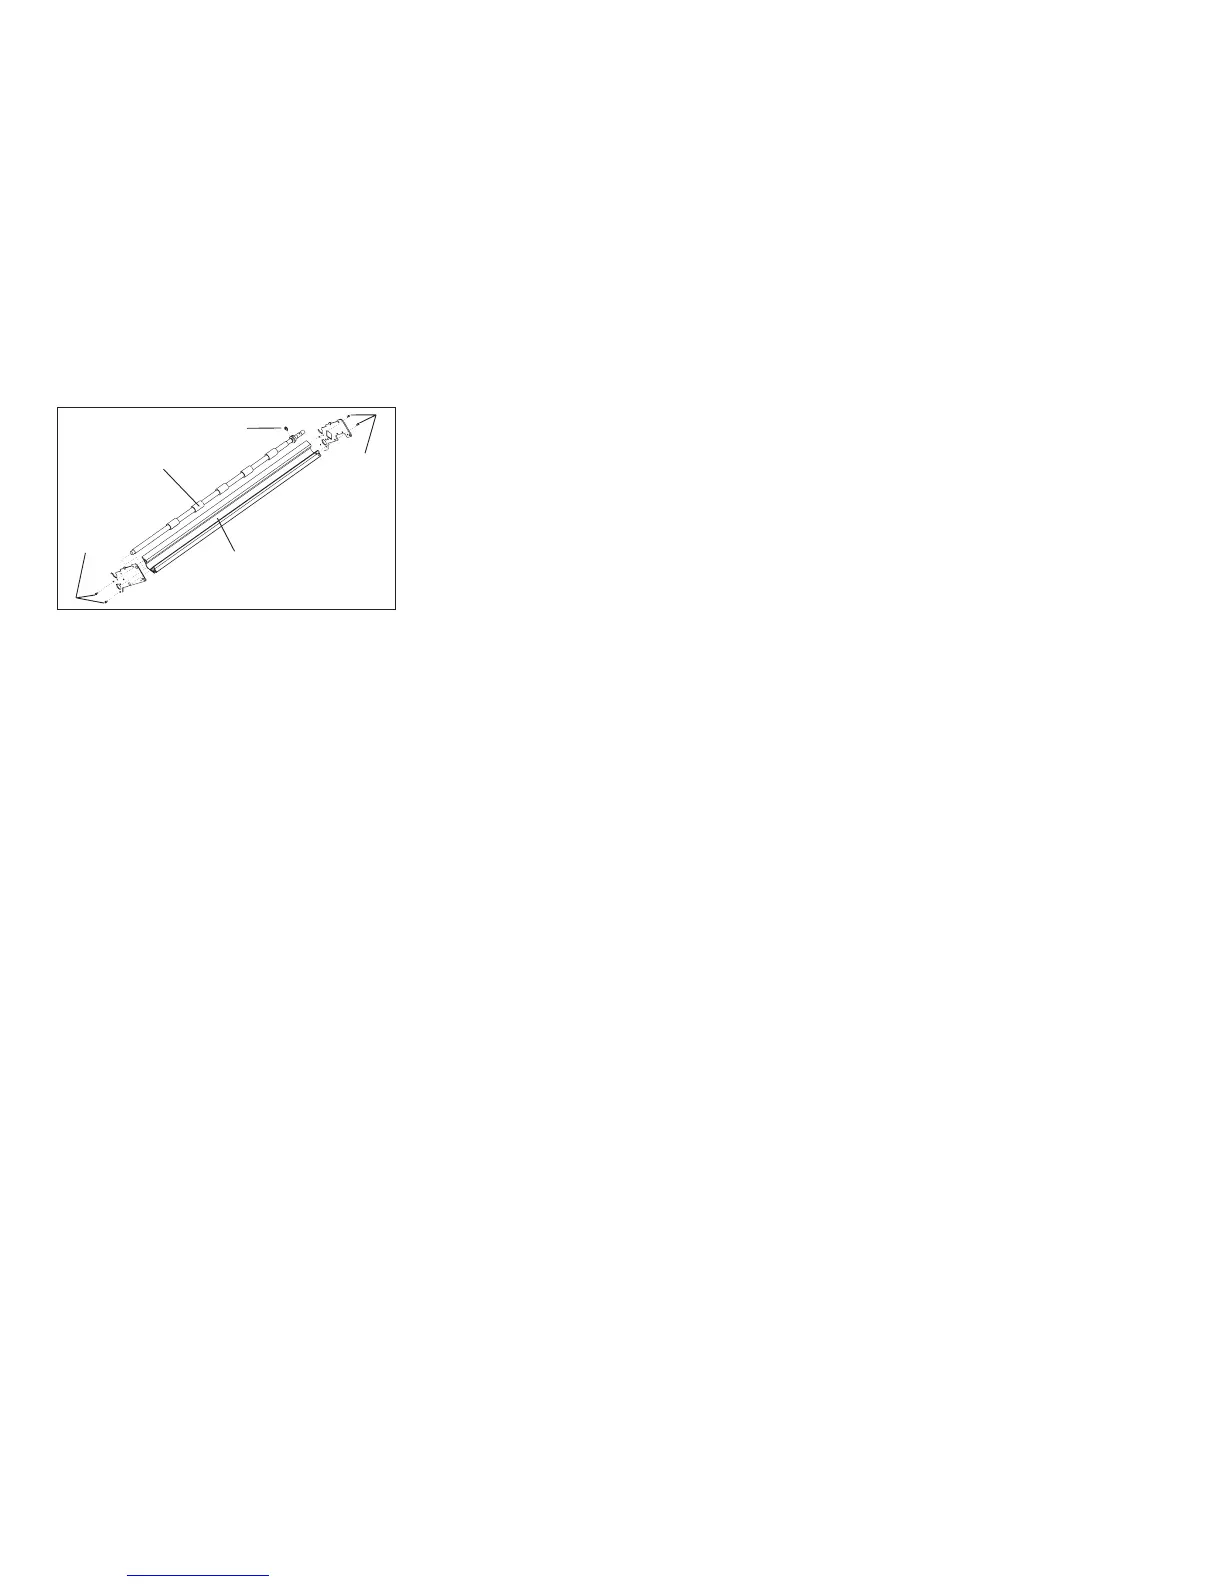
Figure 172. Lower Feed Roller Assembly
Chapter 5. Removals and Adjustments 437