c. Begin applying the bottom edge of the mask against the bottom side of the recess in the carriage.
Press the remainder of the mask on from the bottom to top. No part of the mask may extend over the
sides of the recess of the carriage.
2. Replace all parts that were removed, by following the removal steps in reverse order.
Lower Feed Roller Assembly
Removal
1. Remove the printer covers. See “Printer Covers” on page 347.
2. Remove the manual sheet feed tray. See “Manual Sheet Feed Tray” on page 425.
3. Remove the AFTA assembly. See “Automatic Forms Thickness Adjust (AFTA) Assembly” on page 407.
4. Perform the following:
a. Remove the drive belt from the carriage motor pulley. See “Carriage Drive Belt” on page 420.
b. Remove the 4 carriage motor support screws from the right side of the mechanical assembly.
5. Loosen the paper feed drive belt tension screws through the access holes in the frame.
Screws
Carriage
Drive
Belt
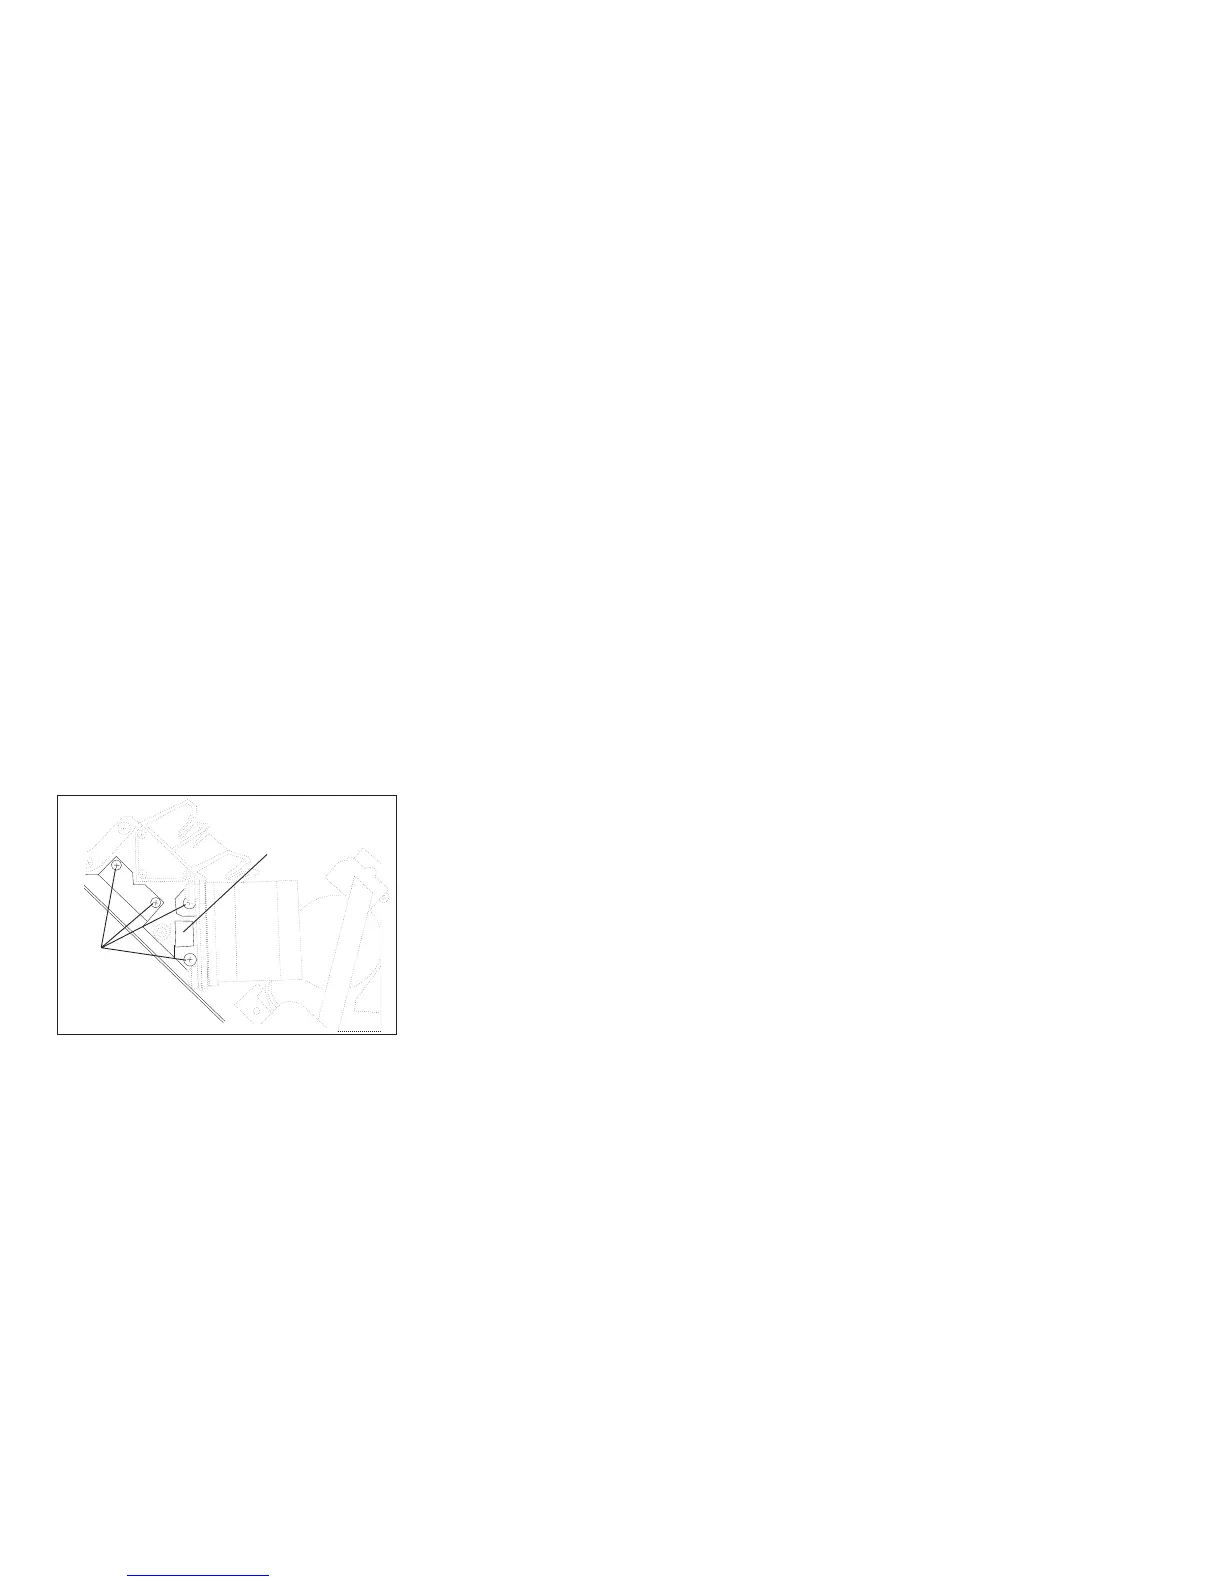
Figure 170. Platen Bearing.
(Viewed From Right Side)
Chapter 5. Removals and Adjustments 435