10. Reassemble the printer:
a. Rotate the carriage toward the platen. Position the bronze bushing into the carriage assembly and flex
the left side of the frame to position the shaft in the side frame. Install the screw with the ground strap
and thick washer. Verify the position of the adjustor with the mark on the right side of the frame and
tighten the screws.
b. Raise the aluminum profile up and install the back screw in the left side of the frame.
c. Install the small screw for the sensor block and the front screw and washer for the aluminum profile.
d. Replace the cabinet sections, operator panel, bail assembly and ribbon.
Installation
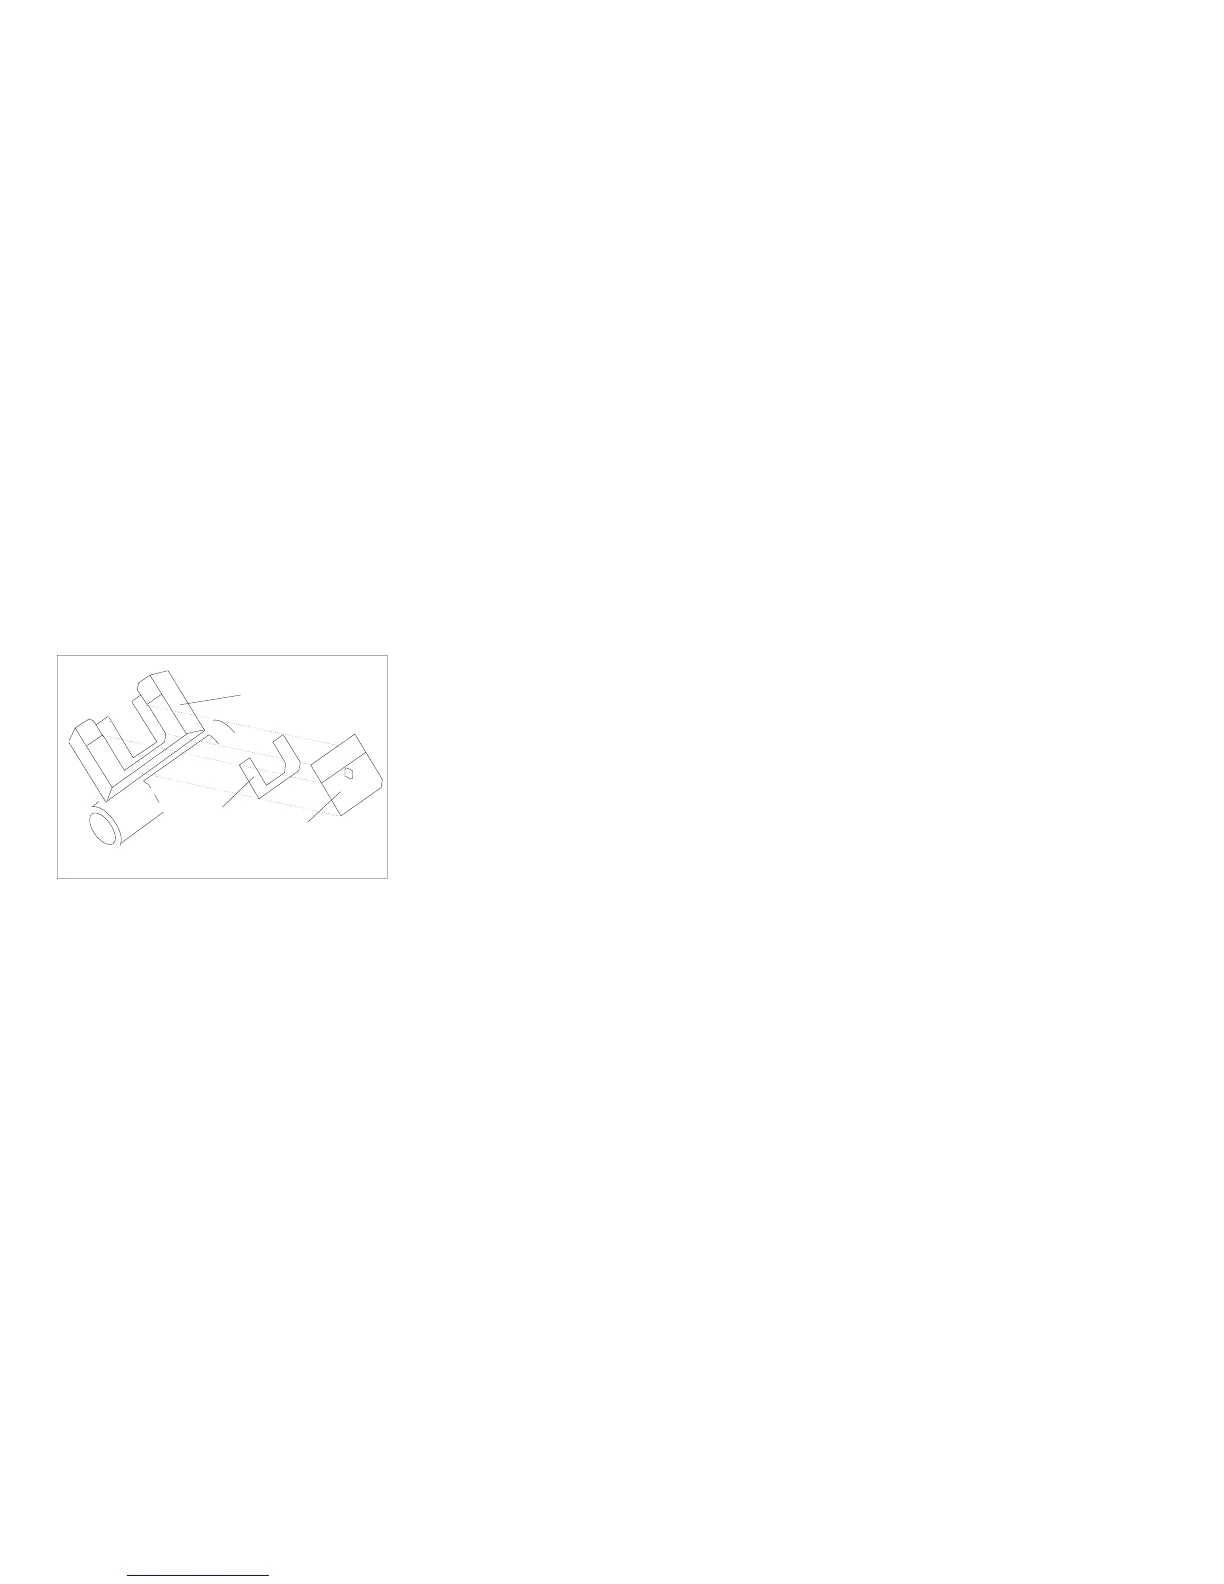
1. Install the new printhead mask into the recess of the carriage.
a. Remove the backing from the mask.
b. Orient the mask to the recess on the carriage.
Ensure that the cut off corner of the mask is aligned with the corresponding corner in the recess on the
carriage.
Adhesive
Mask
Carriage
(Platen Side)
Figure 169. Printhead Mask
Chapter 5. Removals and Adjustments 434