3. Remove the left and right (carriage) support shaft screws.
4. Remove the old support shaft from the printer.
Installation
1. Install the carriage assembly support bushing on the new shaft.
2. Install the eccentric bushing onto the flat end of the new shaft.
3. Install the new shaft into the printer, with the eccentric bushing on the right side.
4. Position the eccentric bushing to the reference mark.
5. Install the support shaft into the right side of the frame using the screw.
6. Install the support shaft into the left side of the frame using the screw.
7. Perform the carriage support shaft adjustment. See “Carriage Support Shaft” on page 280.
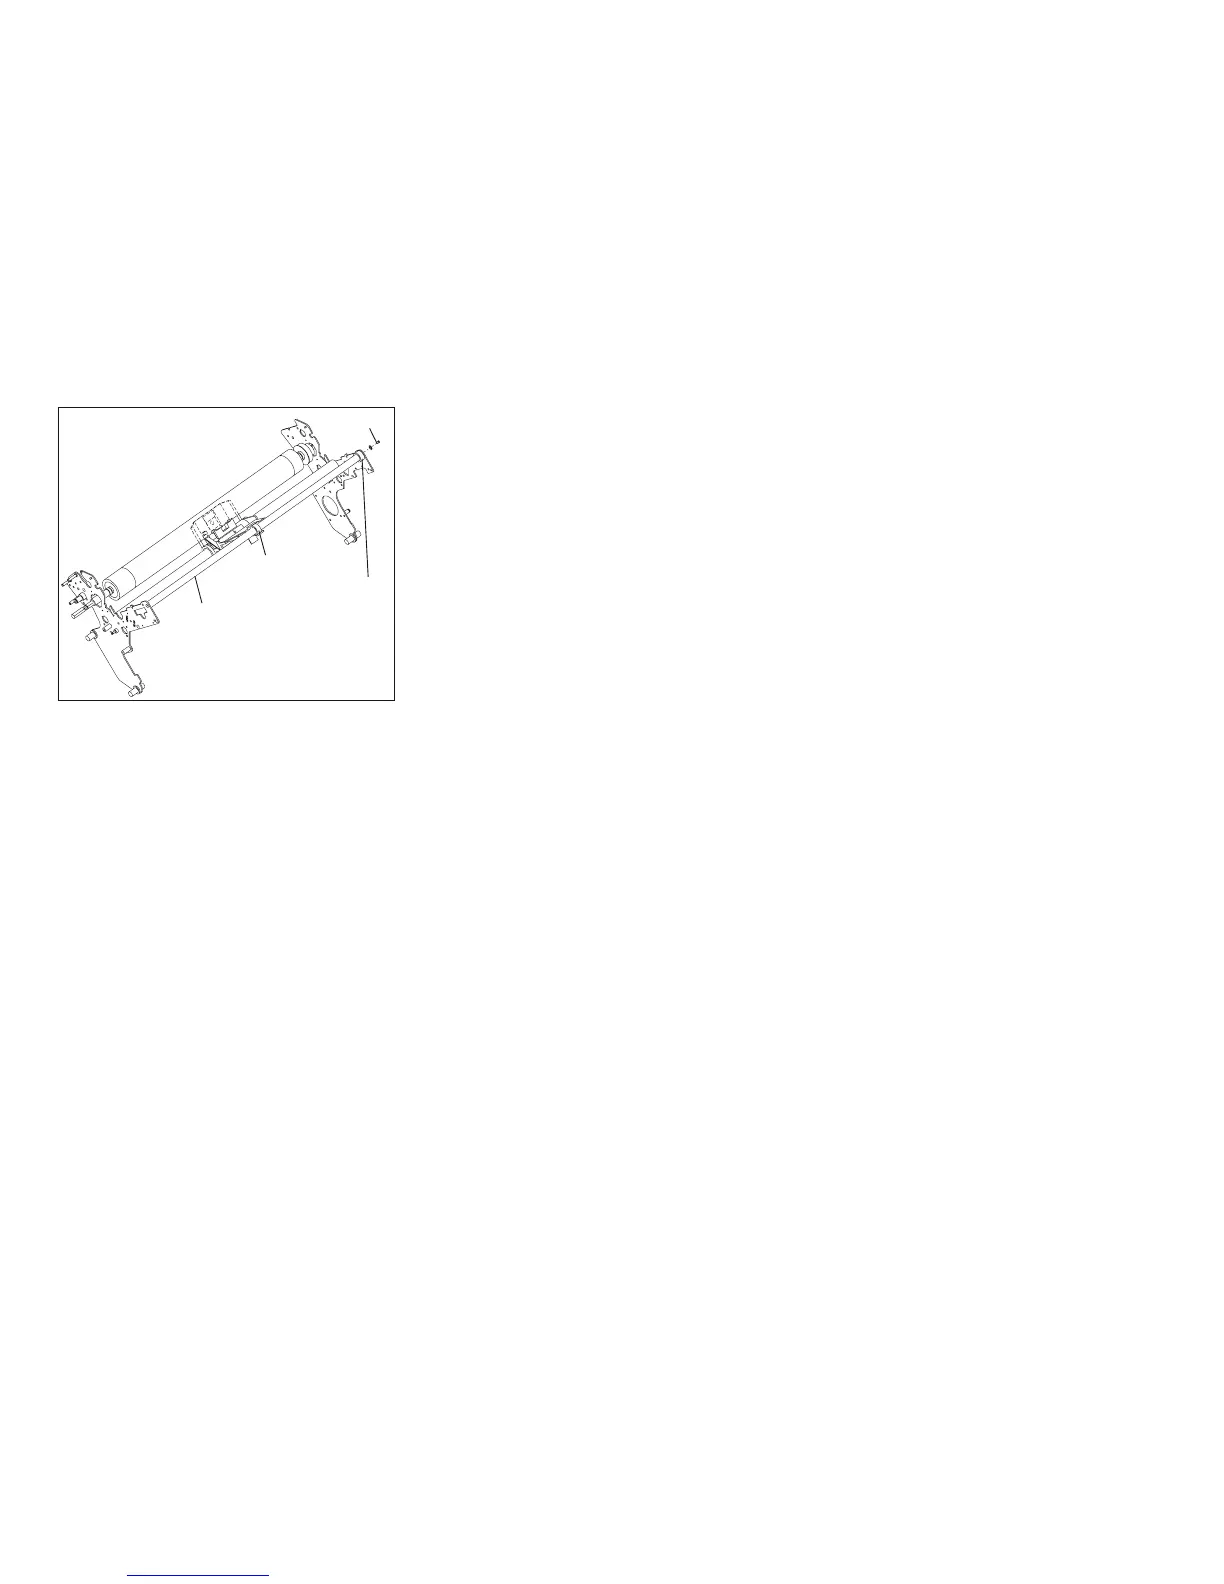
Screw
Eccentric
Bushing
Carriage Support
Shaft Bushing
Carriage Support
Shaft
e90aloce
Figure 175. Carriage Support Shaft Components
Chapter 5. Removals and Adjustments 440