7. Install all of the SFP transceivers into the adapter card, as described in “Removing and replacing the
Fibre Channel SFP transceiver on a SAN Volume Controller node” on page 177.
8. Make sure that all cables, adapters, and other components are installed and seated correctly and that
you have not left loose tools or parts inside the node. Make sure that all internal cables are correctly
routed. If you disconnected the Fibre Channel and Ethernet cables, make sure that each cable is
reconnected to the same port from which it was removed.
9. Replace the top cover. See “Replacing the top cover” on page 81.
10. Place the node in the rack. See “Replacing the SAN Volume Controller in a rack” on page 55.
11. Replace the cable-retention brackets and reconnect the power cables, as described in “Replacing the
SAN Volume Controller 2145-CG8 or 2145-CF8 cable-retention brackets” on page 39.
12. Turn on the node.
Replacing the SAN Volume Controller 2145-8A4 Fibre Channel adapter assembly
Before you can replace the Fibre Channel adapter assembly, it must be installed in the riser-card assembly.
Perform the following steps to replace the SAN Volume Controller 2145-8A4 Fibre Channel adapter
assembly:
1. Remove the SFP transceivers if they are in the new Fibre Channel adapter assembly. To do this, unclip
the release handle and then use the handle to pull out each SFP transceiver.
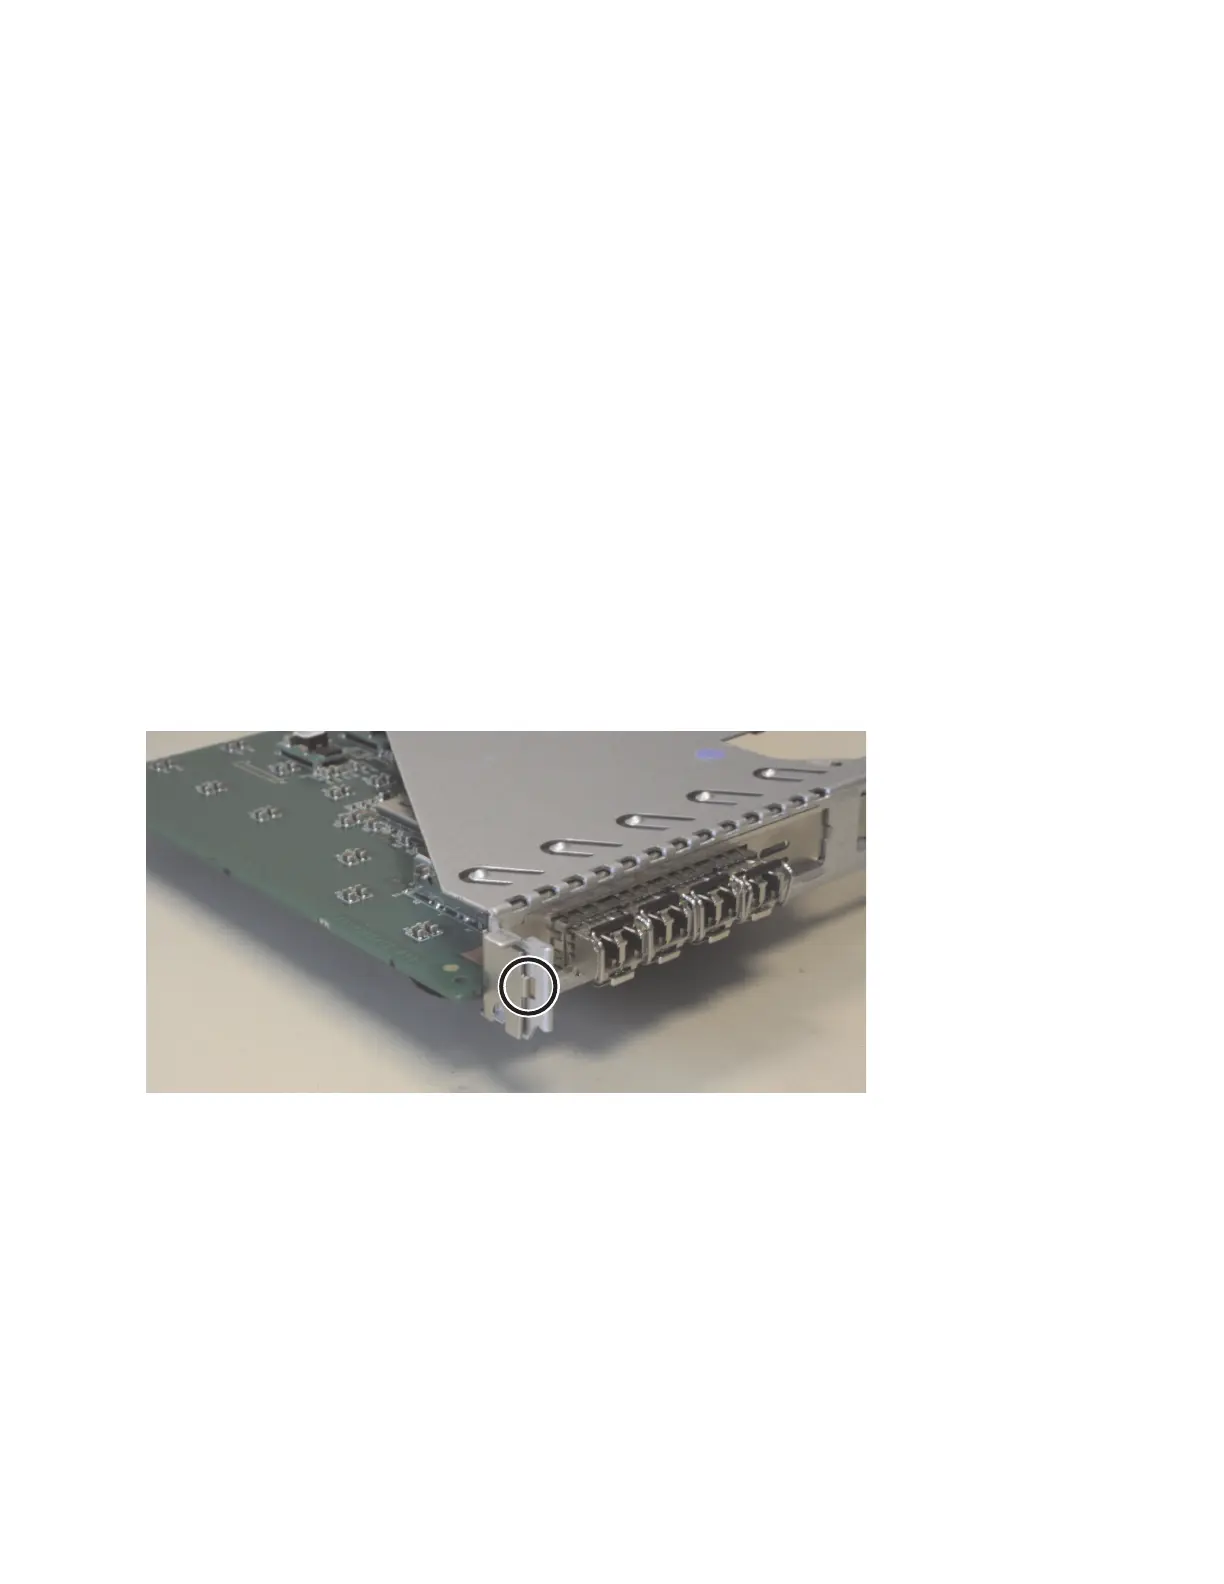
2. Slide the Fibre Channel adapter into position, keeping it close and parallel to the back edge of the
riser card. Push the adapter securely into the connector. Ensure that the positioning clip on the
adapter goes into the locating hole on the riser card, as shown in Figure 183.
3. Replace the SFP transceivers in the Fibre Channel adapter assembly.
4. Carefully align the riser-card assembly with the guides on the rear of the node and with the riser-card
connectors on the system board. Press down on the assembly and make sure that the riser-card
assembly is fully seated in the riser-card connectors on the system board.
5. Replace the top cover. See “Replacing the top cover” on page 81.
6. Place the node in the rack. See “Replacing the SAN Volume Controller in a rack” on page 55.
7. Replace the cables that were removed from the node, and make sure that you replace the Fibre
Channel cables in the same ports from which they were removed.
8. Replace the cable-retention bracket. See “Replacing the cable-retention bracket” on page 39.
svc00500
Figure 183. SAN Volume Controller 2145-8A4 riser-card assembly
Chapter 2. Removing and replacing parts 187

 Loading...


