INSTALLATION and CONNECTION
3
47
UHK-430/CCU-430 1710 VER2 (E)
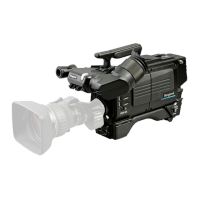
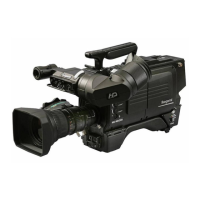
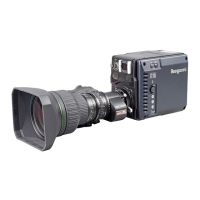
3.3 Connecting the CCU and Camera Head
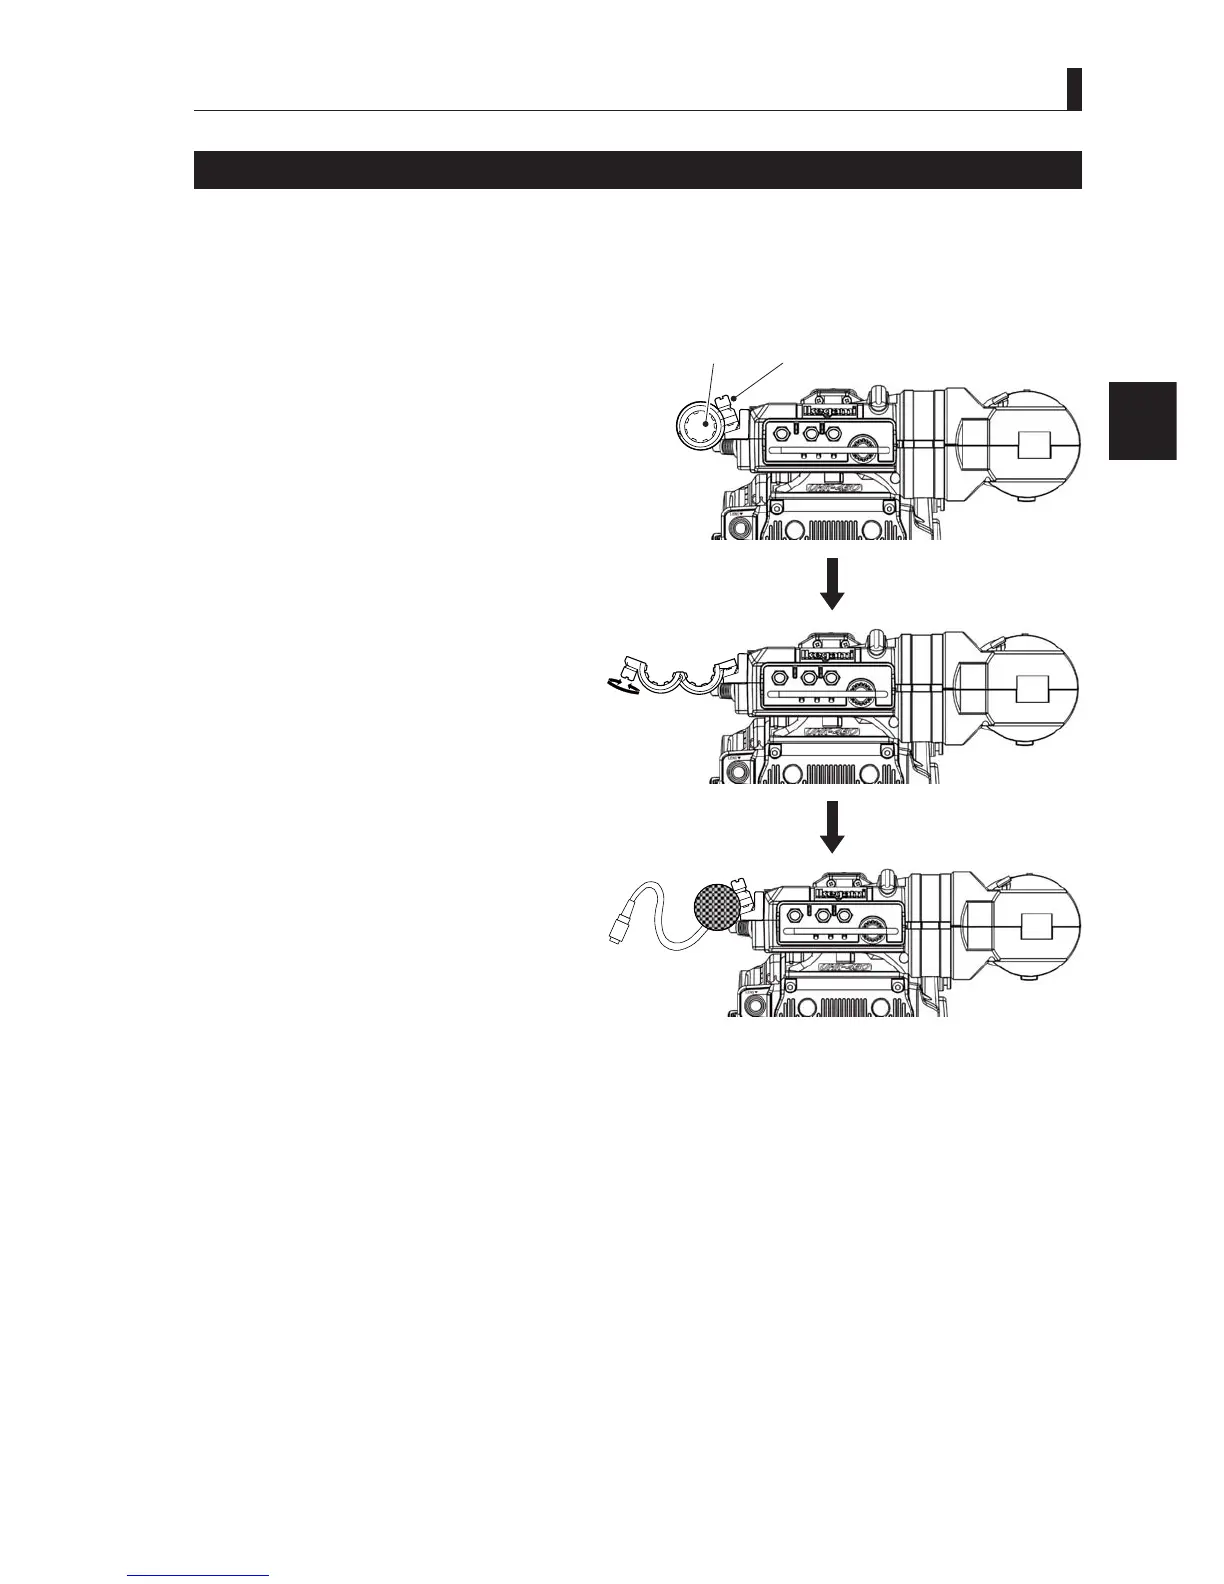
Attaching a Microphone
The camera supports connection of two microphones (MIC-1 and MIC-2), depending on the application.
7KLVVHFWLRQH[SODLQVKRZWRDWWDFKDPLFURSKRQHWRWKHPLFURSKRQHKROGHURQWKHYLHZ¿QGHU
Note:
The microphone holder is optional.
1 Check if a microphone holder is attached
to the viewfinder.
If a microphone holder is not attached,
attach the holder to the microphone holder
PRXQWRQWKHYLHZ¿QGHU
2 Loosen the microphone fixing screw on
the microphone holder to open it.
3 Put the microphone in the opened
microphone holder and tighten the screw
to secure it in place.
4 Connect the microphone cable to the
MIC-1 connector on the back of the
camera.
(Same for the MIC-2 connector.)
5 Secure the microphone cable with the
cable clamps to remove any slack.
Reference:
The power supply method is different depending on the types of the microphone used. Please refer to
"Chapter 4 :
OPERATION" "4.2 Switch Position Check" (P. 60)
for switching the power supply.
$OVRUHIHUWRWKHRSHUDWLRQPDQXDORI\RXUPLFURSKRQHIRUPRUHLQIRUPDWLRQRQWKHPLFURSKRQH
Screw
Microphone
holder
2 Open the microphone holder
Open
Close