42
UHK-430/CCU-430 1710 VER2 (E)
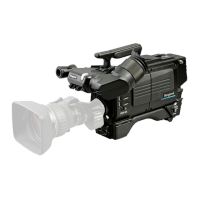
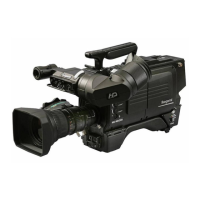
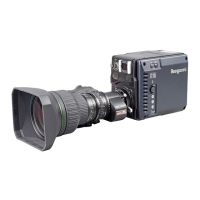
3.3 Connecting the CCU and Camera Head
Mounting and Removing the Lens
■
Mounting the Lens
This section explains how to mount the lens to the camera.
3ODFHWKHFDPHUDRQWKHWULSRGRULQDVWDEOHDQGKRUL]RQWDOSRVLWLRQZKHQPRXQWLQJWKHOHQV
$OVRWKHOHQVPRXQWRIWKHFDPHUDLVFRPSDWLEOHZLWKWKH%7$PRXQWV\VWHP
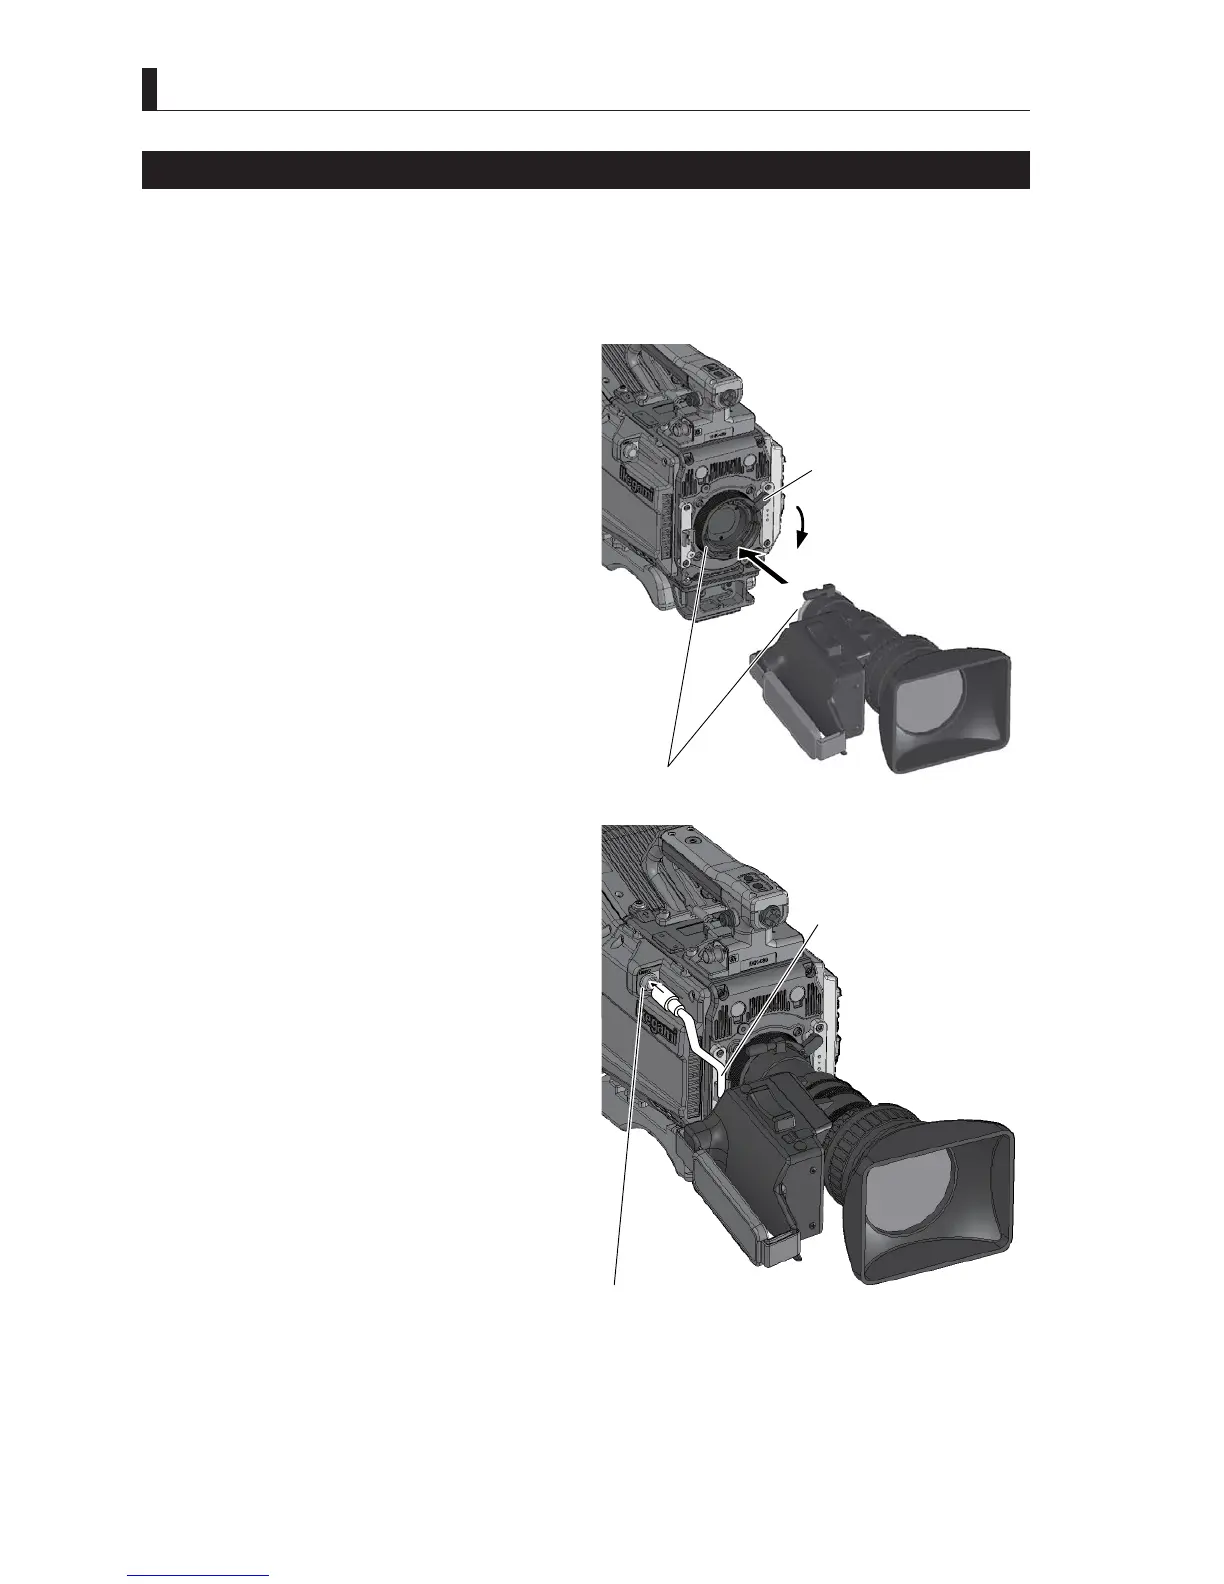
1 Lift the Lens lock lever and remove the lens cap in
advance.
2 Align and horizontally insert the pin of the lens into
the notch of the camera lens mount.
Put a hand on the lens to prevent it from falling.
3 Secure the lens to the camera.
Push down the Lens lock lever to secure the lens to the
camera.
4 Connect the pigtail cable to the lens connector.
The pigtail cable is automatically locked when it is
aligned with the connector pin and pushed in.
5 Secure the pigtail cable to the cable clamp so the
cable is properly positioned.
Caution:
Do not hold and carry the entire camera by the housing
SDUWRIWKHOHQV$EQRUPDOIRUFHRQWKHOHQVPRXQWPD\
cause failure.
3 Push down the Lens lock
lever to secure the lens.
2 Align and insert it into the notch.
4 Connect the pigtail cable.
5 Secure it to the cable clamp.