INSTALLATION and CONNECTION
3
49
UHK-430/CCU-430 1710 VER2 (E)
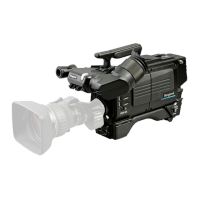
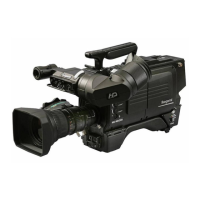
3.3 Connecting the CCU and Camera Head
■
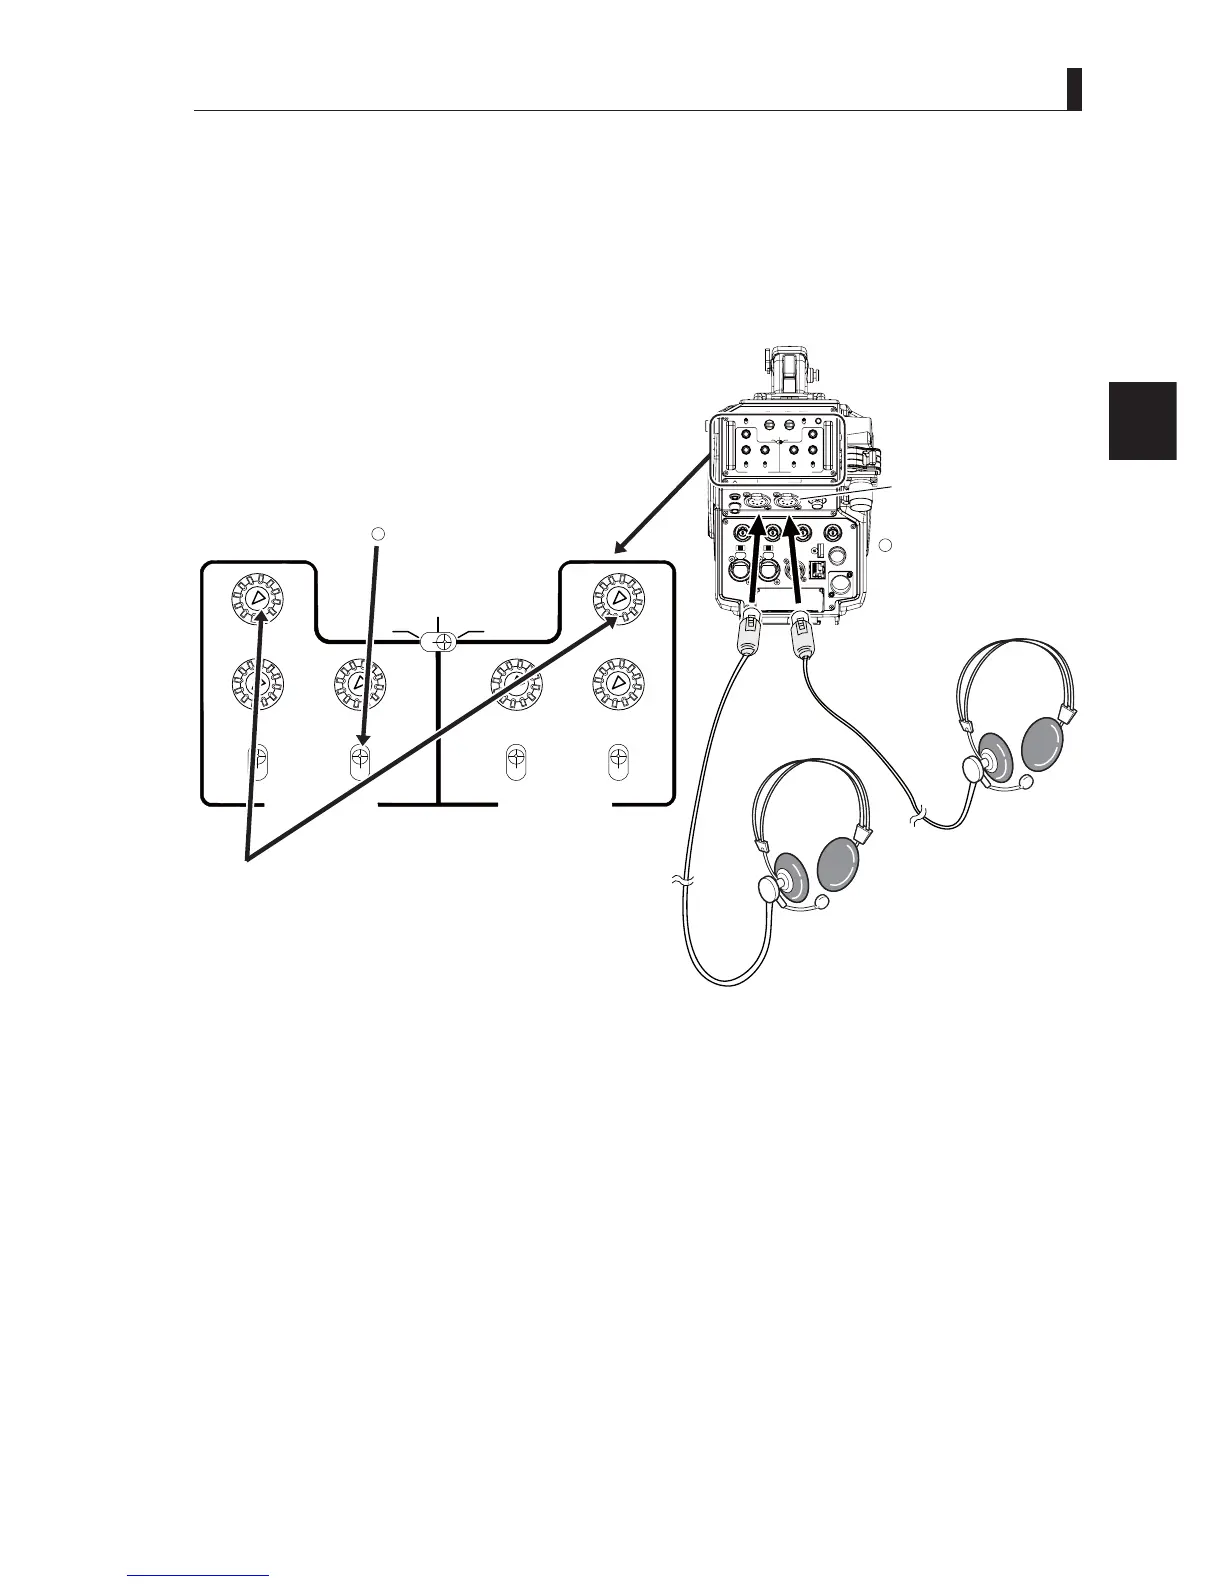
Connecting a Headset to the Camera
1 Connect a headset to the INTERCOM-1 connector.
2 Set the INTERCOM-1 TALK selector switch to "ENG".
LIGHT
RET 1 RET 2 TALLY
CALL
ON
OFF
DIM
1
2
3
4
4
3
2
1
DIM
OFF
ON
ON
OFF
PTT
PROD
BOTH
ENG
ENG
BOTH
PROD
PTT
OFF
ON
INCOM 1
FRONT
REAR
INCOM SEL
FRONT
INCOM 2
INCOM
PGM 1 PGM 2 PGM 2PGM 1
INCOM
INTERCOM 1 INTERCOM 2
DC OUT
GL IN/SYNC OUT
MIC 2MIC 1
GbE TRK
11~17V
DC-IN
TRACKER
+12V
OFF
SDI OUT 1
+48V
+12V
OFF
+48V
SDI OUT 2
USB
REMOTE
SDI OUT 3
SDI I/O 4
12V 1A
INCOM SEL
INCOM 1
INCOM 2
FRONT FRONT
REAR
INCOM INCOM
PGM1
PGM1
PGM2 PGM2
ON
OFF
PTT
PROD
BOTH
ENG
PROD
BOTH
ENG
ON
OFF
PTT
INTERCOM 1 INTERCOM 2
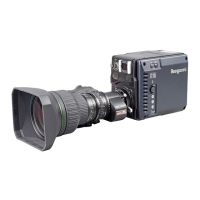
Camera rear view
Enlarged View of Rear Operation Panel
Headset
INTERCOM connector
Connect the headsets
connector to the INTERCOM
connector.
Set the switch to "ENG".
Caution:
Ensure that the volume is initially set at a minimum level.
1
2
Note:
7KH,17(5&20FRQQHFWRUVDUHFRPSDWLEOHZLWK;/5VHULHVRULQFKW\SHSKRQHMDFNE\WKHVSHFL¿FDWLRQVDWWKHWLPHRI
delivery.
Caution:
Do not set the volume of intercom receiver to near maximum level from the beginning. Using the headset with loud volume
may cause a ruptured or damaged eardrum.
Reference:
$GMXVWWKHYROXPHZKHQWKHVRXQGIURPWKHLQWHUFRPUHFHLYHULVGLI¿FXOWWRKHDURUWRRORXG6HH
“
Chapter
5 : CAMERA
SETTINGS and ADJUSTMENT" "Adjusting Headset Volume” (P. 79)
for the audio volume adjustment of intercom.